 |
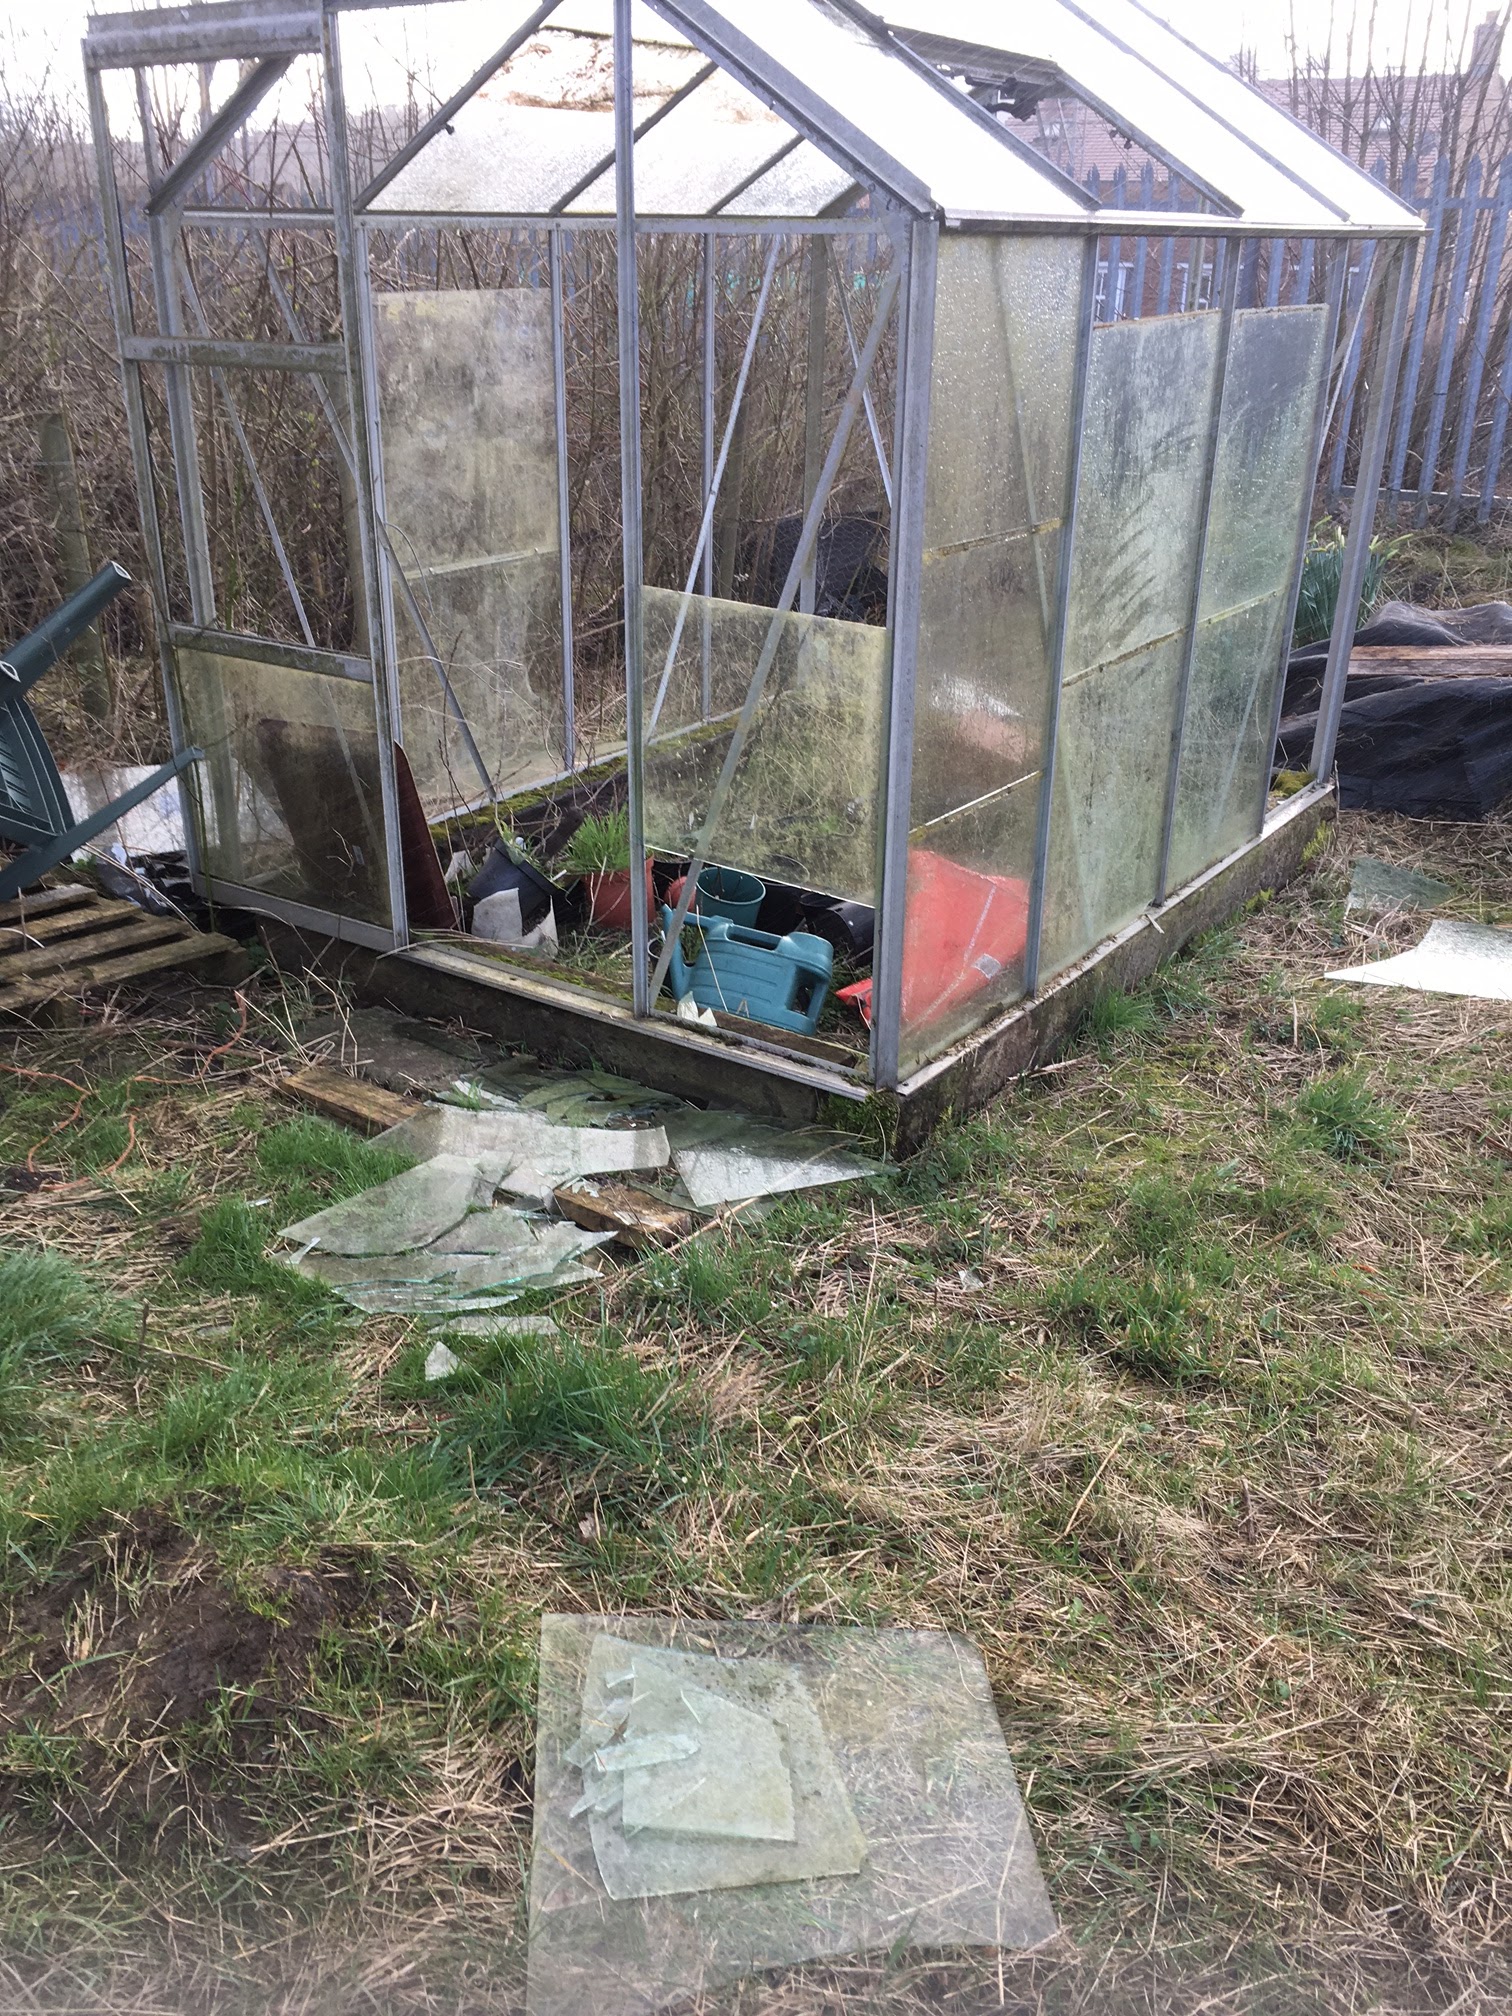
| More panes on the ground than on the frame! |
With my newest plot I inherited a rather wrecked glasshouse. I don’t seem to have been overexcited about it, as that is pretty much the only picture I took of it, although I did take some pictures of plants around it, and there are pretty daffs!
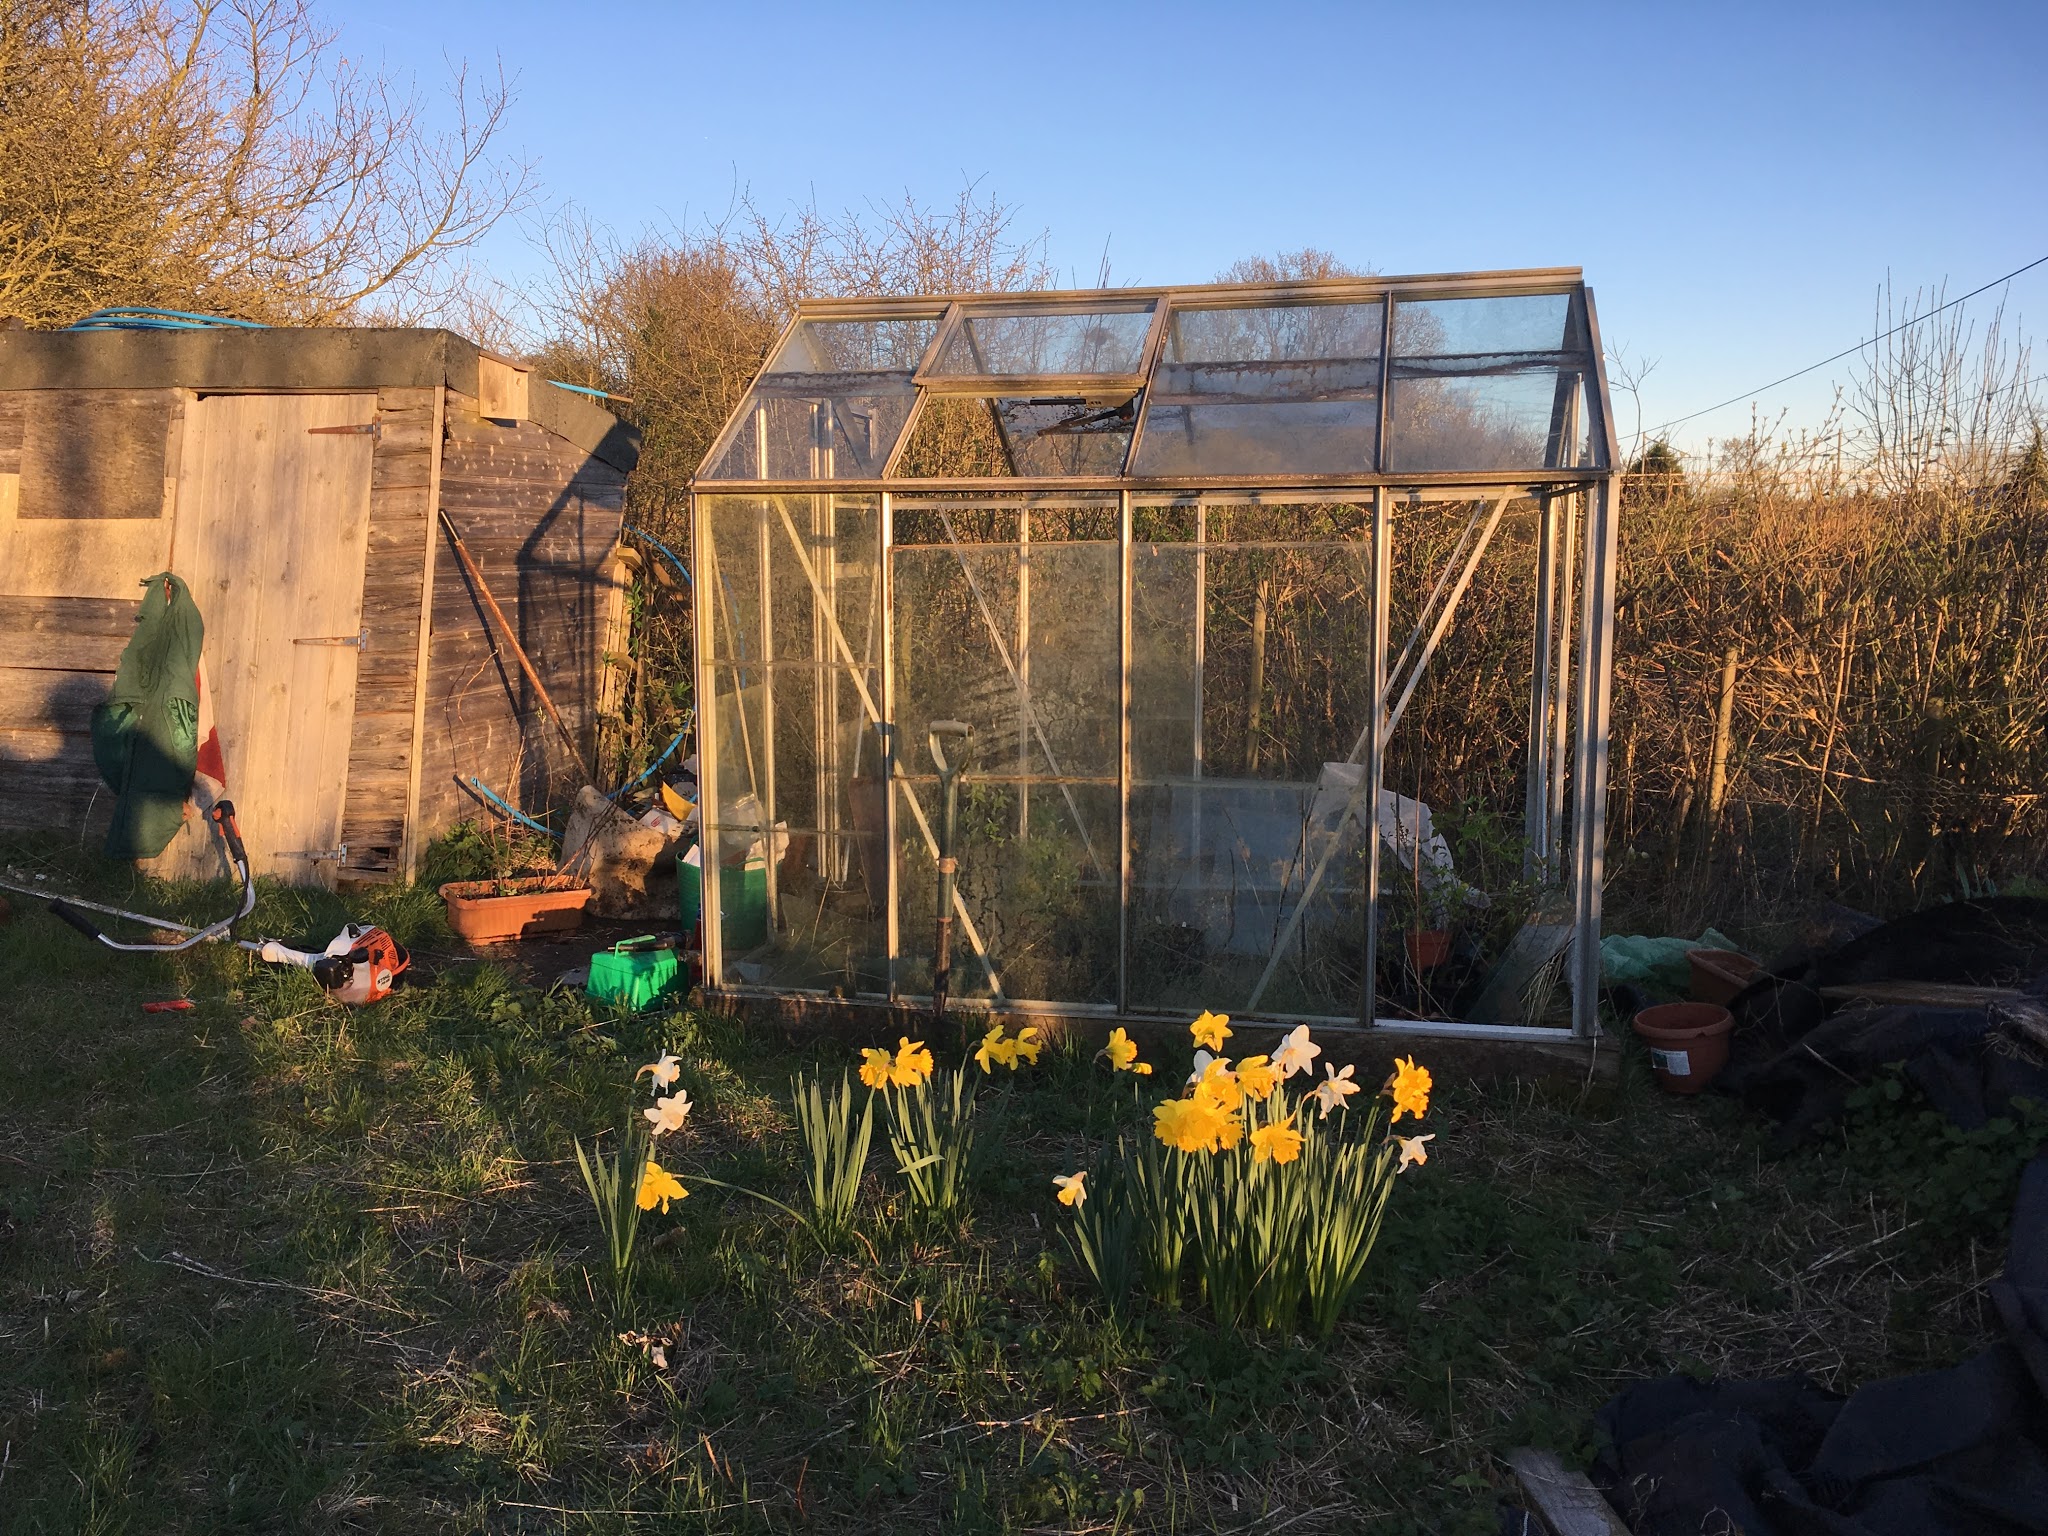 |
| There’s some pretty daffs in front of it |
Anyway, during the most recent Christmas holidays, desperate to take my mind off Brexit and have control over something, I thought it would be a good idea to fix it.
I trawled the internet for glass panes, and found that FB marketplace was a pretty good place for it: I got myself a dozen of panes for the price of only a 4-hour round trip.
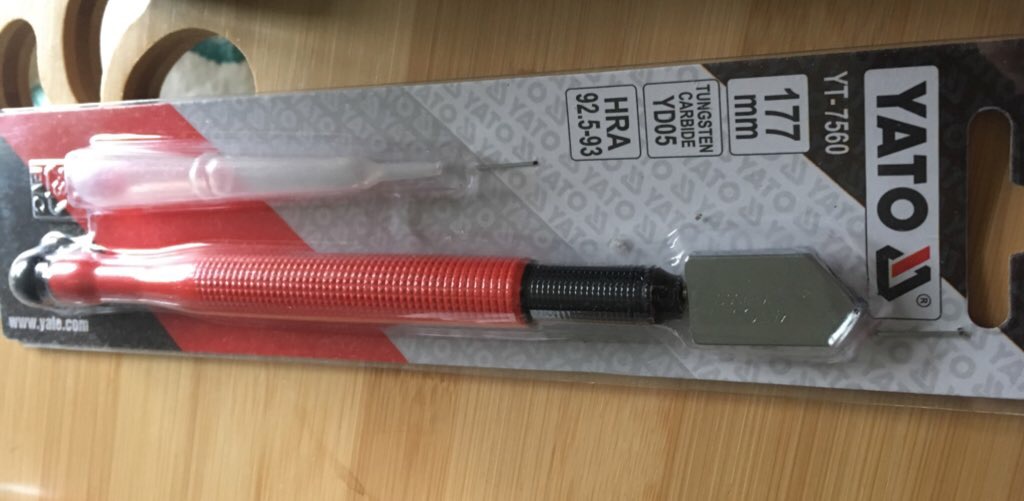 |
| Oil glass scorer |
As the panes were different sizes, I also bought a professional glass scorer. I did not use any oil, as YouTube taught me it was not really necessary.
I also got some W and Z glasshouse clips, my safety glasses, and thus armed I made my way to the plot.
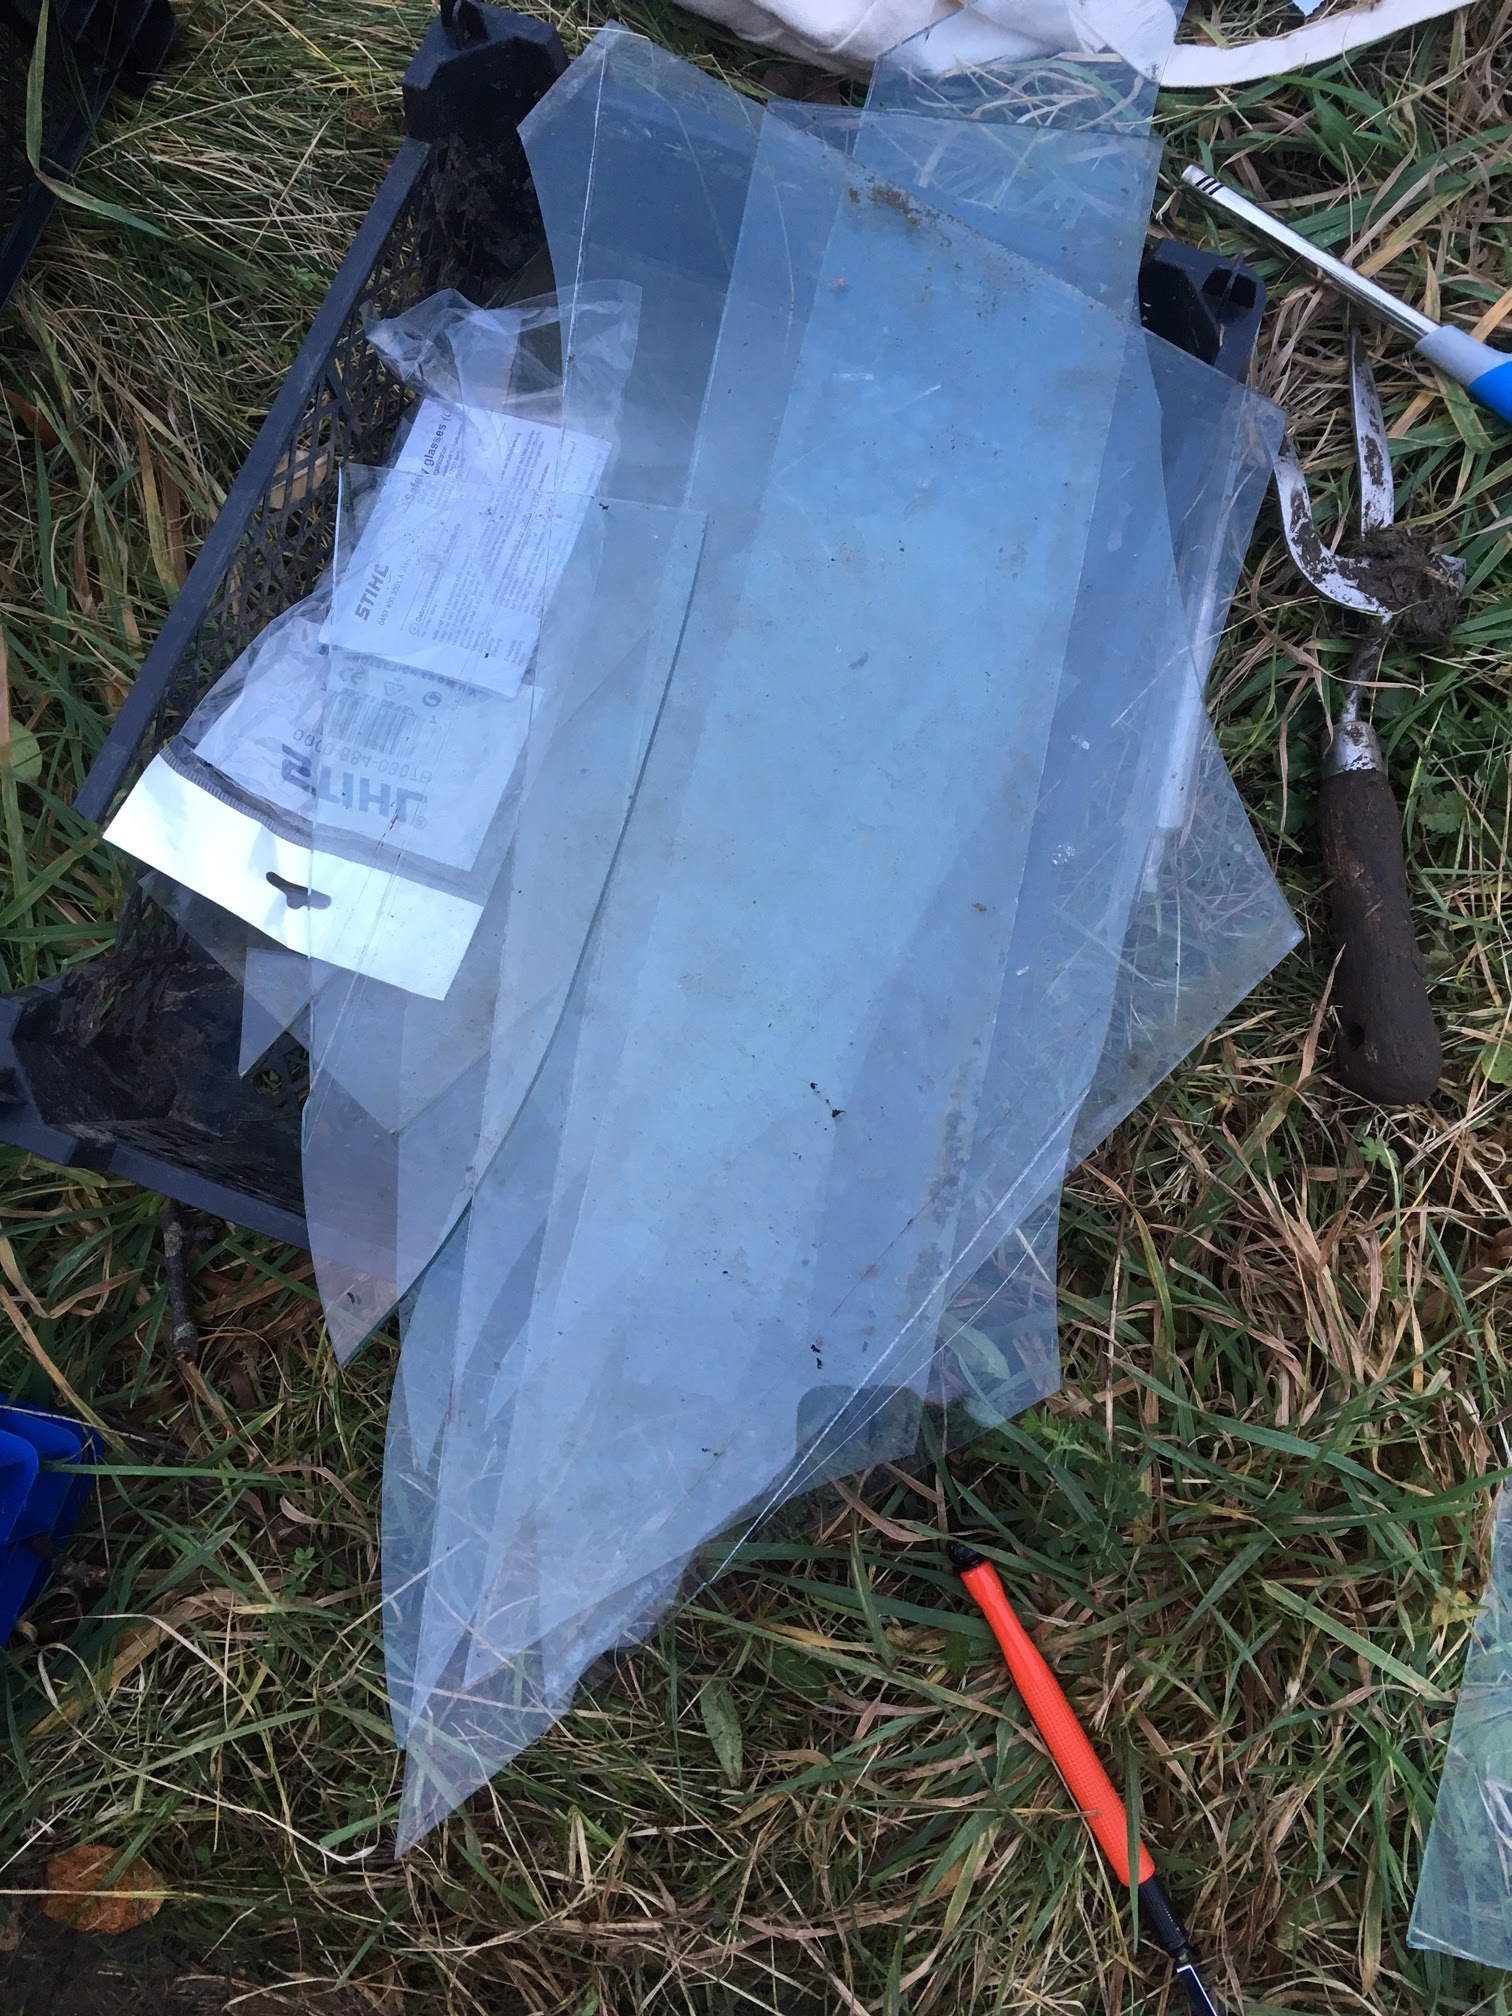 |
| So much glass wasted |
The first thing I realised I needed was a very flat surface, clear of debris. Luckily, my falling-apart shed delivered just the perfect laminate board, so I got myself a ruler and started cutting, with mixed success and a lot of frustration.
Anyway, two months on, I finally seem to have cracked it, thanks to random suggestions from peeps on the web and a lot of practice, and I want to share my tips with you, hoping you won’t waste as many panes, should you have a go.
Essential tools:
- a scorer
- safety glasses
- gloves
- a smooth surface
- a bucket for fragments
- a ruler that covers all the length of the cut and is thick enough not to end up between the scorer tip and the metal head, rather help the metal head slide
- duck tape
- pliers (the standard worked ok, but you can get special ones too)
By trial and error, I found the following worked for me:
- tape the glass inside the part that you want to keep, and score along the side that has to go
- although you can tape only one side, score both sides
- use a long enough ruler to go all the way in one smooth score line
- hold the scorer like a pen; when scoring, try not to stop halfway, and press well: it has to make a jarring scratchy sound as it goes
- if the side that has to go is 10 cm or larger
- once you have scored both sides, turn it with the tape side up
- place a glass strip (or similar), long enough to go all the score line and not too thick, under the tape and aligned with the cut
- apply equal and gentle pressure with the palms of your hands both sides of the tape and away from it, until the pane snaps (if you are lucky, in one snap and a perfect straight line)
- if the side that has to go is 10 cm or thinner, there is a high chance the pane will shatter if you apply pressure with your hands: use pliers! If you are lucky and the strip is thin enough, it will come off in one go. Otherwise you have to do it bit by bit.
Ideally, one would sand the cut surfaces too, especially when they are ragged.
I finally managed to do triangles for the roof sides, and that was with great satisfaction!
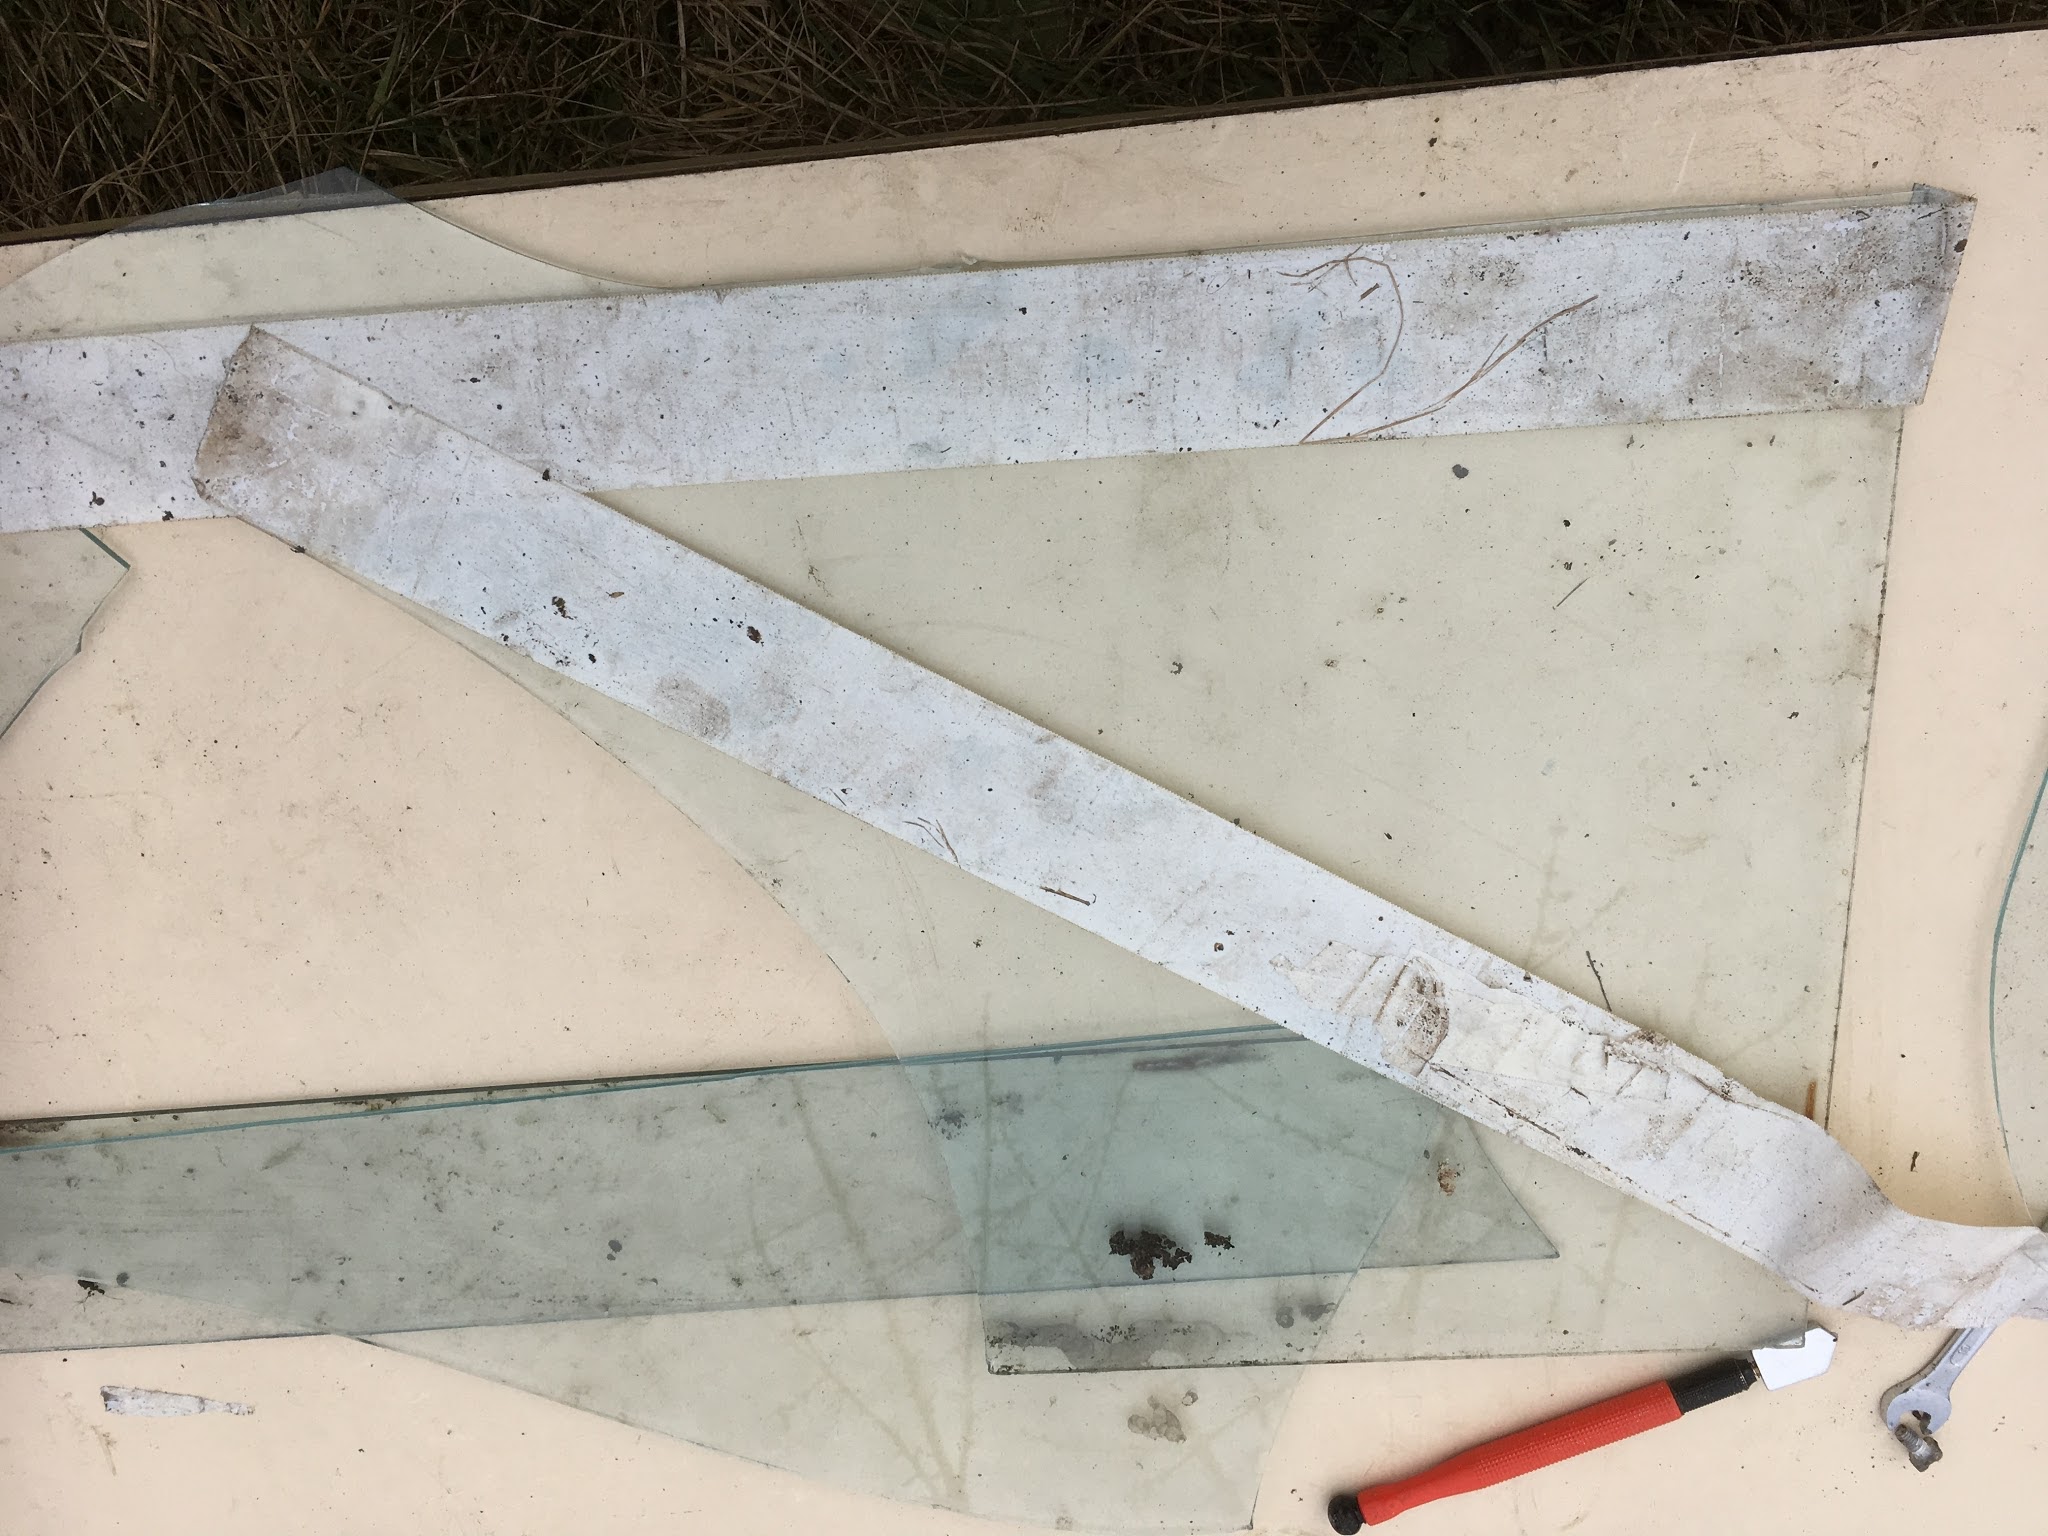
Both sides that needed cutting were taped, to start with. I was going to score outside the tape (recycled tape so it looks a bit tatty by the third pane, but works).
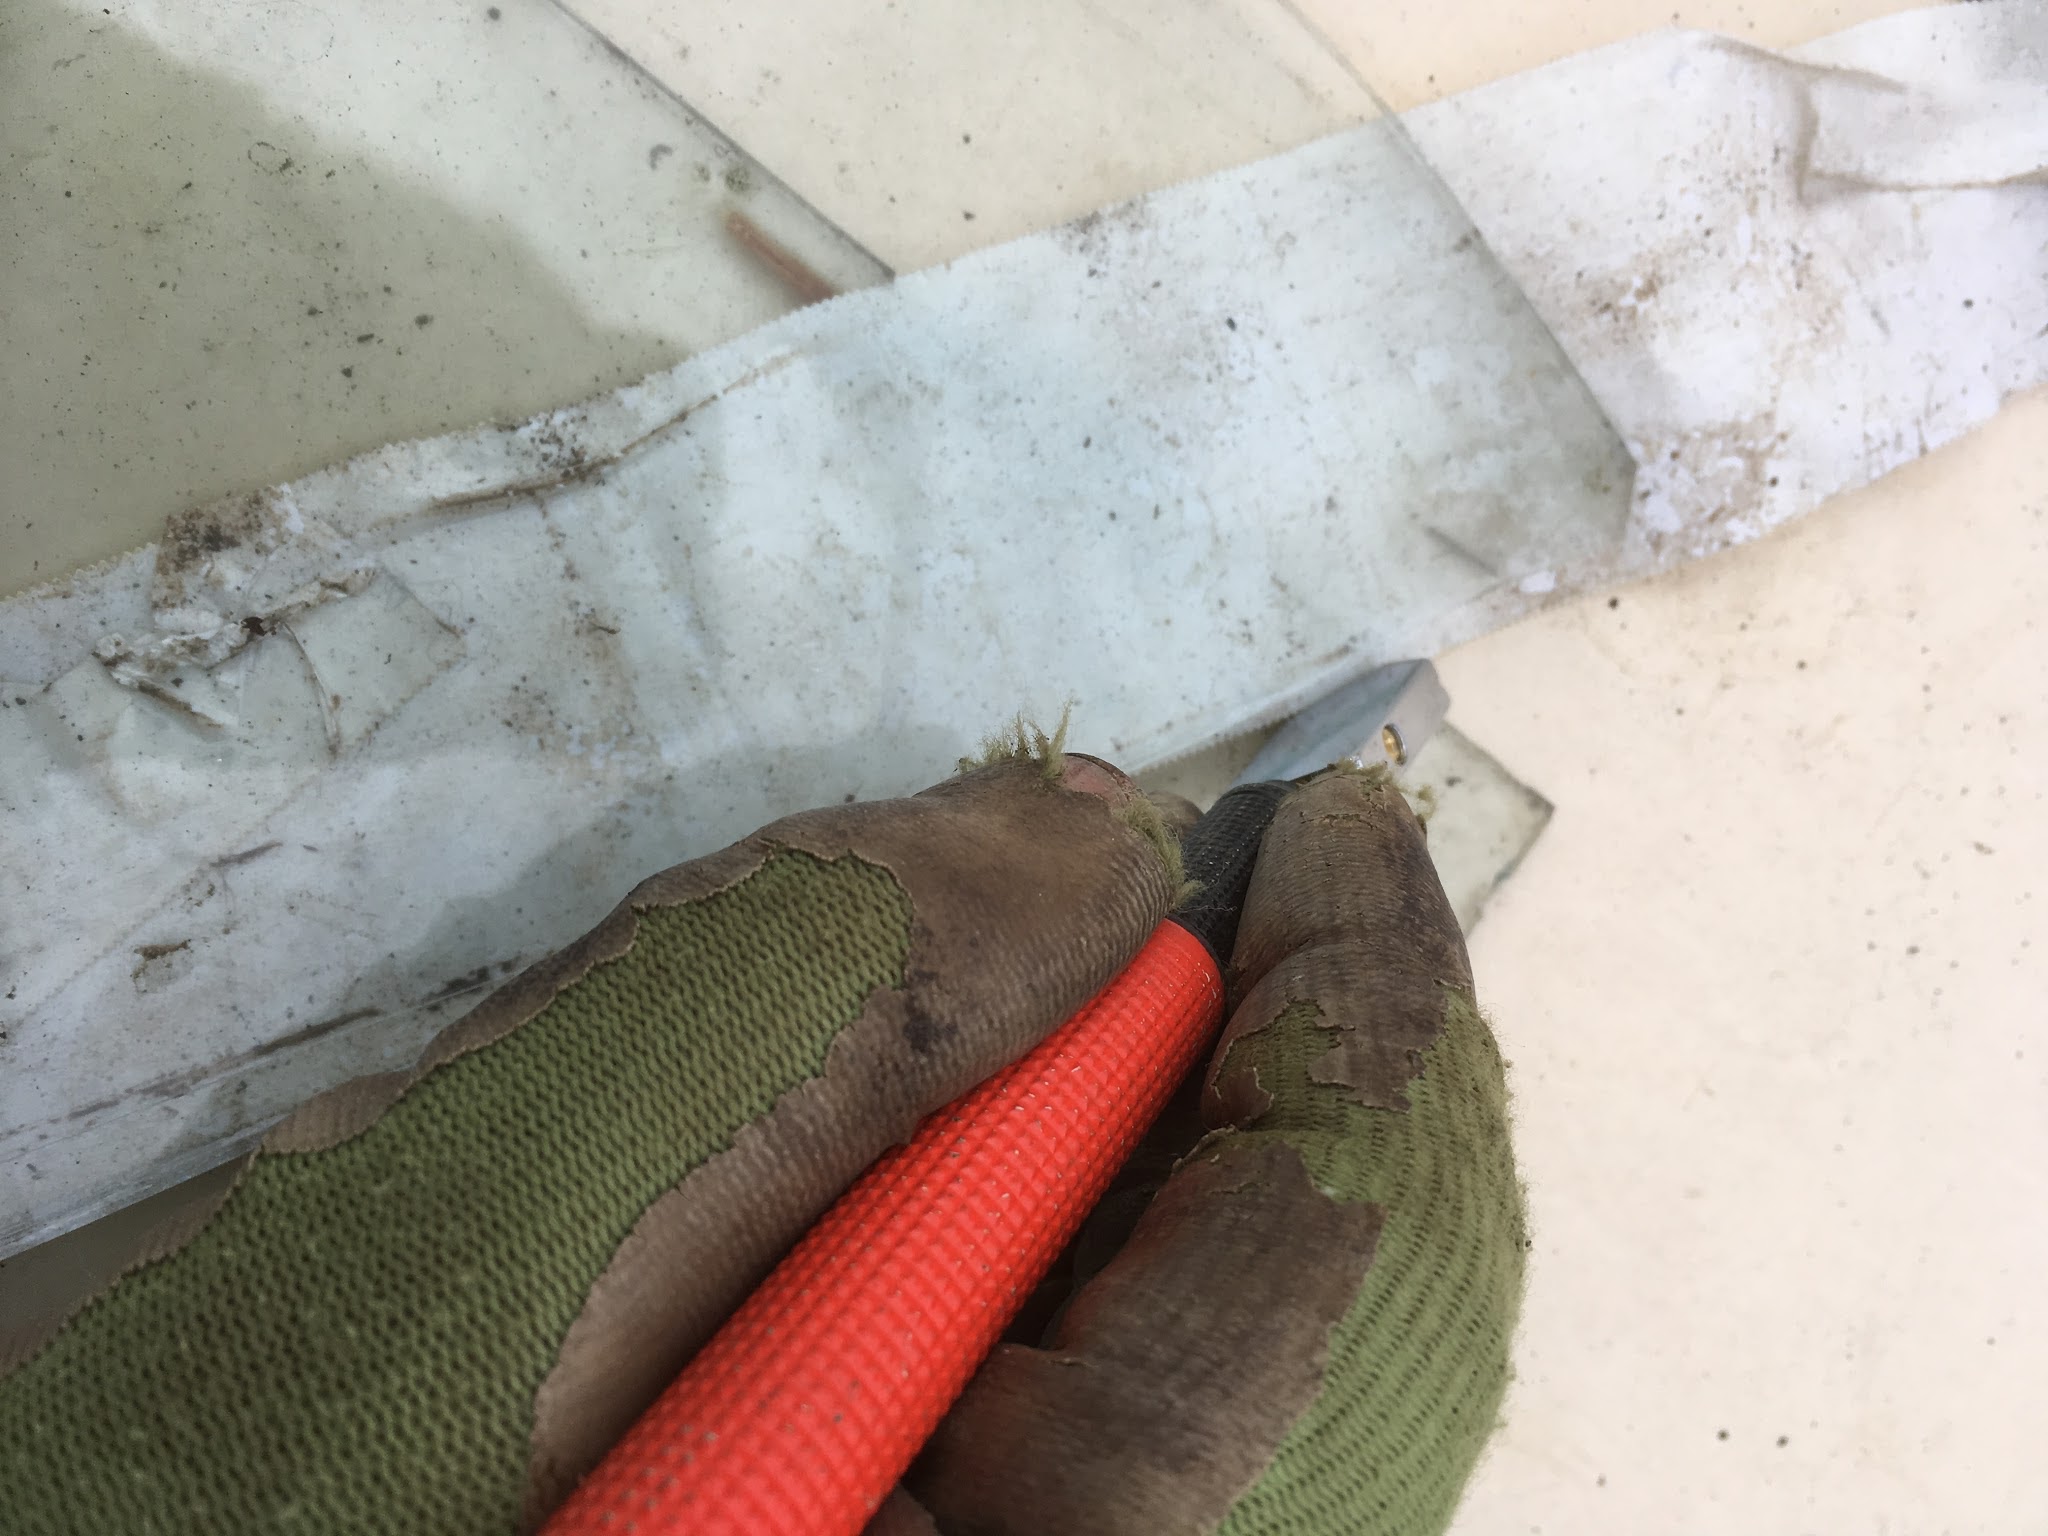
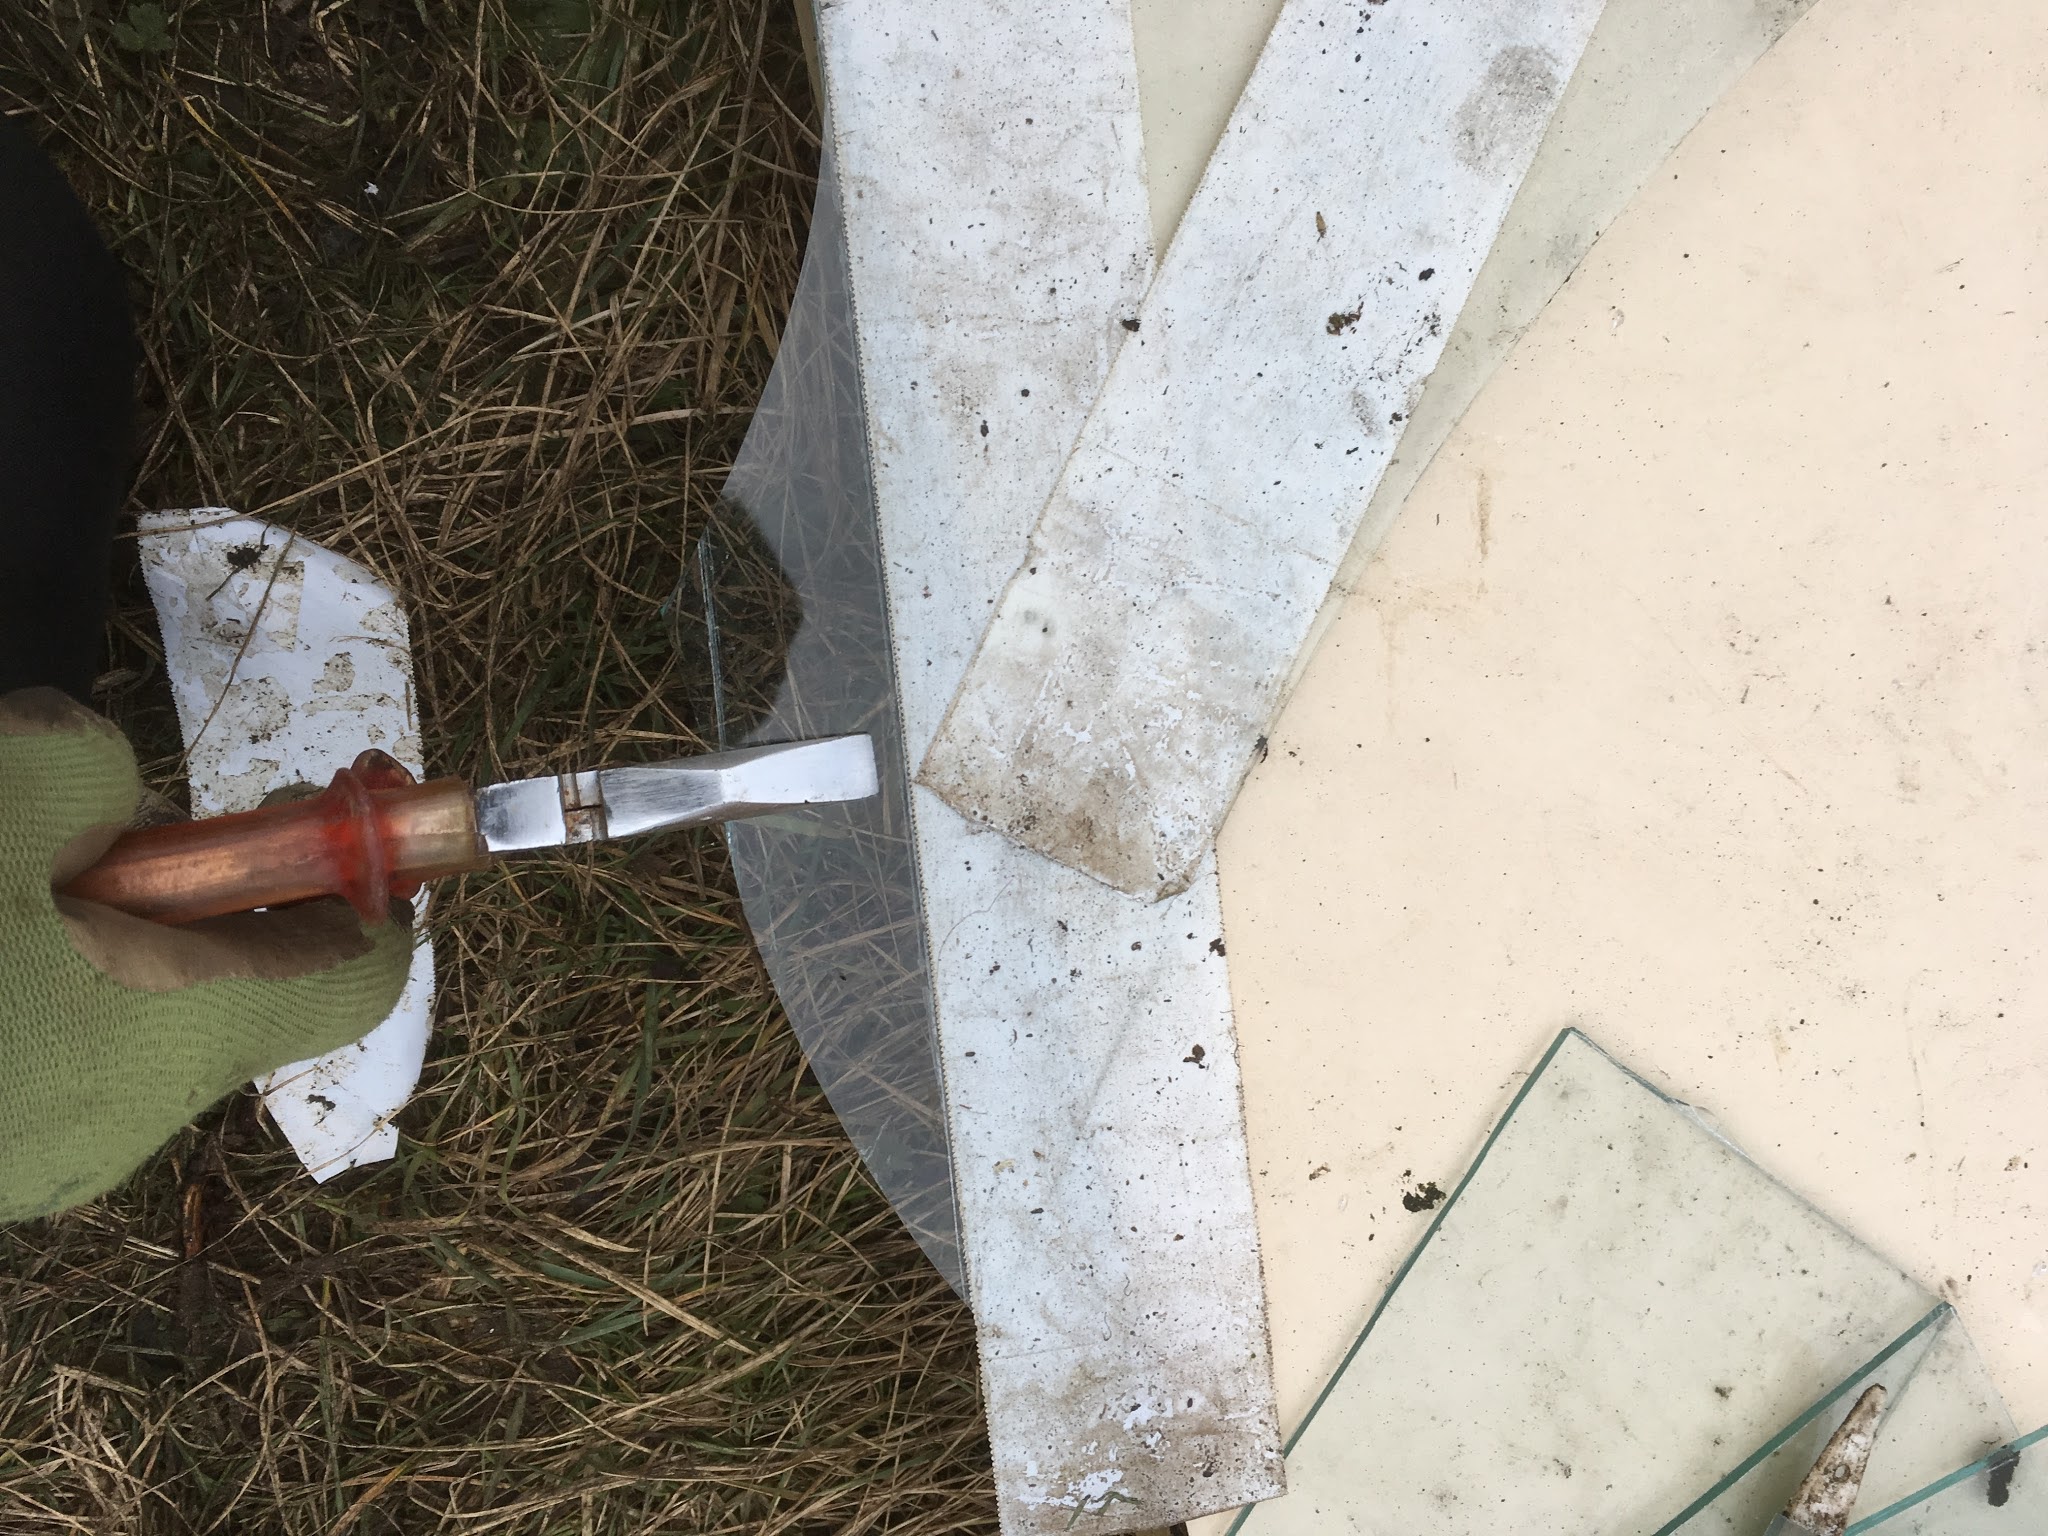
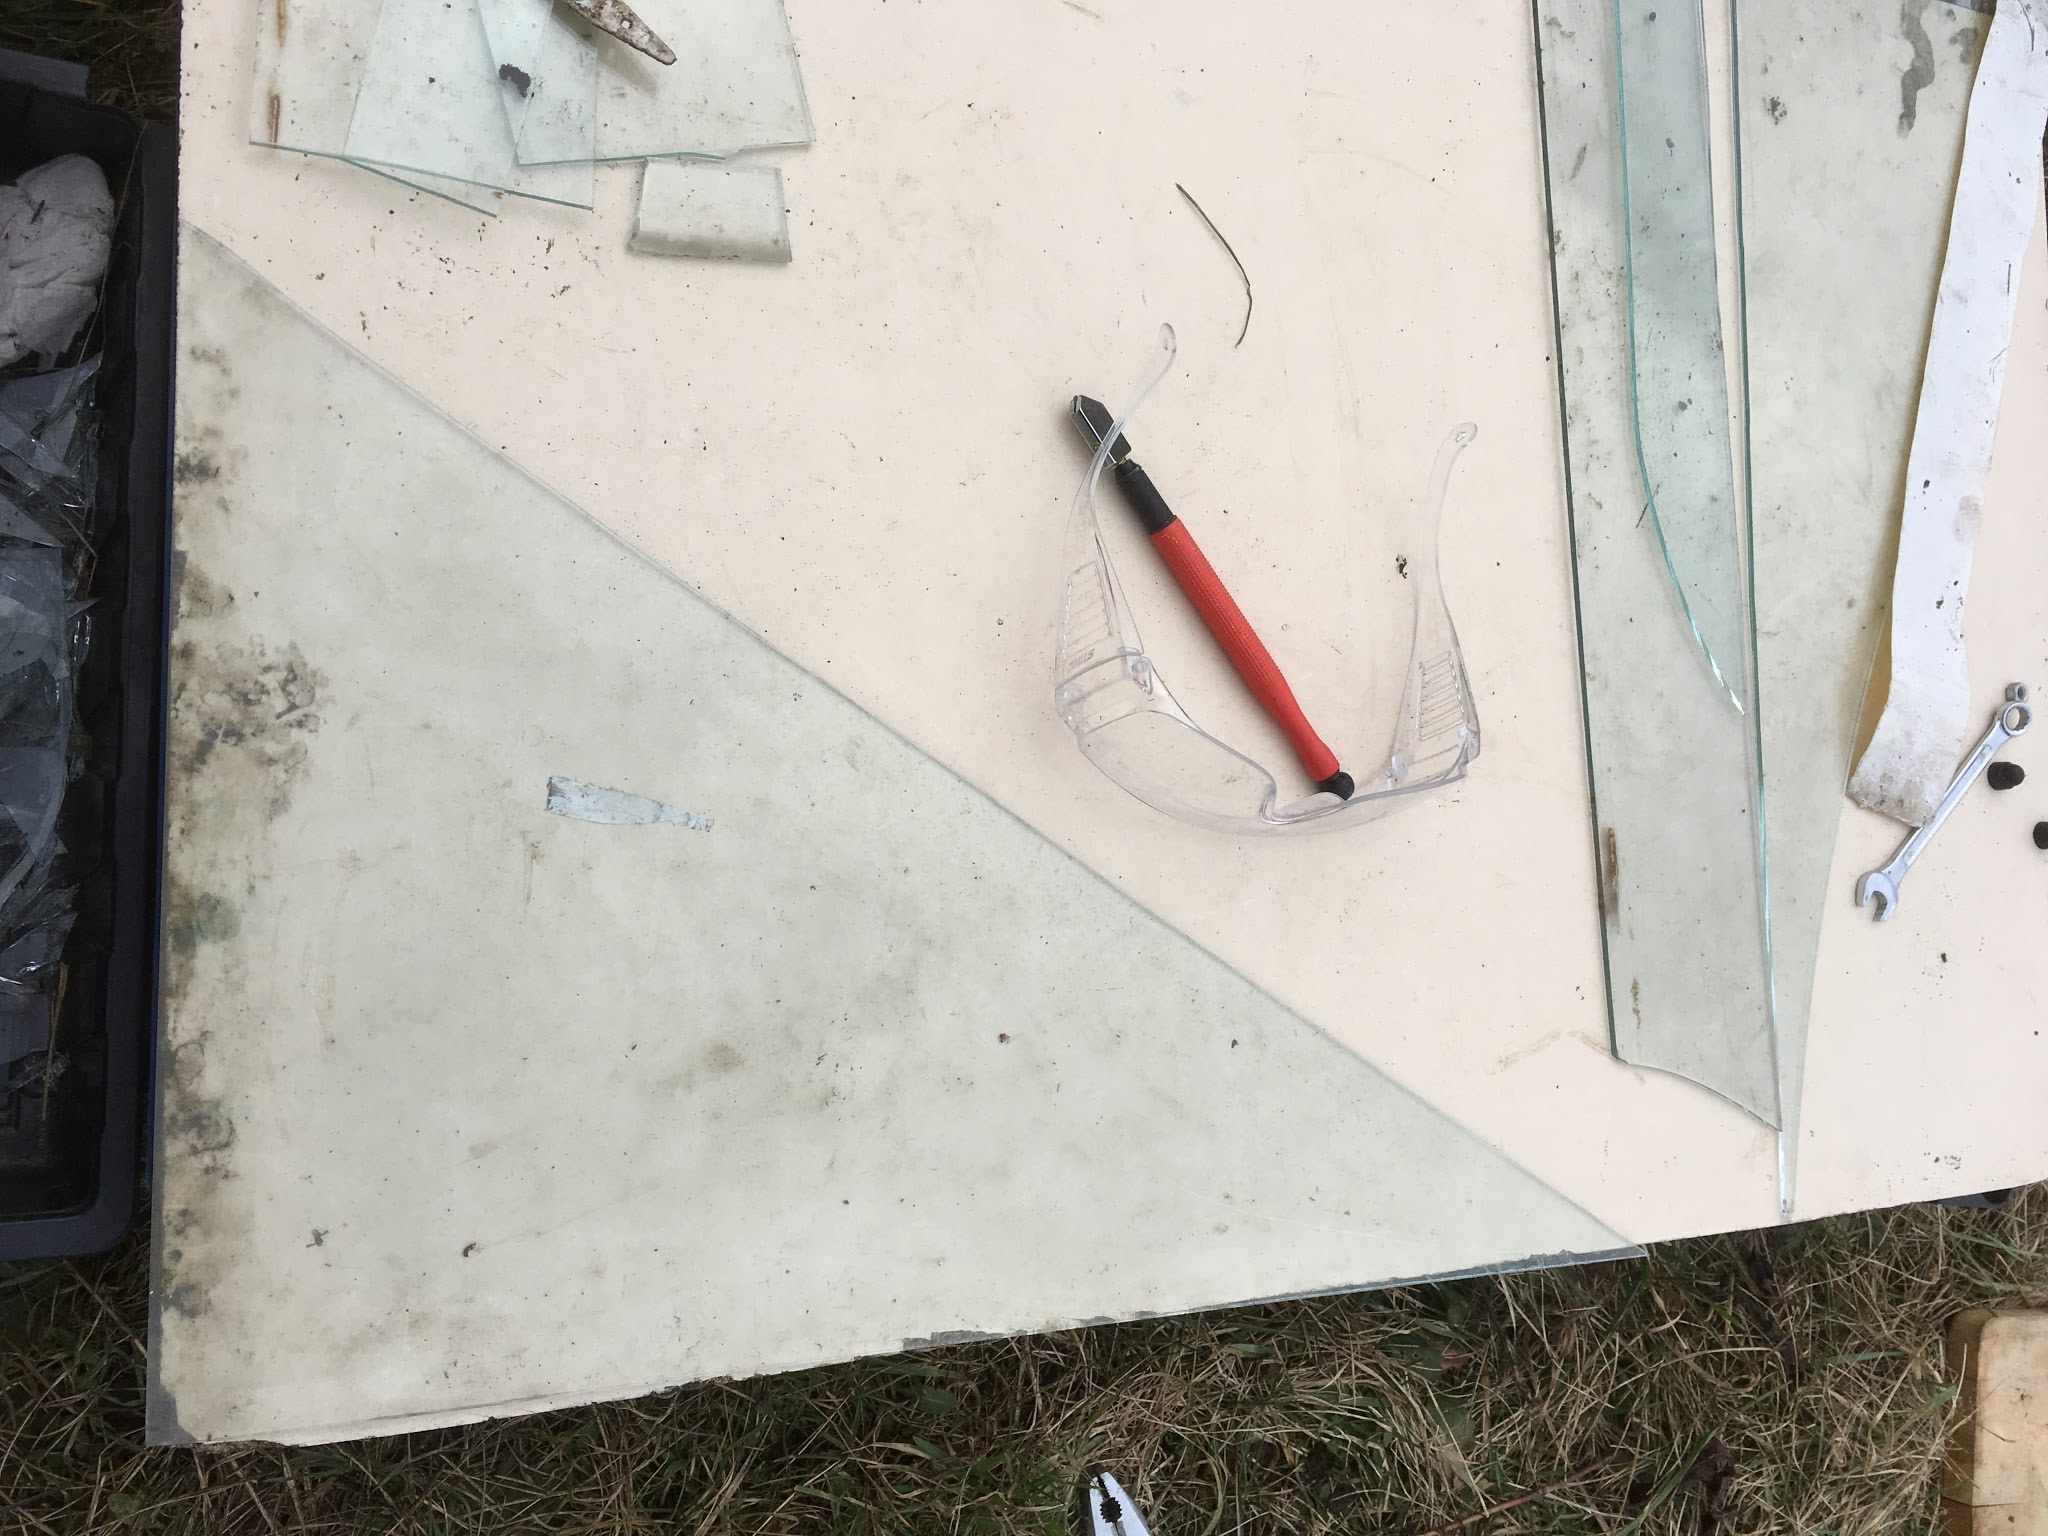
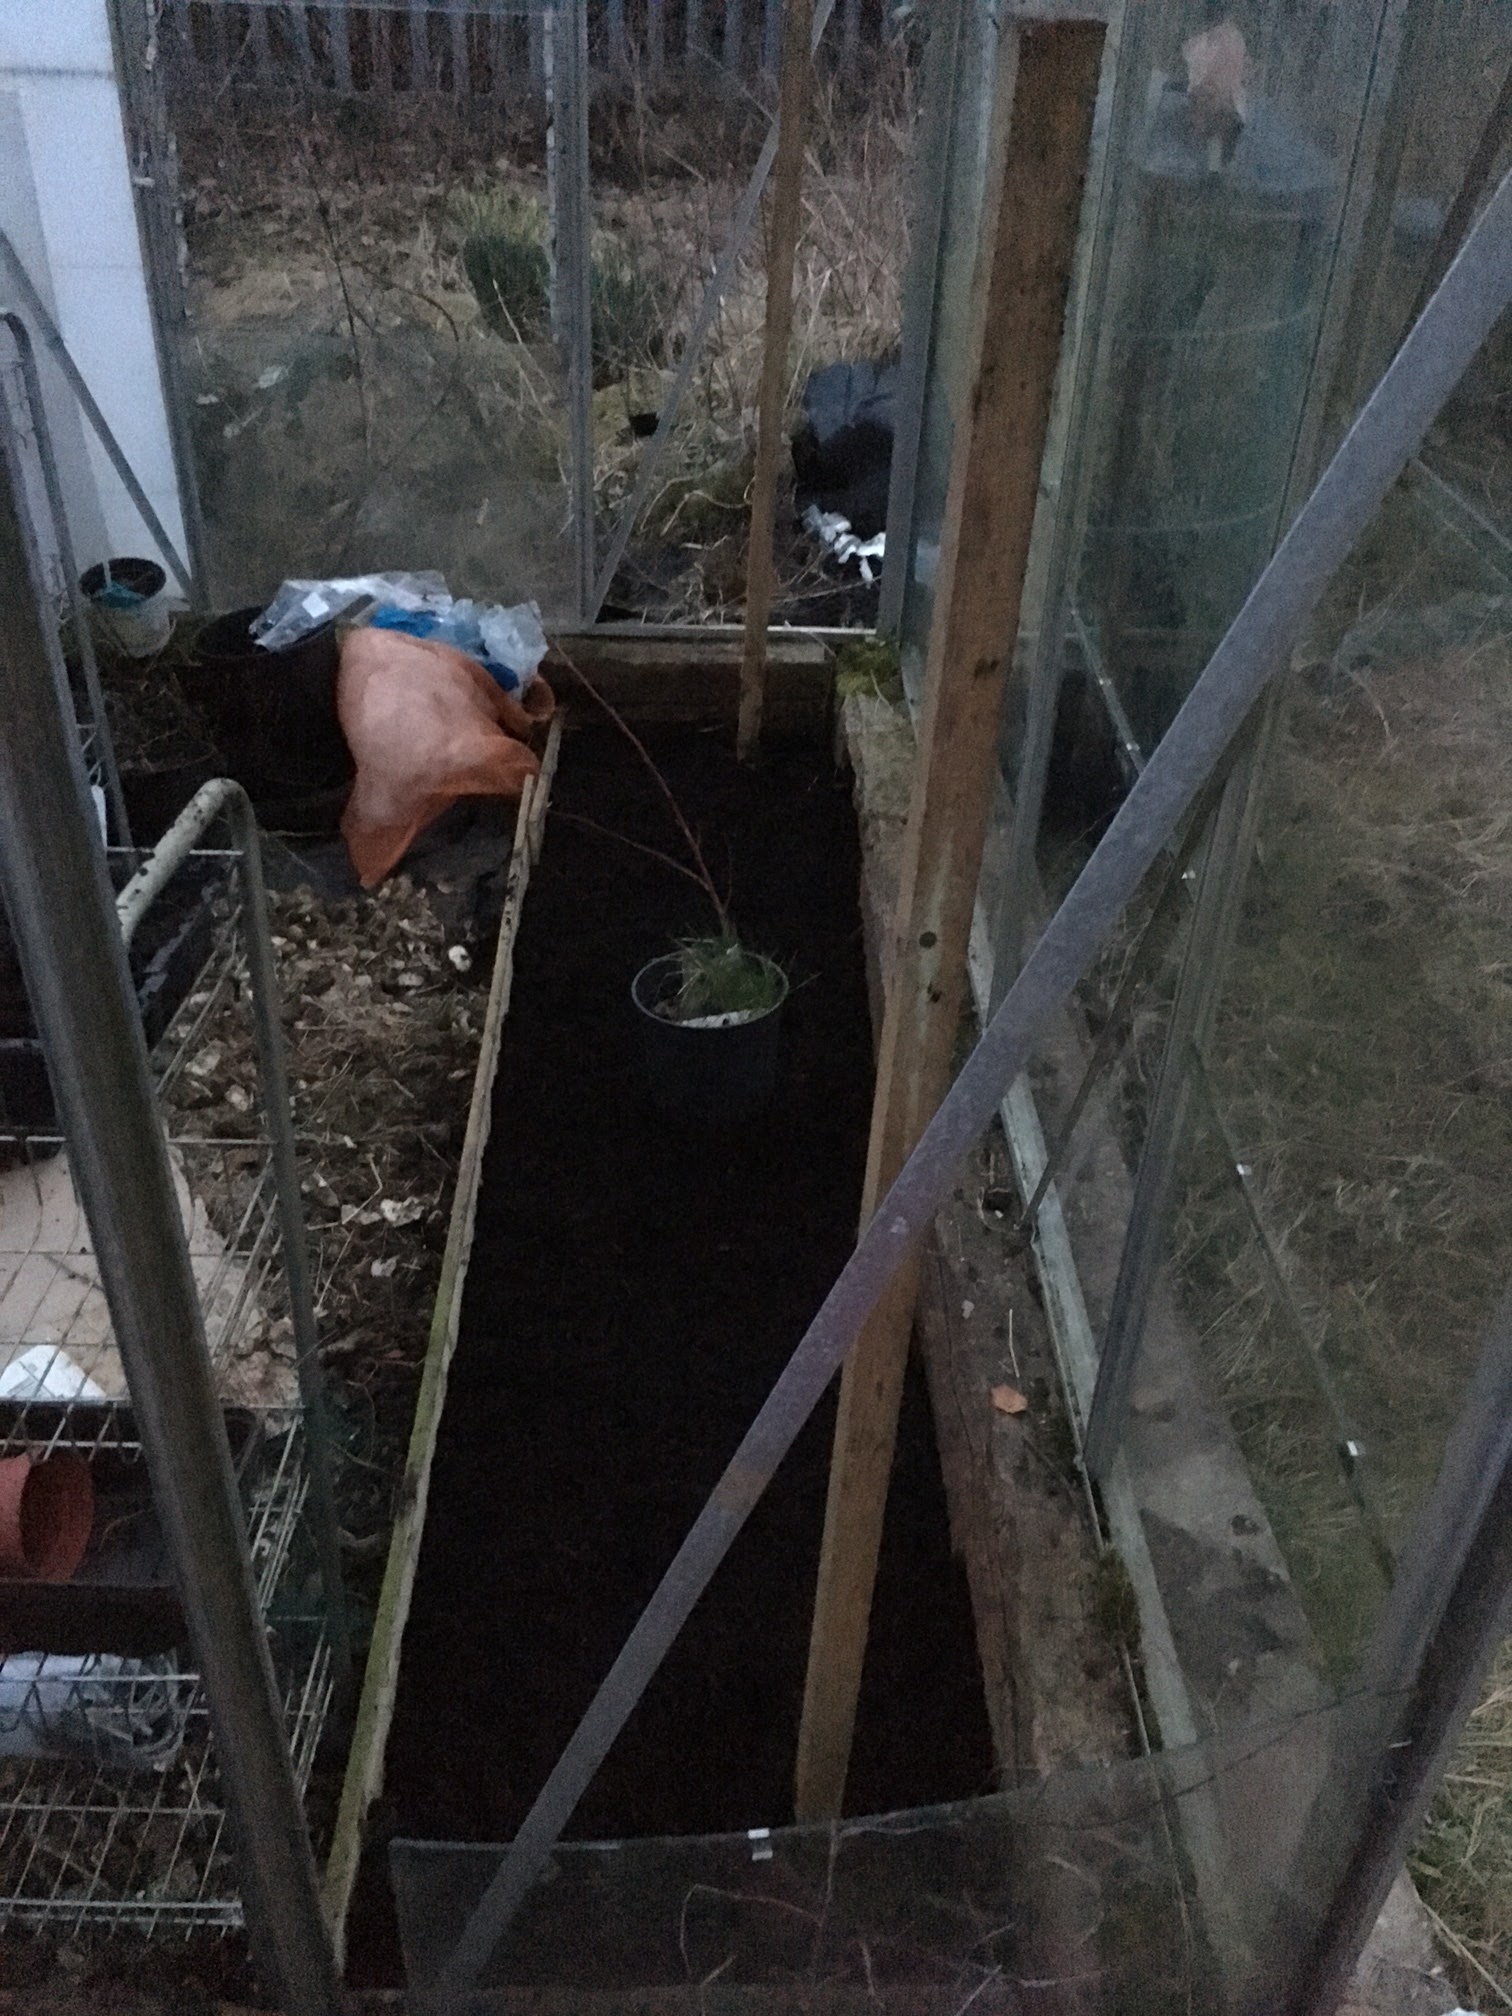 |
| It’s starting to look like a proper GH again |
About Me
 M.Paola, that’s me
I got my first allotment in the UK in 2007 and started growing my own food. Learning as I went along was not enough, so I studied horticulture. Faced with the horticultural warfare, I became a conscientious objector: I use no chemicals and support organic principles and regulations.
Brexit gave me a new life in the Netherlands, three new plots by a nature reserve and an MSc in sustainable food systems.
I write in my personal capacity and, as a language perfectionist and a non native speaker, I keep reviewing my entries’ text for clarity.
Some Rights Reserved

This work is licenced under a Creative Commons Licence.