Today I was tidying up my shed, one of those routine horticulture jobs that you could do without and that invite numerous breaks. During one I checked my Twitter and James Wong’s caught my attention:
@Botanygeek: Yey! My first article for a weekend paper is out today. Why UK hort needs to be dragged into the 21st Century…. http://t.co/uxcjJYMJiZ
so I went and read the article.
It is a rather interesting description of how Singapore aims to be a garden city by incorporating landscaping in the city planning process. Examples describe the airport’s very efficient indoor & outdoor gardens, kept always immaculate by replacing any faded plants with new ones from the on-site nursery; the Marina Bay Sands resort, which indeed looks quite spectacular with an immense pool and garden extending across the top of three hotels; the new harbour front botanic garden.
Very much focusing on garden design and cool in a 20th century kind of cool, no environmental considerations there, at a time when the world’s ecological systems are so strained they might be approaching irrevesible tipping points (when I pointed that out, James challenged me: wasn’t urban greening intrinsically good for the environment? I don’t think that necessary follows, especially from the examples in his article). The article concluded
Singapore’s glossy, thematic approach to horticulture may seem theatrical and gimmicky, but in many ways it is more faithful to the pioneering spirit of the British Victorian gardeners we often try to emulate than our own obsession for rehashing the past.
Fascinating as the article was to read, I could not find how it related to the question “Why UK hort needs to be dragged into the 21st Century”. Why did I bother to point that out to the author?
Well, you know I am trying to make a career in horticulture, and I am aware that James is heavily involved as an educator in a motivational campaign to get more young people into horticulture. Apparently, there’s not enough young blood in the industry, it is “dying”, and so is farming.
If it is true that in the free market scarcity means higher value, and higher value by-and-large means more money, one would argue: why is the salary for the average horticulturist in the range £15-25k? Also, why are there no more botany degrees in UK universities? We are, after all, talking about plants… in this specific case, do plants like growing on buildings? A botanist should know.
I guess one would have to define horticulture to start with. The Oxford dictionaries say “the art or practice of garden cultivation and management” but Wikipedia “technically the science, technology, and business involved in intensive plant cultivation for human use.” Quite a different starting point, rather different implications, right?
Anyway, to cut a long story short, James basically replied to me that we need to “drag” horticulture in the 21st century because we need “cutting edge innovation” because young people want it and because that is really the UK heritage that we should follow.
I was rather confused by then. We need innovation, because that is what the UK heritage really means. And that is what the UK youth wants.
In his words:
@Botanygeek: @mpaola Want a copy of my original text outlining why flagging youth interest in UK hort is due to lack of innov & our nostalgia obsession?
and
@Botanygeek: @mpaola What we need is pioneering hort innovation. Ironically THAT is our heritage, not the Disneyfied rehashings of ‘heritage’ gardens.
Well, heritage or not heritage, I don’t think I would be too far off the mark saying that UK youth, like most youth in the world, does not like getting dirty, doing hard physical labour for a miserable pay, exposed not only to the weather but to an astonishing range of toxic chemical substances, that are apparently essential to the smooth running of the “industry”. Would that be fair enough?
But, you see, I go by the Oxford definition of horticulture (which I would slightly modify as “art, science and practice of cultivation”). James obviously goes for the Wikepedia one, and in the industry so defined there are indeed a few better paid, office jobs: TV show presenters like himself, magazine journalists and editors, architects and garden designer, high- and bio-tech engineers and researches of various kind, and – like in any other industry – plenty of managerial, marketing and sales roles.
Even by the Wikipedia definition, though, the article does not explain what it is meant by “pioneering/cutting edge innovation” and why we need it. And, in general, I have issues with the innovation argument.
Innovation is the normal state of life. Things change, improve and get worse all the time, in all areas.
The pursuit of innovation per se has no meaning, and does not add value to anything. A new thing is not necessarily good for being new, just as an old thing is not particularly good for being old. That is a wrong assumption in the (quite outdated) Western concept of progress, that assumes history is a linear progression towards improvement. But I once read a very simple statement that was rather mindblowing: when you are on the brink of a precipice, progress is taking a step back.
How does innovation make horticulture better for its purpose? First one would have to define the purpose of horticulture. The innovation argument assumes the self-perpetuation of the current industry is the purpose of horticulture, I guess. And the current industry implies some highly paid jobs for the services around horticulture, and rather miserable pay and conditions for the people that actually cultivate those plants, the people on whom all the industry is built.
Is that something you want to drag kids in with the illusion of some shiny and cool future?
I myself, with my strong motivation, and a good baggage of experience in my career, find those conditions hard to stomach.
Horticulture, well defined, is however a fantastic profession.
Plants are amazing: they have supported life on the planet since its inception (we owe the oxygen we breathe to them), they support and nourish us (as food and medicine), they are beautiful, a joy to work with and have a calming effect on moods. We still know very little about how they work: it teaches one humility, at the same time understanding them and being able to grow them is a continuous learning experience.
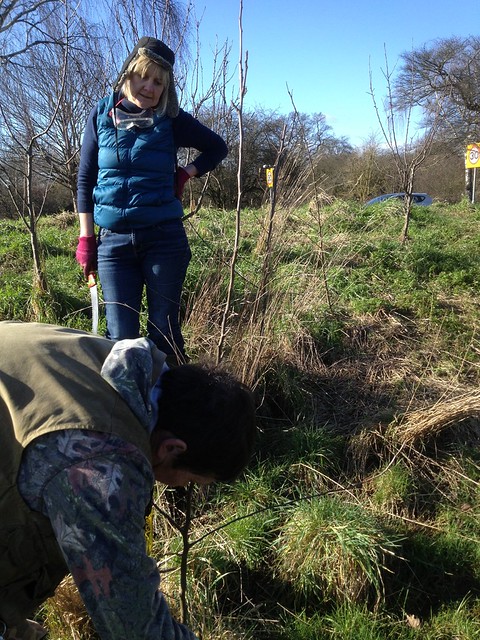
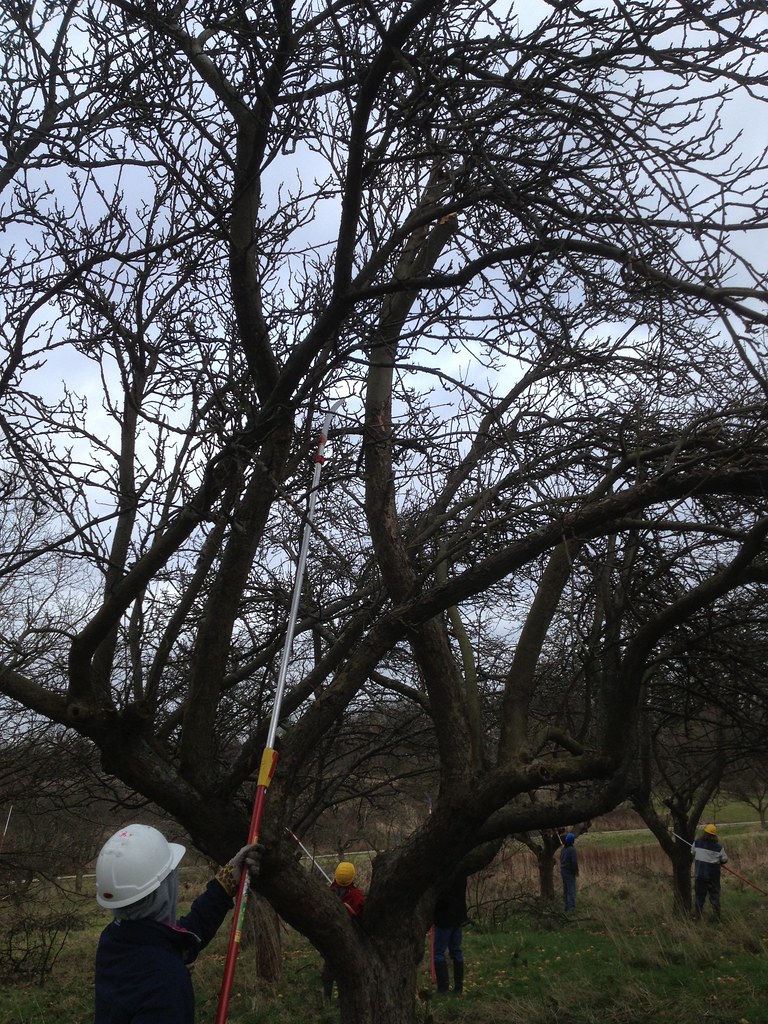
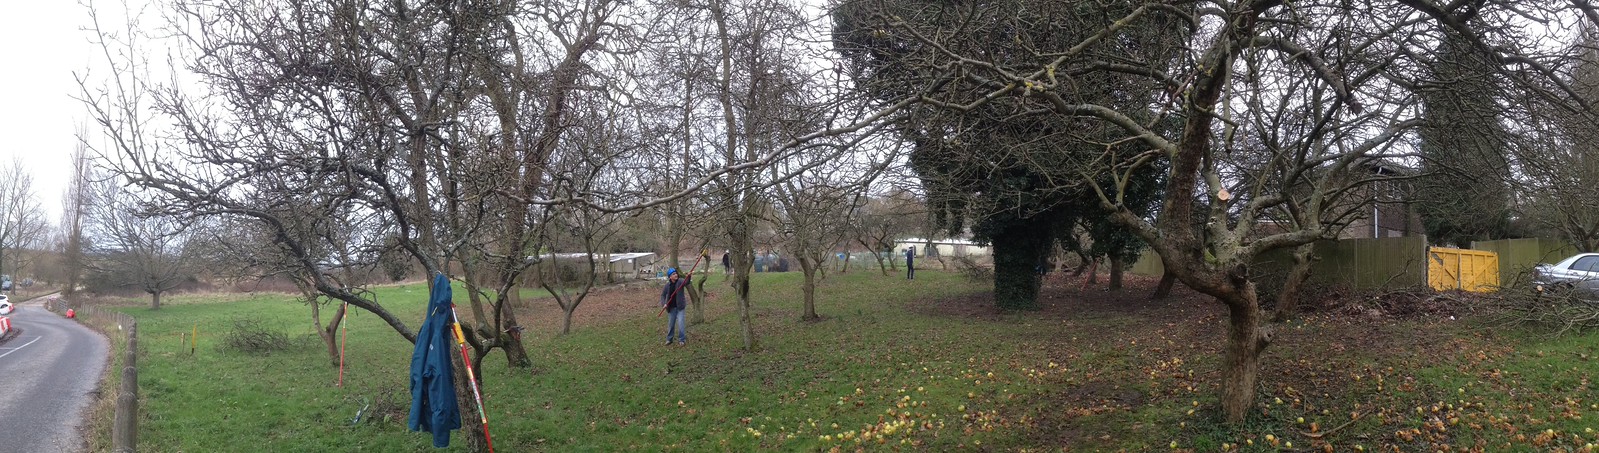
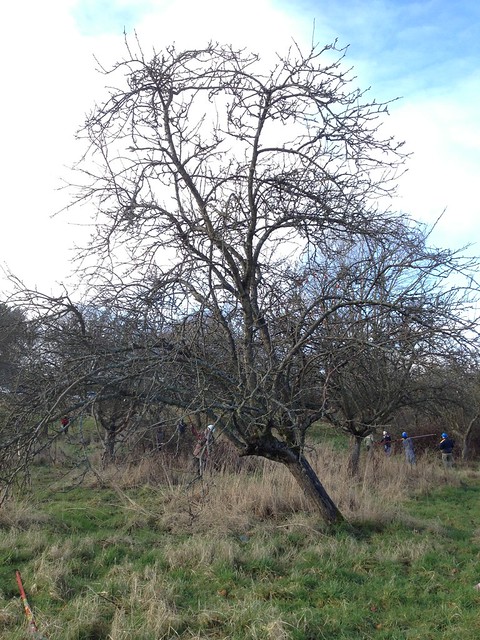
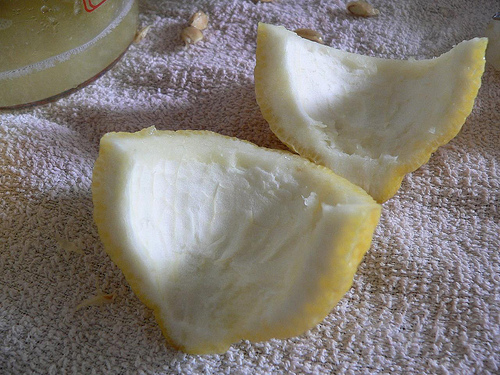
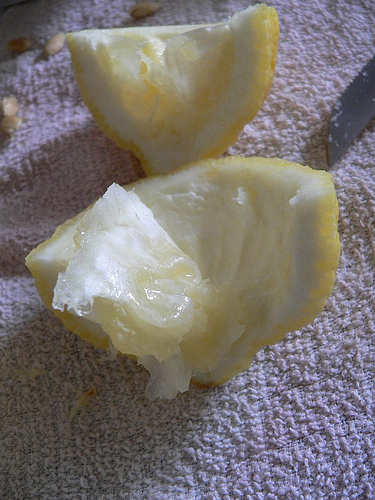
It is often frustrating: things do not always turn out as you would them too, for example the weather. But success is exhilarating. You can actually enjoy (smell, taste, touch) the fruits of your labour, and you have the bonus of getting fit in the process (I am not joking when I say that in 5 months I worked at Kew I lost 6 kg and my body turned so much leaner and muscular I felt great). But you get very tired, aching at times, cold and wet in bad weather, and hot and weak when the temperature goes up.
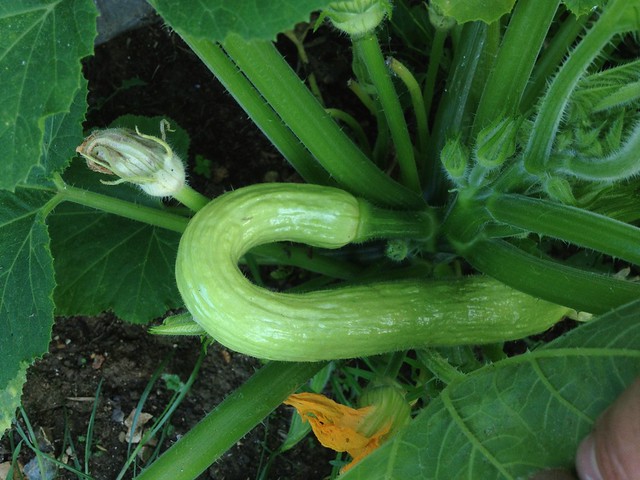
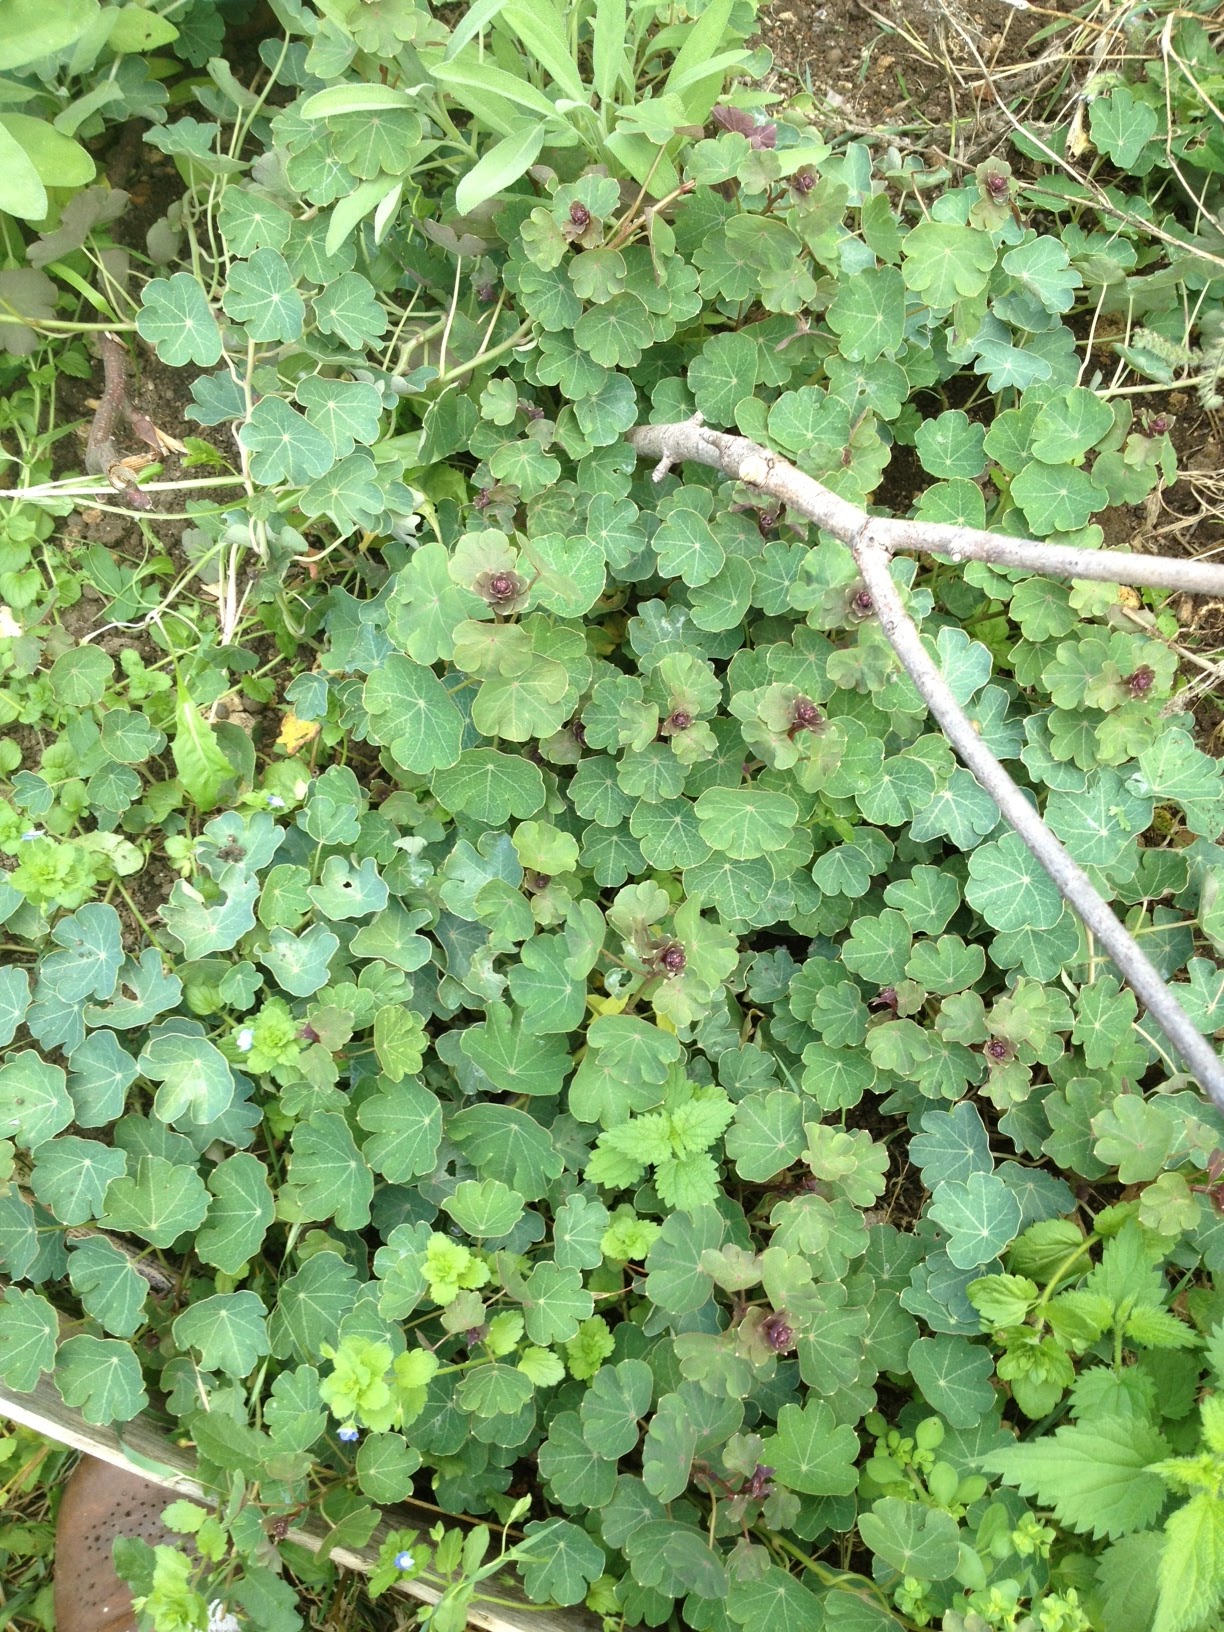
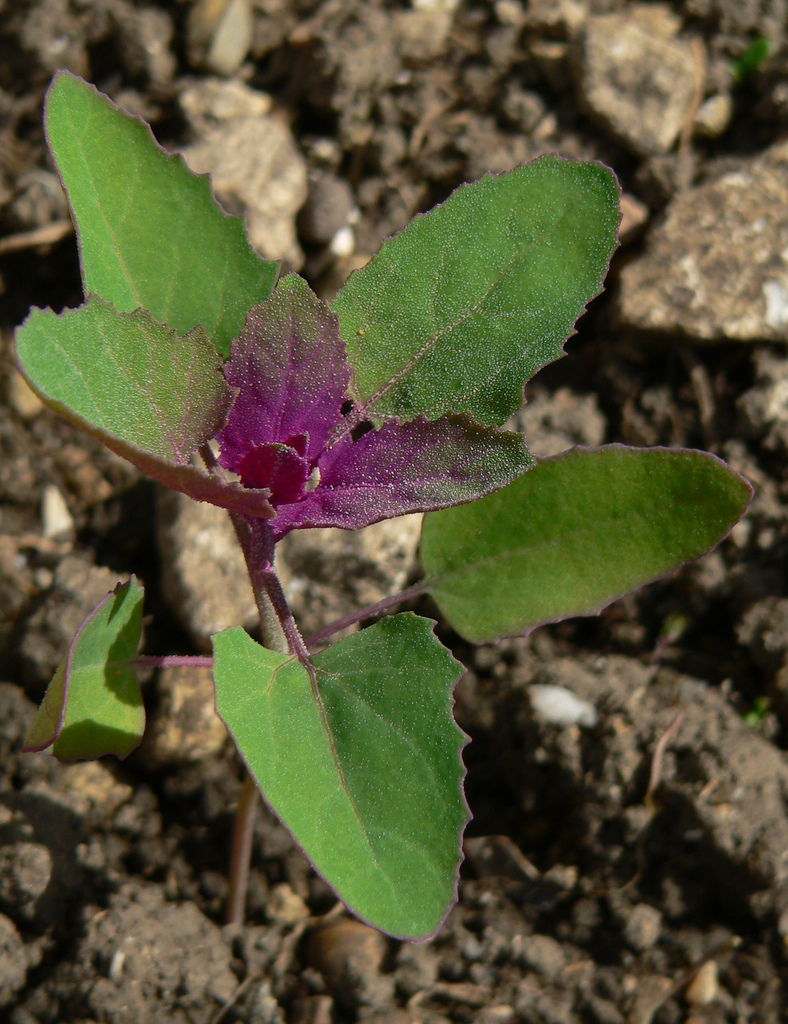
I am talking of essentially organic horticulture, where you do your own weeding by hand, where you bend your back to dig, where you look at plants close up and make an effort to understand how they fit in the environment they live in, how pollinators and pests affect them and why, and how you can facilitate the work of one and outsmart the other; how the soil does not just hold plants in but contributes to their growth, thanks to the complex interactions of the organisms that live in it. It’s a highly skilled job and not one that I see much of around.
What’s the skill in spraying to kill weeds and pests, keeping plants just alive in contexts where they would normally not survive, damaging one’s own health in the process? What’s the skill in the industrial replacing of one plant, as soon as it’s faded, with a new one straight from the production line?
From that point of view, James is right: we need to help horticulture out of the 20th century. Gardeners need better pay and healthier, more skilled jobs. Horticulture should contribute not only to feeding people, to their enjoyment and physical wellbeing, but to sustaining wildlife and the environment. Then kids might get more interested in a profession that has a worthwhile purpose. But it’s not by the innovation argument that that will be achieved, I think.