When I first came to Woerden I was very excited by the presence in town of an artisanal baker that uses organic flour.
At a time when it’s all too common for supermarkets to sell heated up frozen, partially pre-cooked industrial or semi-industrial dough, he is so ‘real’ that he doesn’t even have a proper shop, but sells from the workshop. He’s not open every day of the week either, but does make delicious bread, so we have been getting all our bread from him for the last six months.
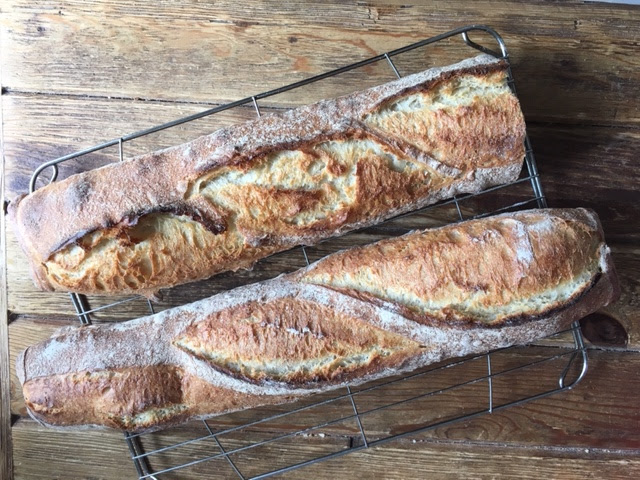 |
| Bread from this morning, still warm, but as you can see I couldn’t resist! |
My excitement at finding an artisan that you can actually see make the food, is shared by many. Considerably fewer, however, get excited at the thought of said local artisan using organic flour. Probably few have even noticed I said ‘a baker that uses organic flour’ and not an ‘organic baker’. And what is organic bread anyway?
Expectations and trust
As you go about buying food you have expectations: it must look good and be tasty. For most it has to be cheap, by which they mean affordable*. For some it must be nutritious and/or healthy. Especially if you have enough money to comfortably get by, you probably also want it to be good for the environment. And if you have ever had the time to consider the whole food chain, you likely want it to be fair and healthy for the people that made it for you… but that is too much worrying for most.
Your expectations sadly clash with the economic and survival interests of ALL in the food chain (i.e. insects and other pests) and supply chain (farmers, intermediaries, shopkeepers). It has always been like that. I am told my butcher grandfather had to sneak in the least pretty slices of meat unnoticed, otherwise they would not sell, something that was not affordable.
So my artisan baker meets my criteria: look and taste. He meets the criteria: local (good for the environment) and non-industrial (more nutritious and healthy). I can see all that with my eyes.
Bread has been known to be bulked out with chalk to make it cheaper: that is not something one could see with their own eyes; I take price, and my personal relationship with the baker, as a proxy of quality, so I assume that he doesn’t use chalk. I have no guarantee, but I do trust him with that.
Also, in this particular workshop I have seen the sacks of certified organic flour that I trust they use, after having checked. That definitely meets my expectation for healthy food.
I do not really know anything of how the flour got there: I assume that it was grown in a lush field, milled in a postcard-pretty mill (this is the country of pretty mills, right?) by a lovely miller with his stone, and packed hygienically, then shipped safely.
I assume the sacks contain what they say on the label, but I have no guarantee… or do I?
The only way to make sure you know what you get, when the food chain is longer, is to have legally binding definitions and standards.
Legally binding standards
Agricultural and food standards, issued by governments, require growers and producers to follow certain health and safety practices in the growing and processing of food, and to avoid certain ingredients and additives that are known to be poisonous or dangerous.
They cover:
- growing practices and chemical products used in the fields and to raise animals for meat
- processing practices from field to shop (slaughtering, preserving including additives, packaging, transporting)
- shop hygiene
Every government tends to have their own different standards, except in the EU, where the 28 countries agreed on shared standards to be formalised as European regulation and directives and translated into national law. The EU food standards on what can go into food and food production have been notoriously stricter than, for example, the US standards. They have traditionally been based on what we call the precautionary principle: if a product or practice is not (reasonably) proven to be safe, then better be safe than sorry**.
We generally trust the standards chosen by our own government and upheld by our own people. In Italy people are very proud of their food tradition, in the UK people bang on about having the highest standard in all of Europe – yes, there is nothing to prevent a state in the EU to have better standards than the ones agreed by the 28 states, the law is only meant to set the minimum necessary!
Government standards, however, regulate only what is known to be poisonous or dangerous. Scientifically proven to be poisonous or dangerous*** that is. But science evolves all the time, and what was fine yesterday is found to be dangerous today. There are enormous pressures from economic interests on food standards (as you can imagine) and spot-checks are not as frequent as one might wish, even if they do work, as proven by food ‘scandals’ ****.
But what happens with those substances or processes that are not yet scientifically proven to be poisonous or dangerous, but may well be found to be so in the future, and are suspected based on precedents?
The ‘organic’ certifications worldwide have tried to go further than government standards and address the issue of the use of chemicals in the fields, antibiotics in meat production and additives and processing aids in the food supply chain. They uphold minimum use of external and chemical inputs in farming and food production, and require that any new inputs need to be carefully tested before finding their way into the food chain.
The different certification bodies (possibly more than one per country or region and officially vetted by governments) have set their standards and they do keep a certain amount of control on the producers, including through spot checks^. Therefore, organic producers follow tighter rules and have a double chance of checks: the government’s and the certification authority’s.
It’s not a perfect system, but it’s better than nothing. Of course there are higher costs involved^^ and not all certifications are equally strict: it’s as I mentioned before, a matter of whom you trust (the most).
As we are all human, I am very conscious that farmers (even the organic ones) can and DO break the rules, as their objective is to keep the crops alive and well so that they can sell them and make a living. So do the other players in the food chain, like processors. They might get caught of course, but they might well be fine.
Again, it’s down to trust, and I trust two chances of controls better than one.
Certified organic flour
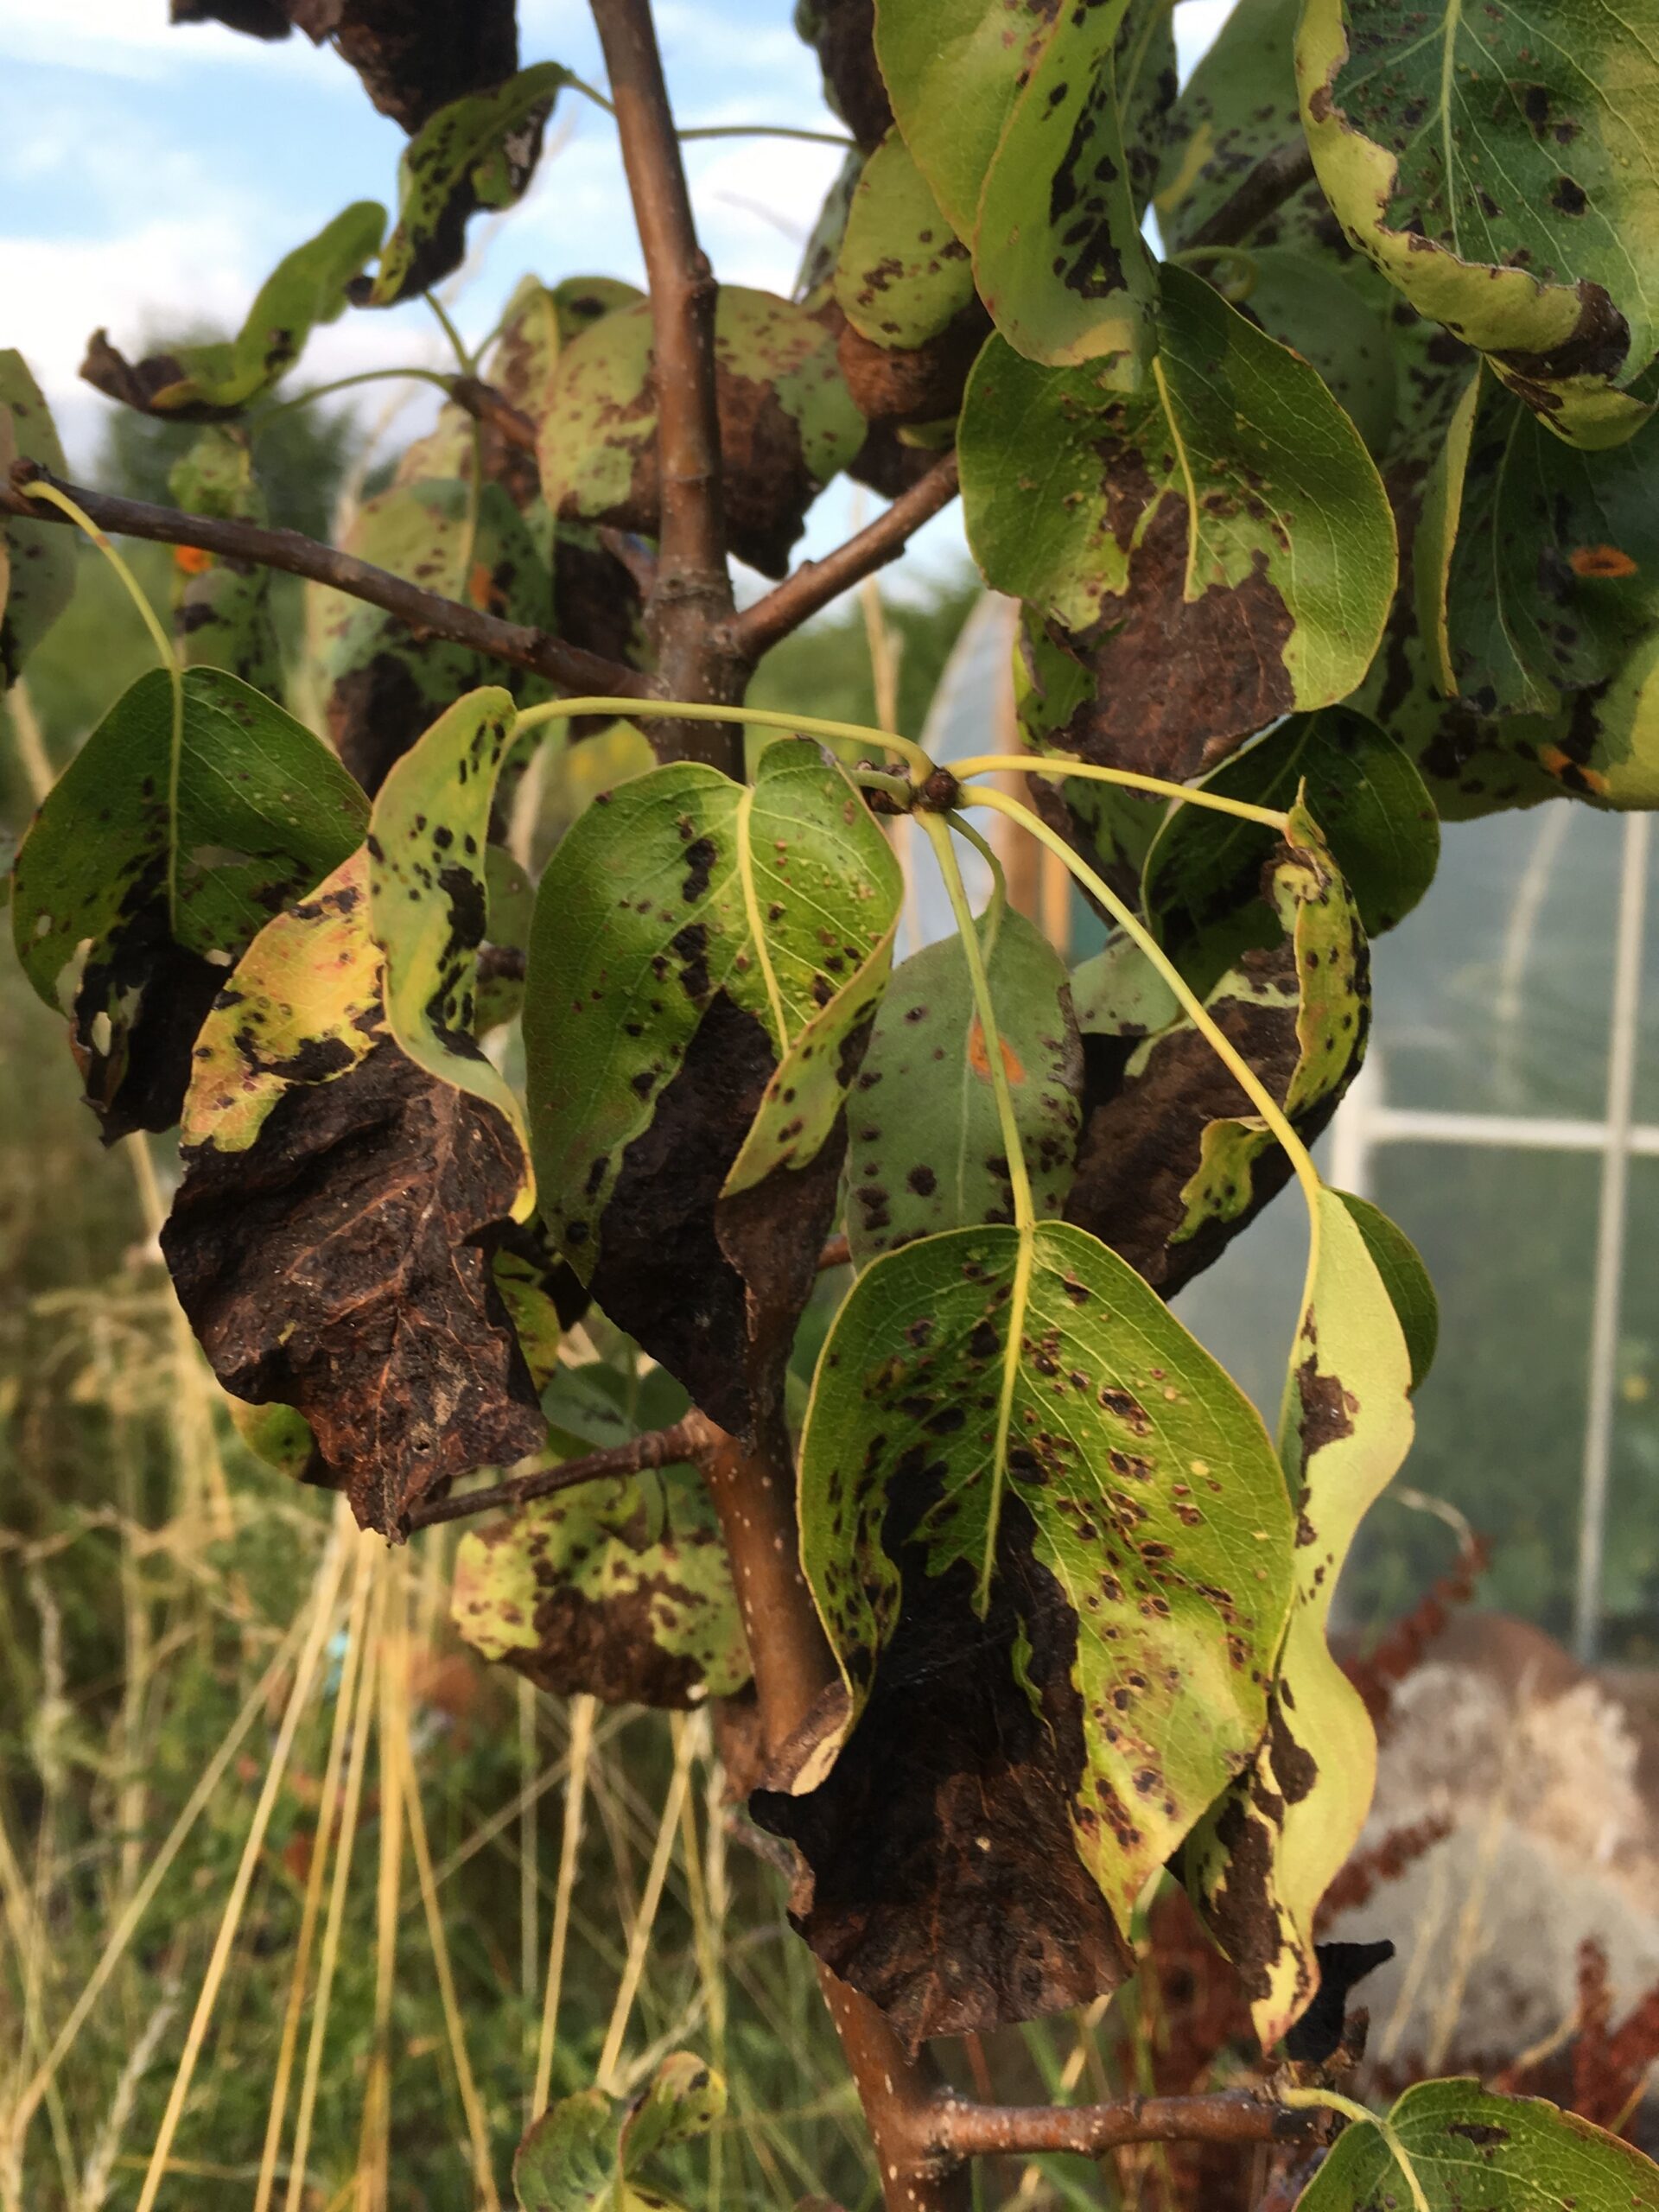
My expectation of the flour in those bags is that fewer additives were used during processing, than it would in non-organic flour, and that for the cereals that went into the flour stricter standards (depending on the certification type) were applied on chemical use in the field. Most essentially: no glyphosate.
In fact, nowadays, the great part of non-organic grains are desiccated before harvest with herbicide in order to make the harvesting process easier (especially in countries where the weather is not so sunny as dry stuff sticks to the machinery less than wet stuff). Most often this is glyphosate, a product that is absorbed by the plant (so-called translocated action) and has therefore a high chance of ending up in the flour.
I still have too little vocabulary to research in great detail the use of glyphosate in the Netherlands. but the rates of wheat spraying came out in the Volkskrant the other day: 1.7 kg pesticides per hectare (0.17 g per sqm) on average^^^.
Local flour
I did go on a bit, didn’t I? The fact is that in the last few weeks some new bags of flour have started to appear in my lovely baker’s workshop. They are from the local mill, and they are not certified organic.
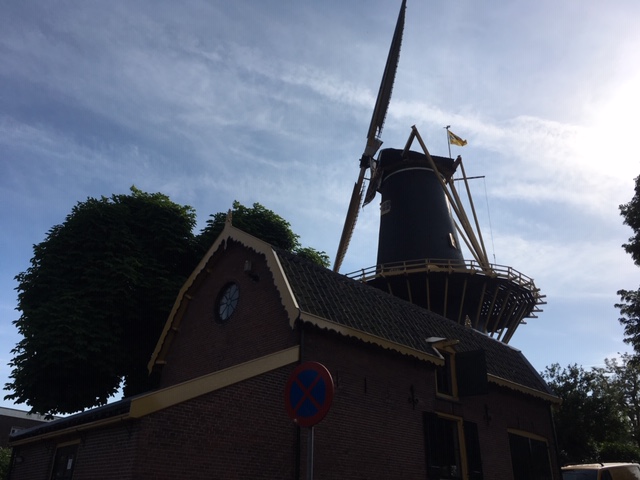 |
| Molen de Windhond, Woerden -1755
|
Provenance is an issue that is often conflated with the health and sustainability of the product. We often assume that if we buy local flour it will be by local, small farmers, which are assumed to produce wholesome food.
However, the grains that are milled locally could well be imported, as there is no rule about local flour being from local farmers! In fact,
there is no rule to define what ‘local’ means^^^^, it is just left to our own interpretation. Besides, even if it the grains were from local farmers, there is no guarantee whatsoever that a local, small(ish) farmer does not use ‘industrial’ farming practices, including the use of pesticides.
Unless it is certified organic, therefore, I would have to check with the miller (who would have to check with the farmer) whether pesticides have been used in the production and processing of the wheat, and then trust them to tell me the truth, and to be consistent over time in their sourcing criteria.
Between the baker and myself
As my baker is not certified organic there are no double checks on the ingredients and the processes he uses: he is bound only by the government’s food standards. While he has chosen to use organic flour, at any time he might well switch to the local mill’s if he wished so, something that might even make the proudest of localists happier!
But, for me, that means I’ll have to ask the question: am I still protected from glyphosate (and other pesticides) in the flour? Having lived in Britain (too long) I don’t like to make a fuss, and with my little mastery of Dutch it is really a pain to talk about complex topics, so I’m rather hating this new development!
* ‘cheap’ is a tricky concept that I may one day talk about
** this is at risk of changing under heavy corporate pressure, and I may write more about it
*** even though they may rely on self-certification by for example the chemical companies themselves on the safety of their own products for a range of complex reasons
**** for example the UK ‘horse meat scandal’ when horse meat was found in processed food that was supposed to be containing beef or pork. And yes, ‘scandals’ are proof that rules are upheld, even though people tend to interpret them as failure of the standards
^ this is very similar to the ‘fairtrade’ certifications, which have made efforts to make the food supply chain fairer by setting stricter standards of fairness than those implemented by local governments, and set checks in place to verify that they are upheld. Fairtrade certifications however are voluntary schemes and not vetted by governments, as far as I’m aware
^^ it is more difficult to produce organically because you need non-standard technologies and possibly more manual labour to replace the use of chemicals. Furthermore you pay yourself to be certified, as it is deemed to be a competitive advantage, so the onus is on you
^^^ which might seem little, but it is chemicals we are talking about, also, chemicals are poisonous to different degrees and they do not always behave as expected: some hormone-disrupting chemicals are thought to be more dangerous in small quantities than in large ones (low-dose effects)
^^^^ this is of course a problem, one small aspect of which the EU countries together have addressed by regulating on the ‘protected designation of origin‘. The EU is also trying to encourage local supply chains, for example there is a market in my town with local producers that gets EU funding. I buy from the certified organic veg market stall, but they do import veg that are not available locally, even though I can trust them to choose their suppliers more carefully that, say, a supermarket
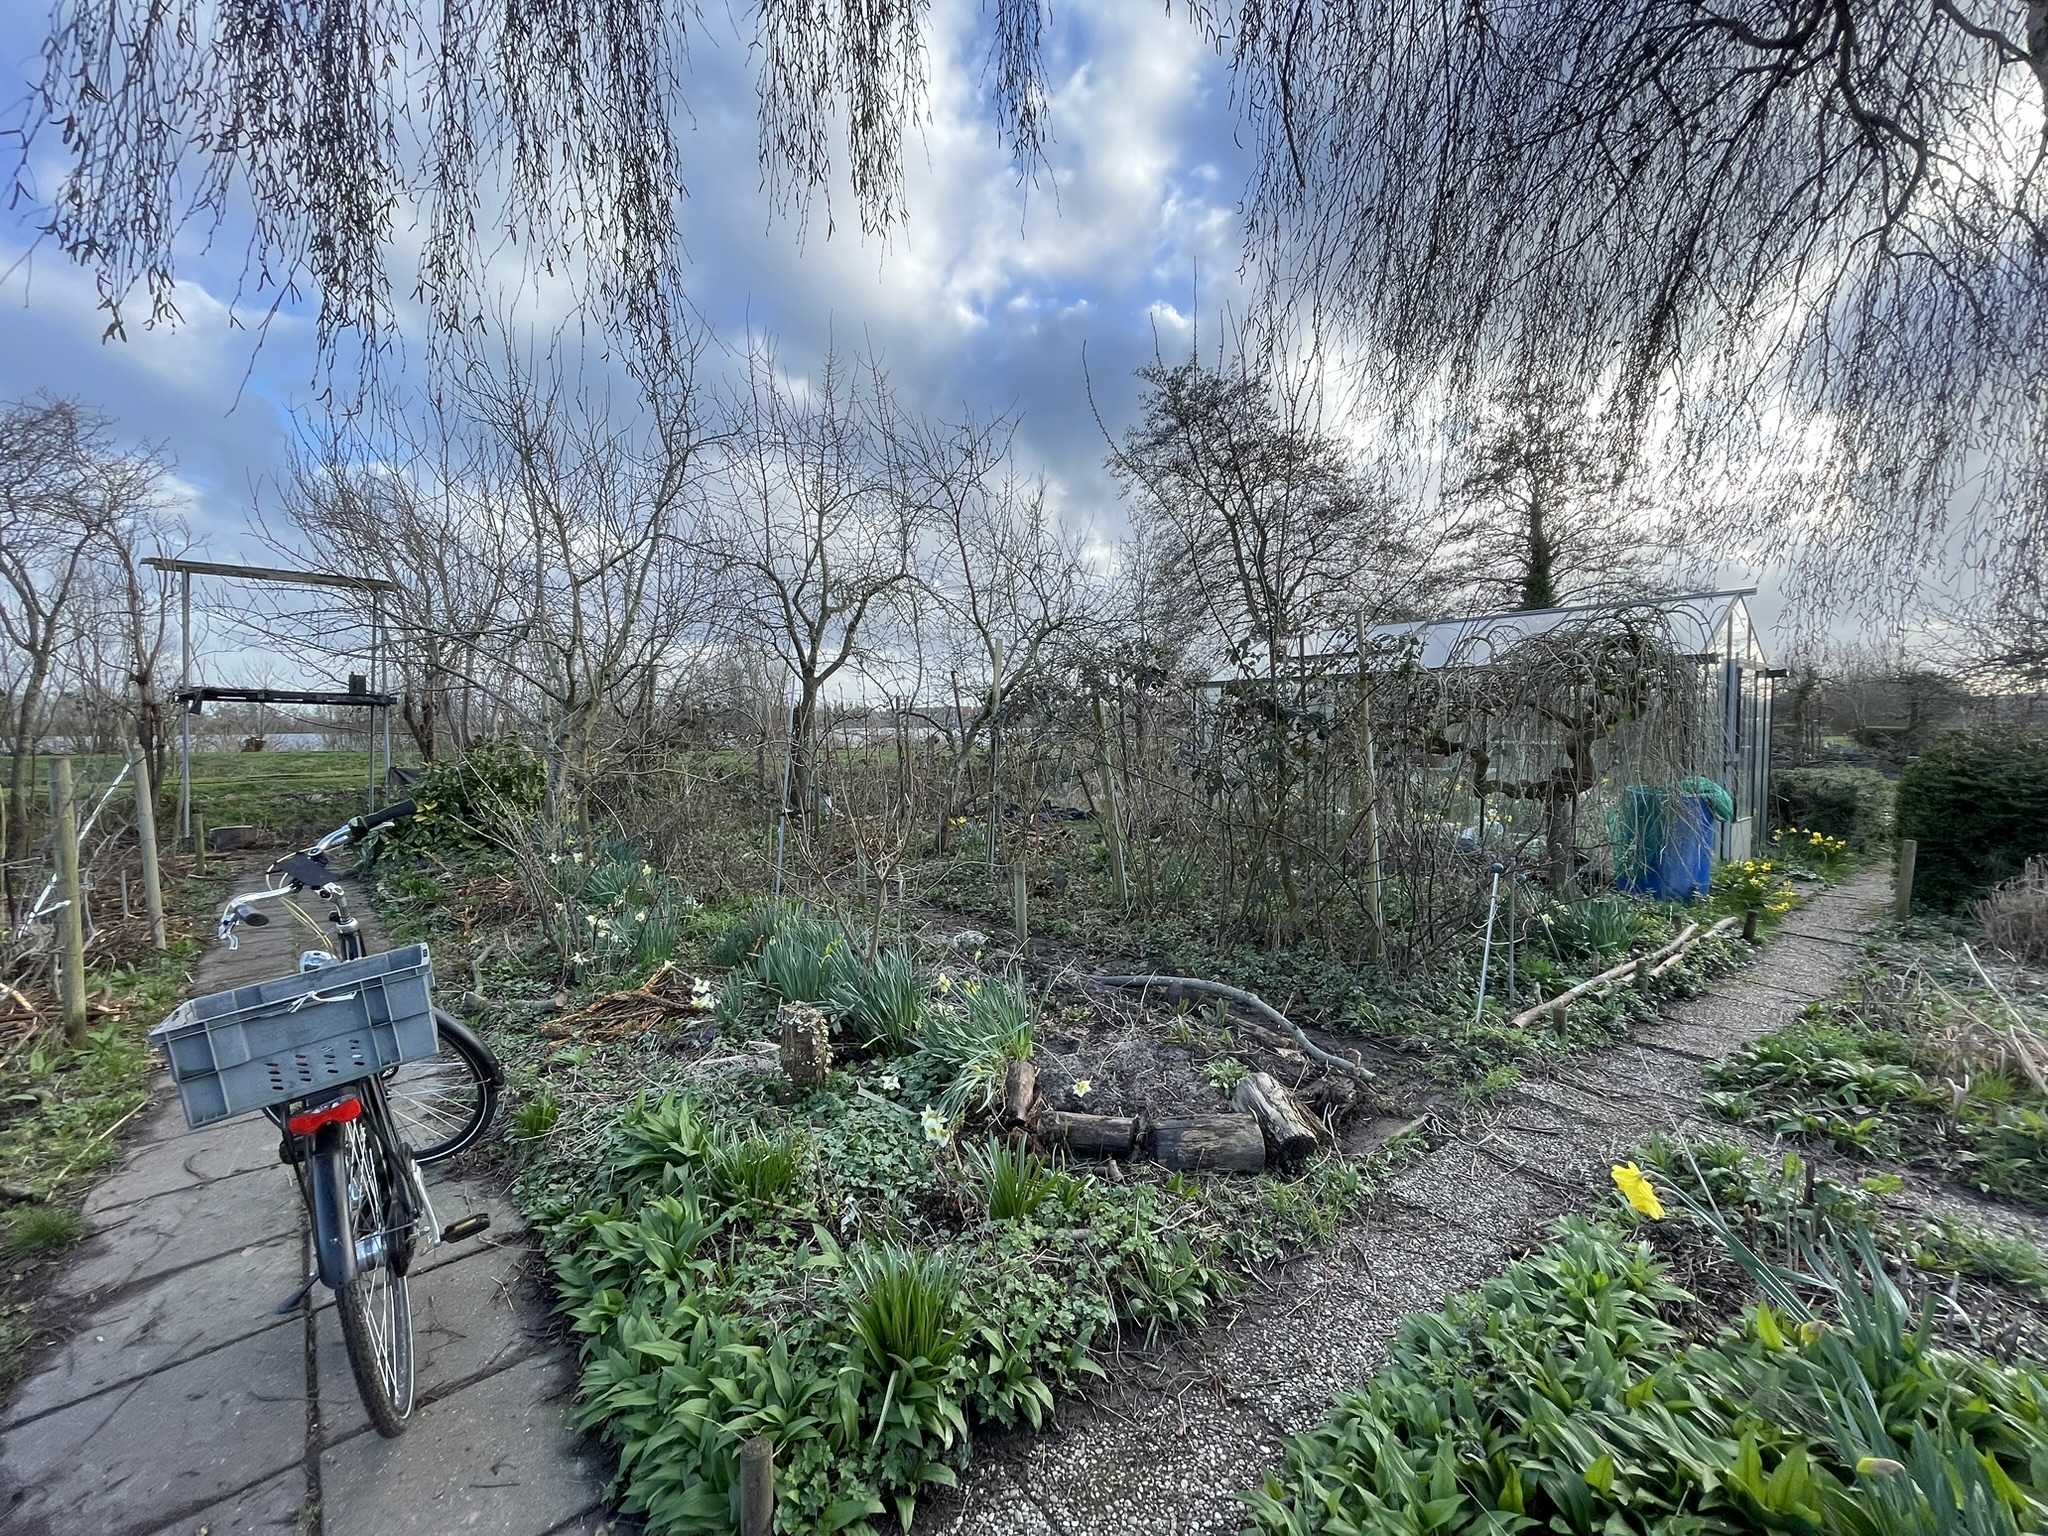
It is over a year since my last post and l’Orto di Casa Cecconi has a new home, in the Netherlands. A rather beautiful, large patch of land adjacent to a nature reserve and lake, it came with a big shed, more of a house really… The space is divided in two parts: a mature, ornamental garden with pond (siertuin in Dutch), and a vegetable patch (moestuin in Dutch) with sizeable glasshouse.
I am meeting new people and observing new methods of gardening and still discovering all the marvellous plants, meant or not meant to be there… which leads me to today’s post.
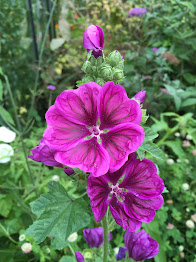
People here don’t seem so obsessed about weeds, road verges are quite colourful, and this is the time of dandelions and escaped rapeseed, so it’s gold everywhere! However, having a walk on the plot the other day, someone saw a beautiful dandelion plant on my plot and pointed out that an allotment site is no place for such a prolific weed.
That really threw me. It’s 2019: the insect population is collapsing, climate change is already affecting our gardens (it is so dry even here where water covers 18% of the land) and people really think that bare ground is better than leaving weeds in, and that it is a good idea to exterminate every wildflower in sight? Apparently yes, habits die hard, ‘supremacist’ horticultural beliefs as well (as in: man is superior to the rest of nature and must keep it under control).
Have we ever managed to exterminate weeds by our actions? Luckily not. So why do we keep creating more (mostly pointless) work for ourselves by trying to keep them at bay, would it not be better to learn how to live with (at least some of) them?
Dandelions are really pretty flowers, objectively speaking, and not a noxious weed by the definition:
A noxious weed, harmful weed or injurious weed is a weed that has been designated by an agricultural authority as one that is injurious to agricultural or horticultural crops, natural habitats or ecosystems, or humans or livestock
they are easily pulled out and have no spreading rhizomes, they do not overwhelm plants in the way bindweed does. Like all plants with a long tap root, they are effective at pulling up nutrients from the lower layers of the soil, and bringing them up to the surface… so good for the compost heap!
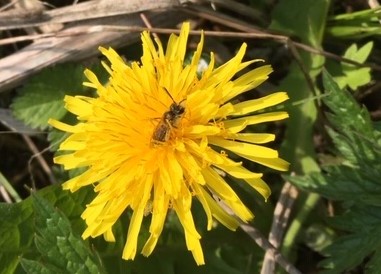 |
| Wild bee |
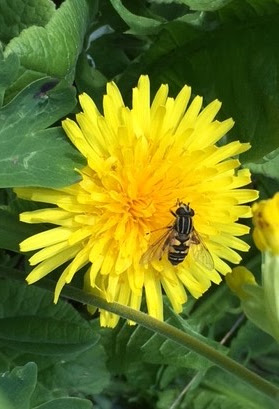 |
| Hoverfly |
Do I have to say that pollinators love them? I have proof: there is a wild bee (the pollinators that are worst off at the moment) and an hoverfly – do you know their larvae decimate aphids? Definitely friends to nurture on a plot. Dandelions emerge rather early in the spring, at the same time as the first bees, and can therefore be a lifesaver at a time when little else may be available for them to eat.
I read that goldfinches and house sparrows do eat the seeds of dandelion, but who knows how many other insects and organisms rely on Taraxacum in their foodchain? Surely there are beetles and nobody ever thinks of the soil organisms that keep our soil healthy, for which root exudates are an essential source of nutrition.
Sadly, I could not find a handy list of the Taraxacum foodchain.
But I am a believer in the fact that we have to start thinking of ‘weeds’ in the context of the ecosystem they support, not just as our personal enemies. For example, over the years I have heard people lament the absence of butterflies, but not one of them has even hesitated when pulling out nettles, the main food source for at least two of the most favourite butterflies’ caterpillars: red admiral (Vanessa atalanta) and peacock (Aglais io)! No caterpillars = no butterflies, right?
Back to the humble dandelion, another reason why it does not make sense to say it is a plant that does not belong in an allotment is that all parts of the plant are edible, palatable even, and in fact I wrote a post about that a few years ago
Dandelion (Taraxacum officinale)
about my experiments with baking pie with the leaves, as a substitute for chicory catalogna. A couple of years ago I also had a go at deep-fried flowerheads in a batter: such a dense, umami taste I was not expecting! I even tried the roots, boiled as you would radici amare di Soncino – those were a bit fiddly to peel but I enjoyed the bitter taste with a drizzle of olive oil and white wine vinegar.
It is real, I’m not the only crazy person that eats dandelions, there are cultivars, someone bred them! For example Aster Lane Edibles*.
Blooming weeds indeed!
* link broken, apologies. Fabulous Telsing, the owner of Aster Lane, decided for a more urban lifestyle for her family and went into maths
While I did do some field grafting and budding at Wisley, I had never done any bench grafting. The opportunity to practise, however has come now, as I am studying to complete my RHS level 3 Diploma in the Principles and Practices of Horticulture, and grafting is an examinable skill.
Grafting is mainly done at the earliest time of spring, just before bud break, and in the late summer, when new wood has had time to ripen stiff enough.
In order to prepare us for the July test of budding and side veneer grafting, we got some training in whip and tongue, which is based on the same basic cut.
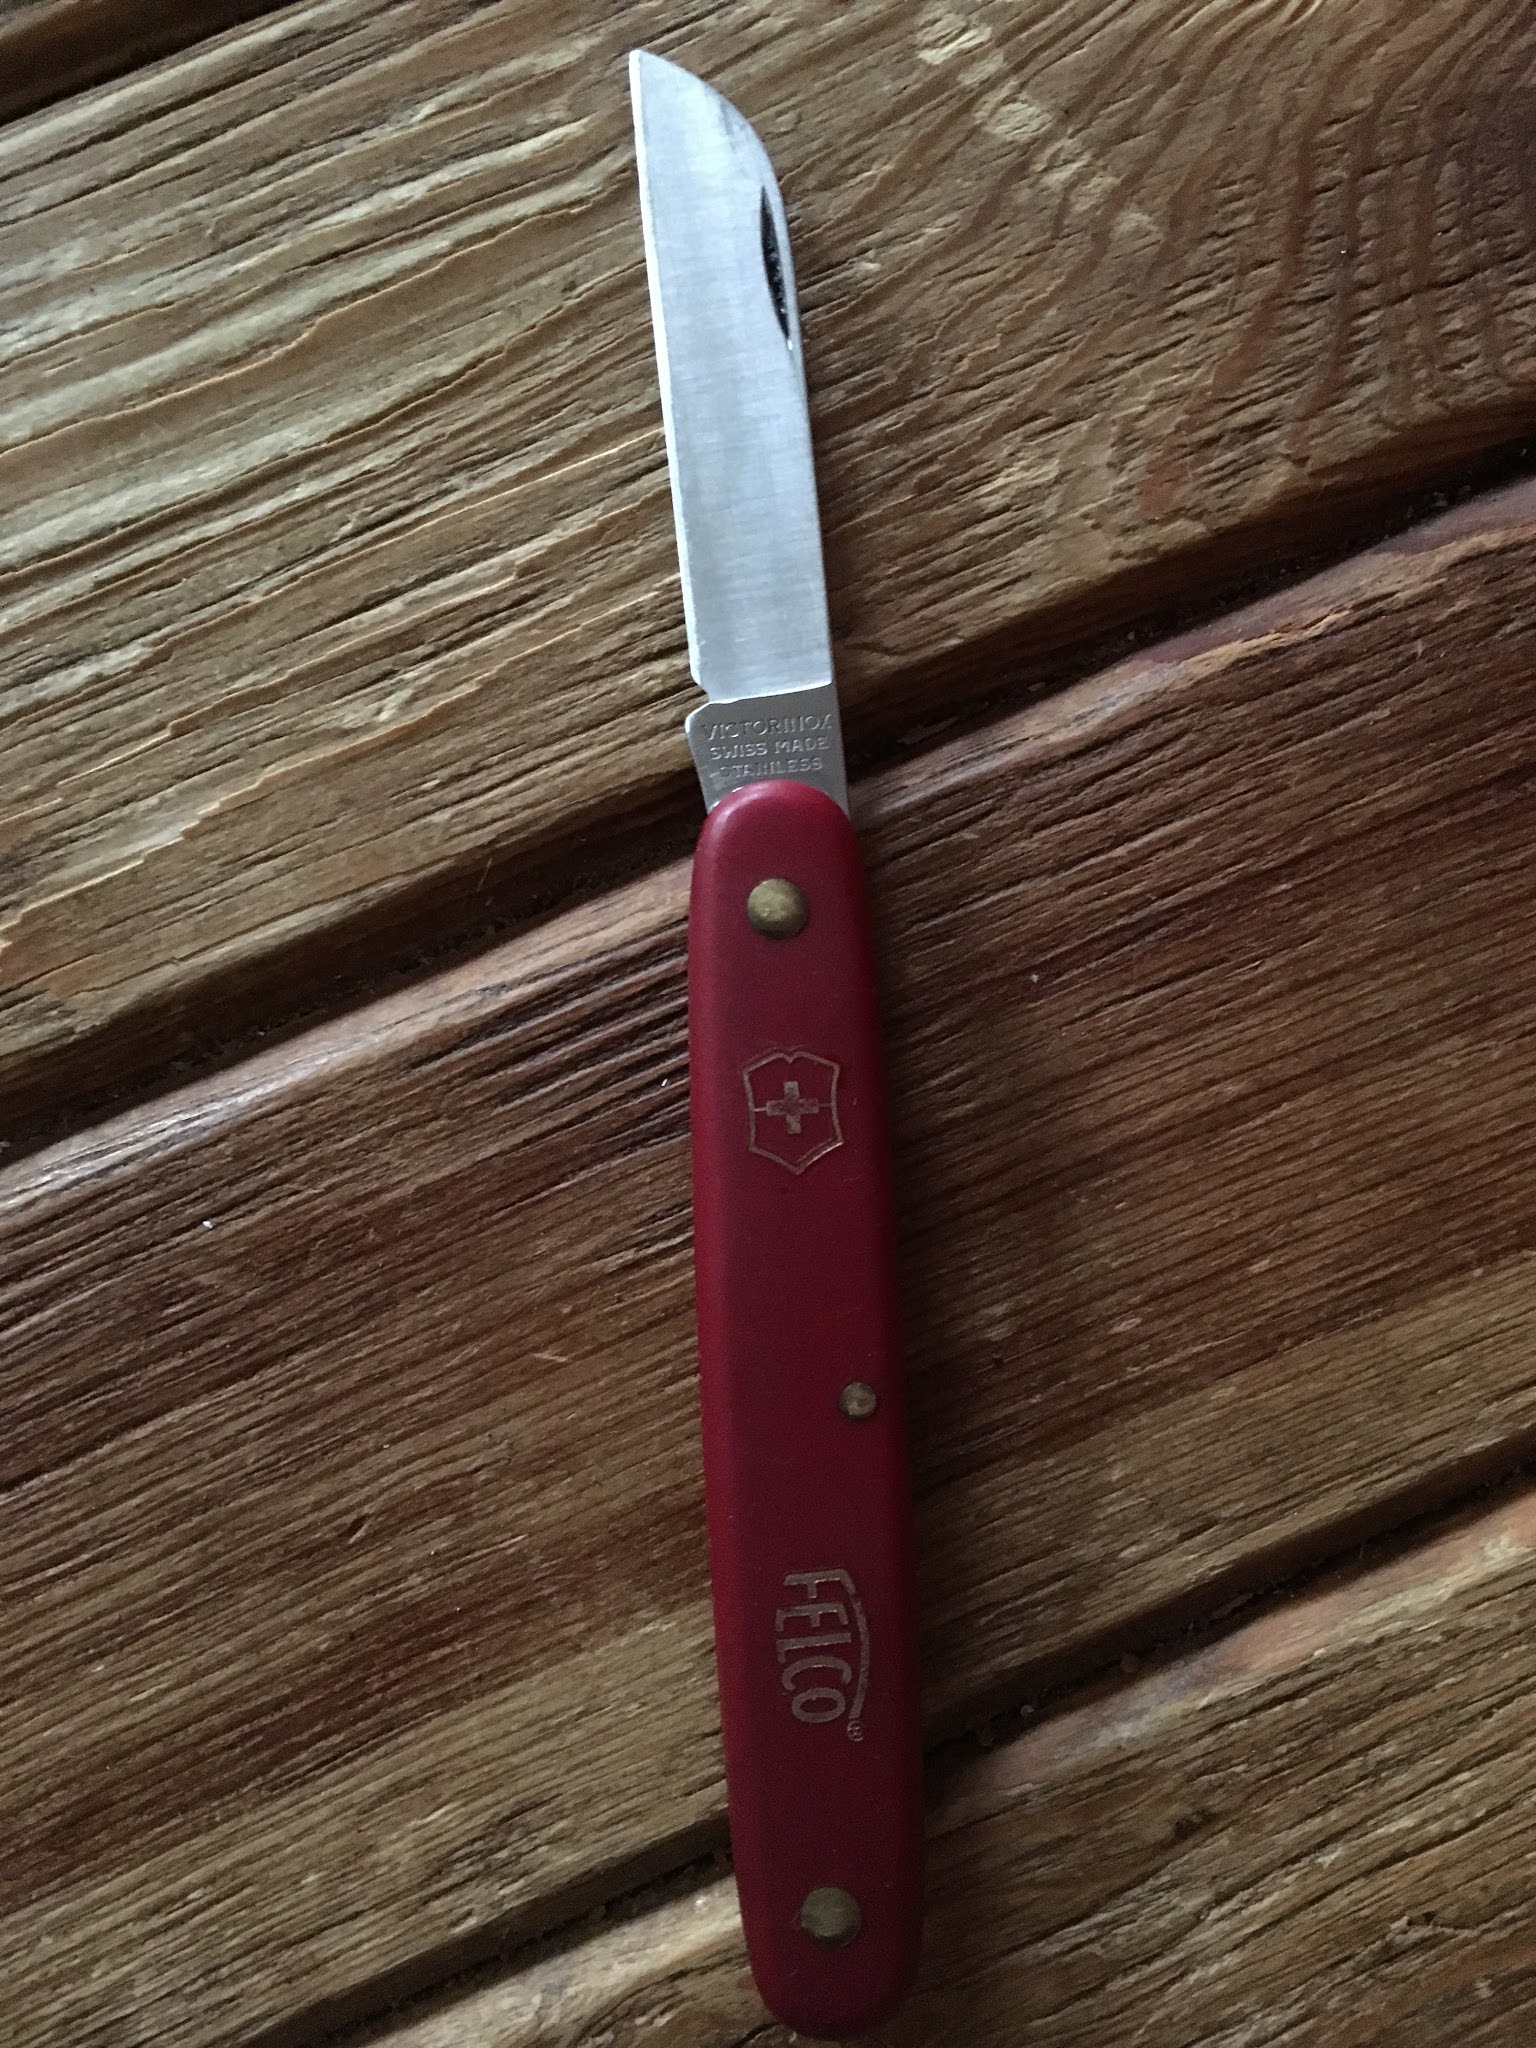
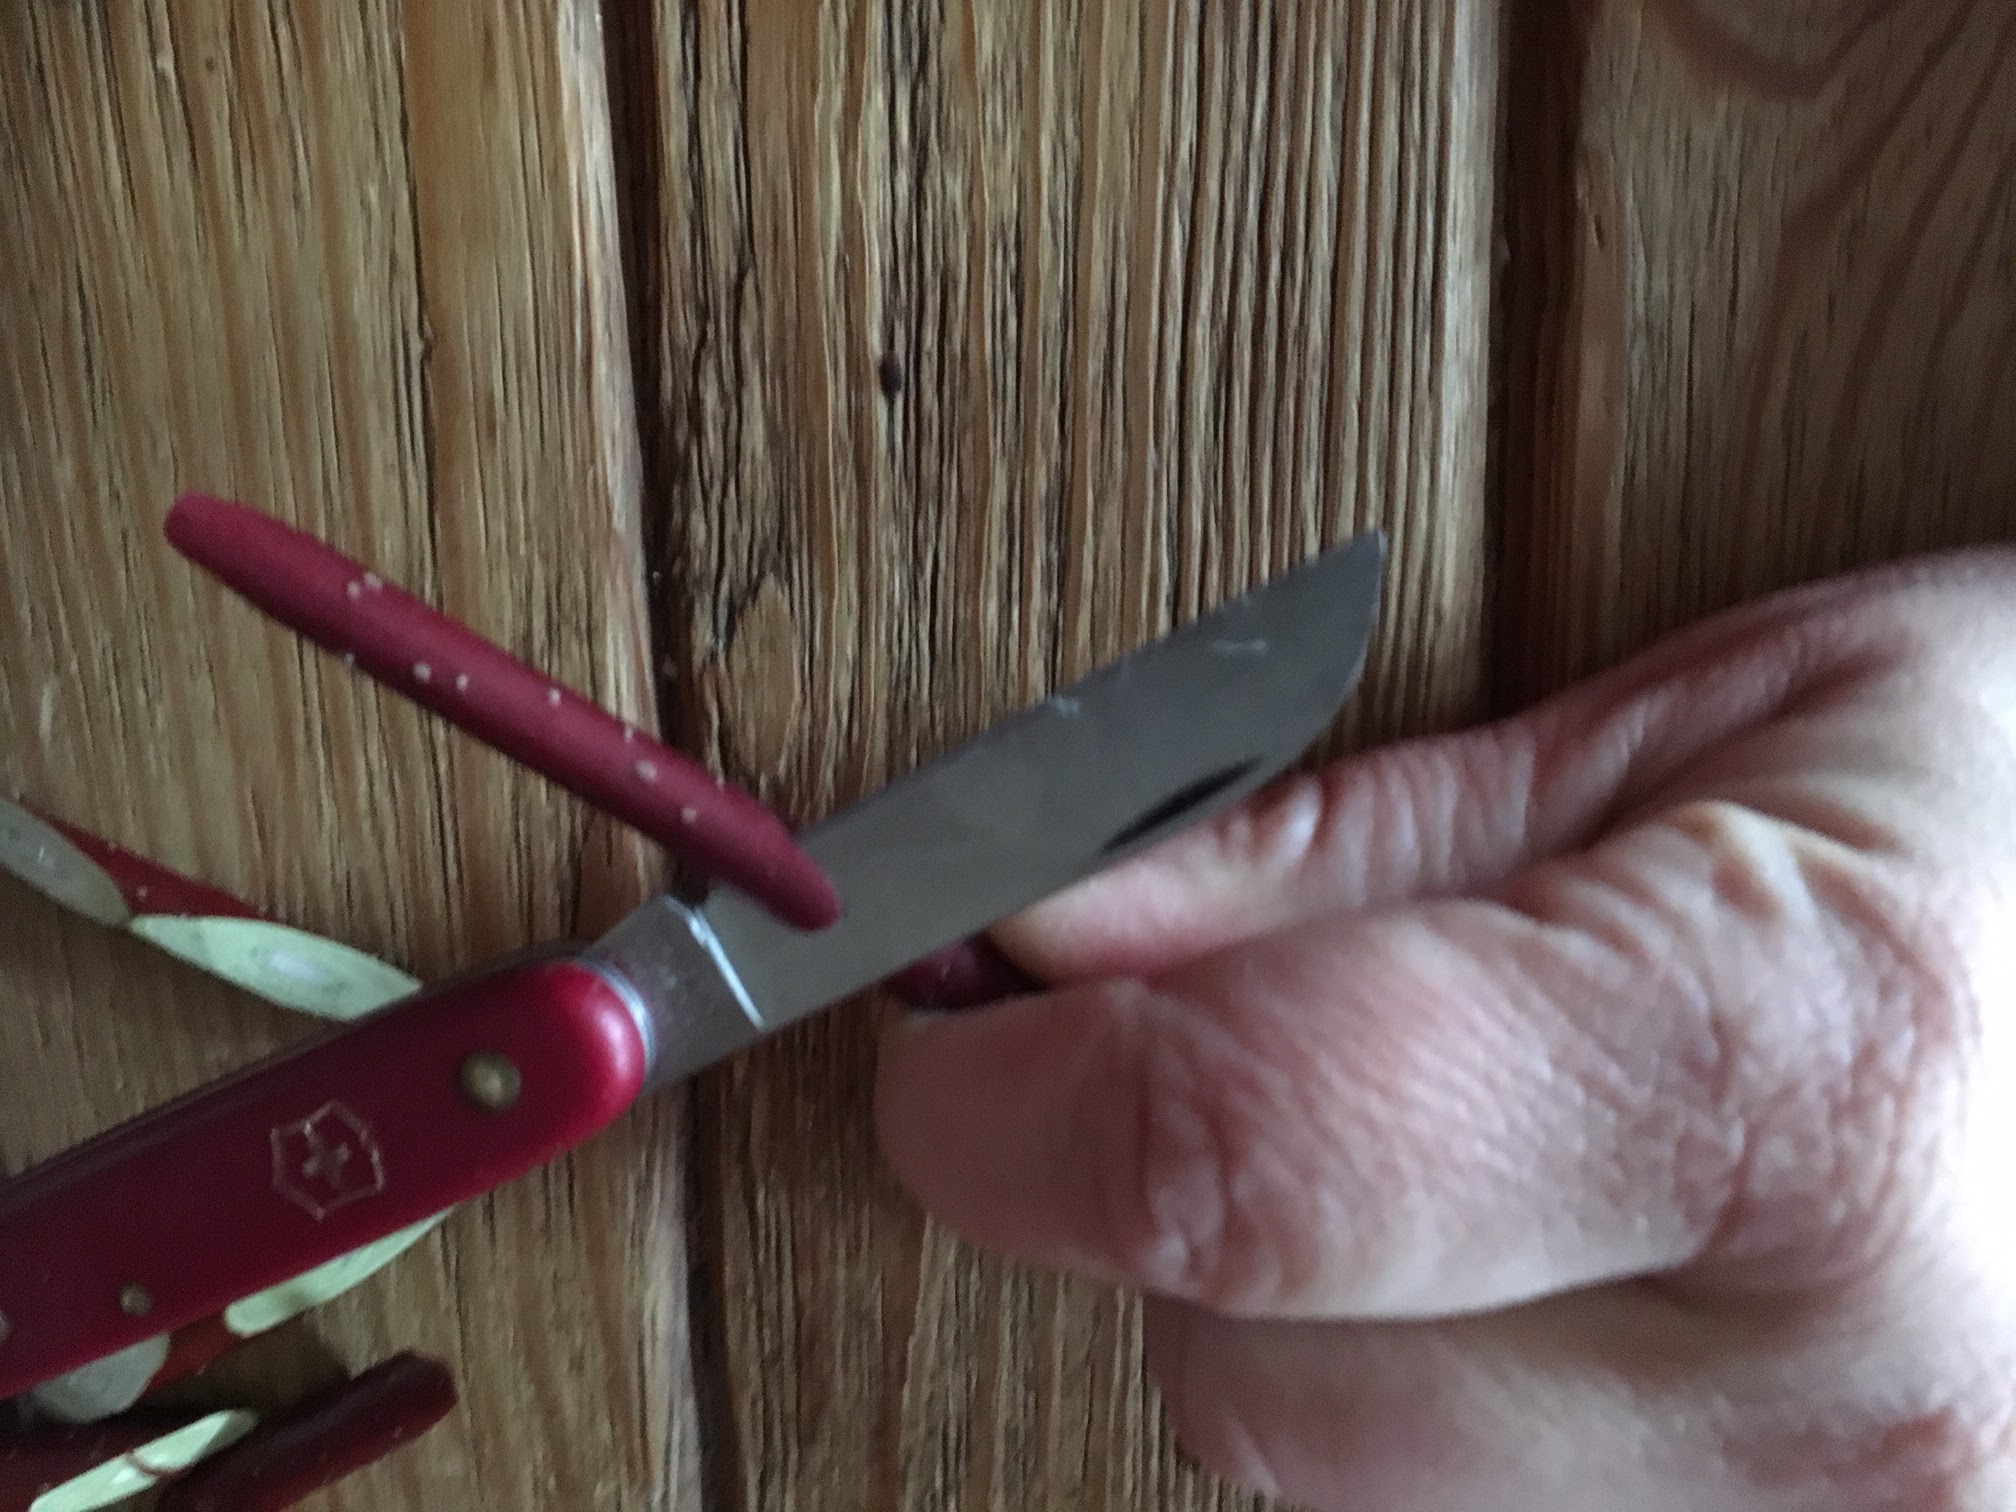
The most important requirement for grafting is a sharp knife, without which you have no control of the cut. To sharpen the knife you need a water or oil stone. I have an Arkansas oil stone that is just wide enough. After oiling the stone, you have to place the blade whole on the stone, finding the original sharpening angle of the bevel. You only sharpen the bevelled side of the blade, and you have to get the angle right, or you won’t get it sharp.
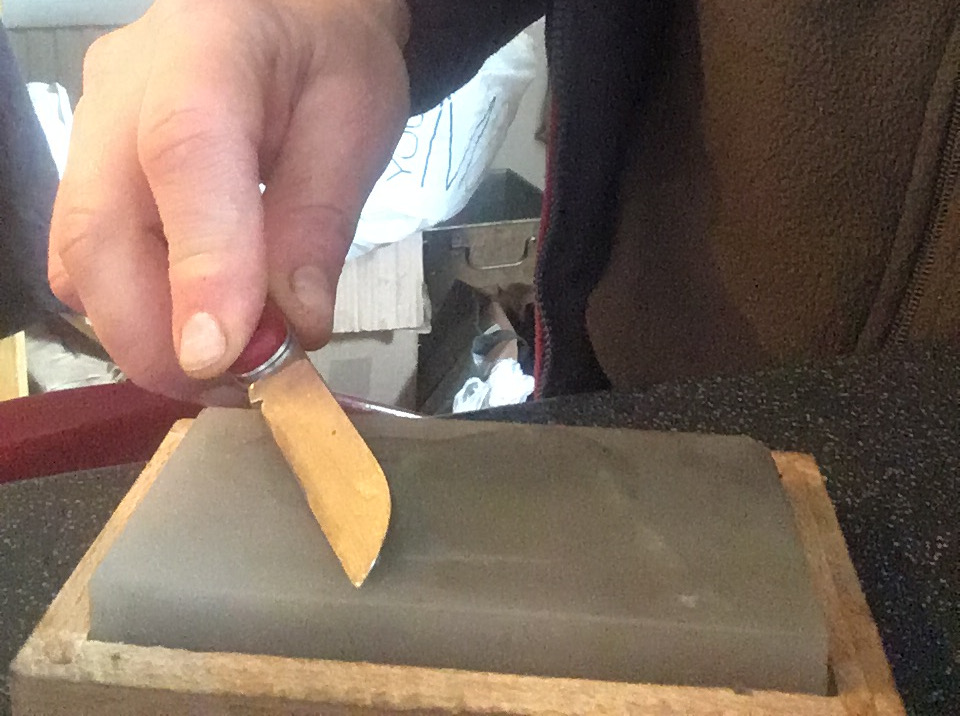 |
Finding the sharpening angle
on the bevelled side |
Once you settle on the right angle, place the other hand on the tip of the blade and pull towards you, with a steady motion. Then you start again, repeating for five/six times. It has to be shave-proof!
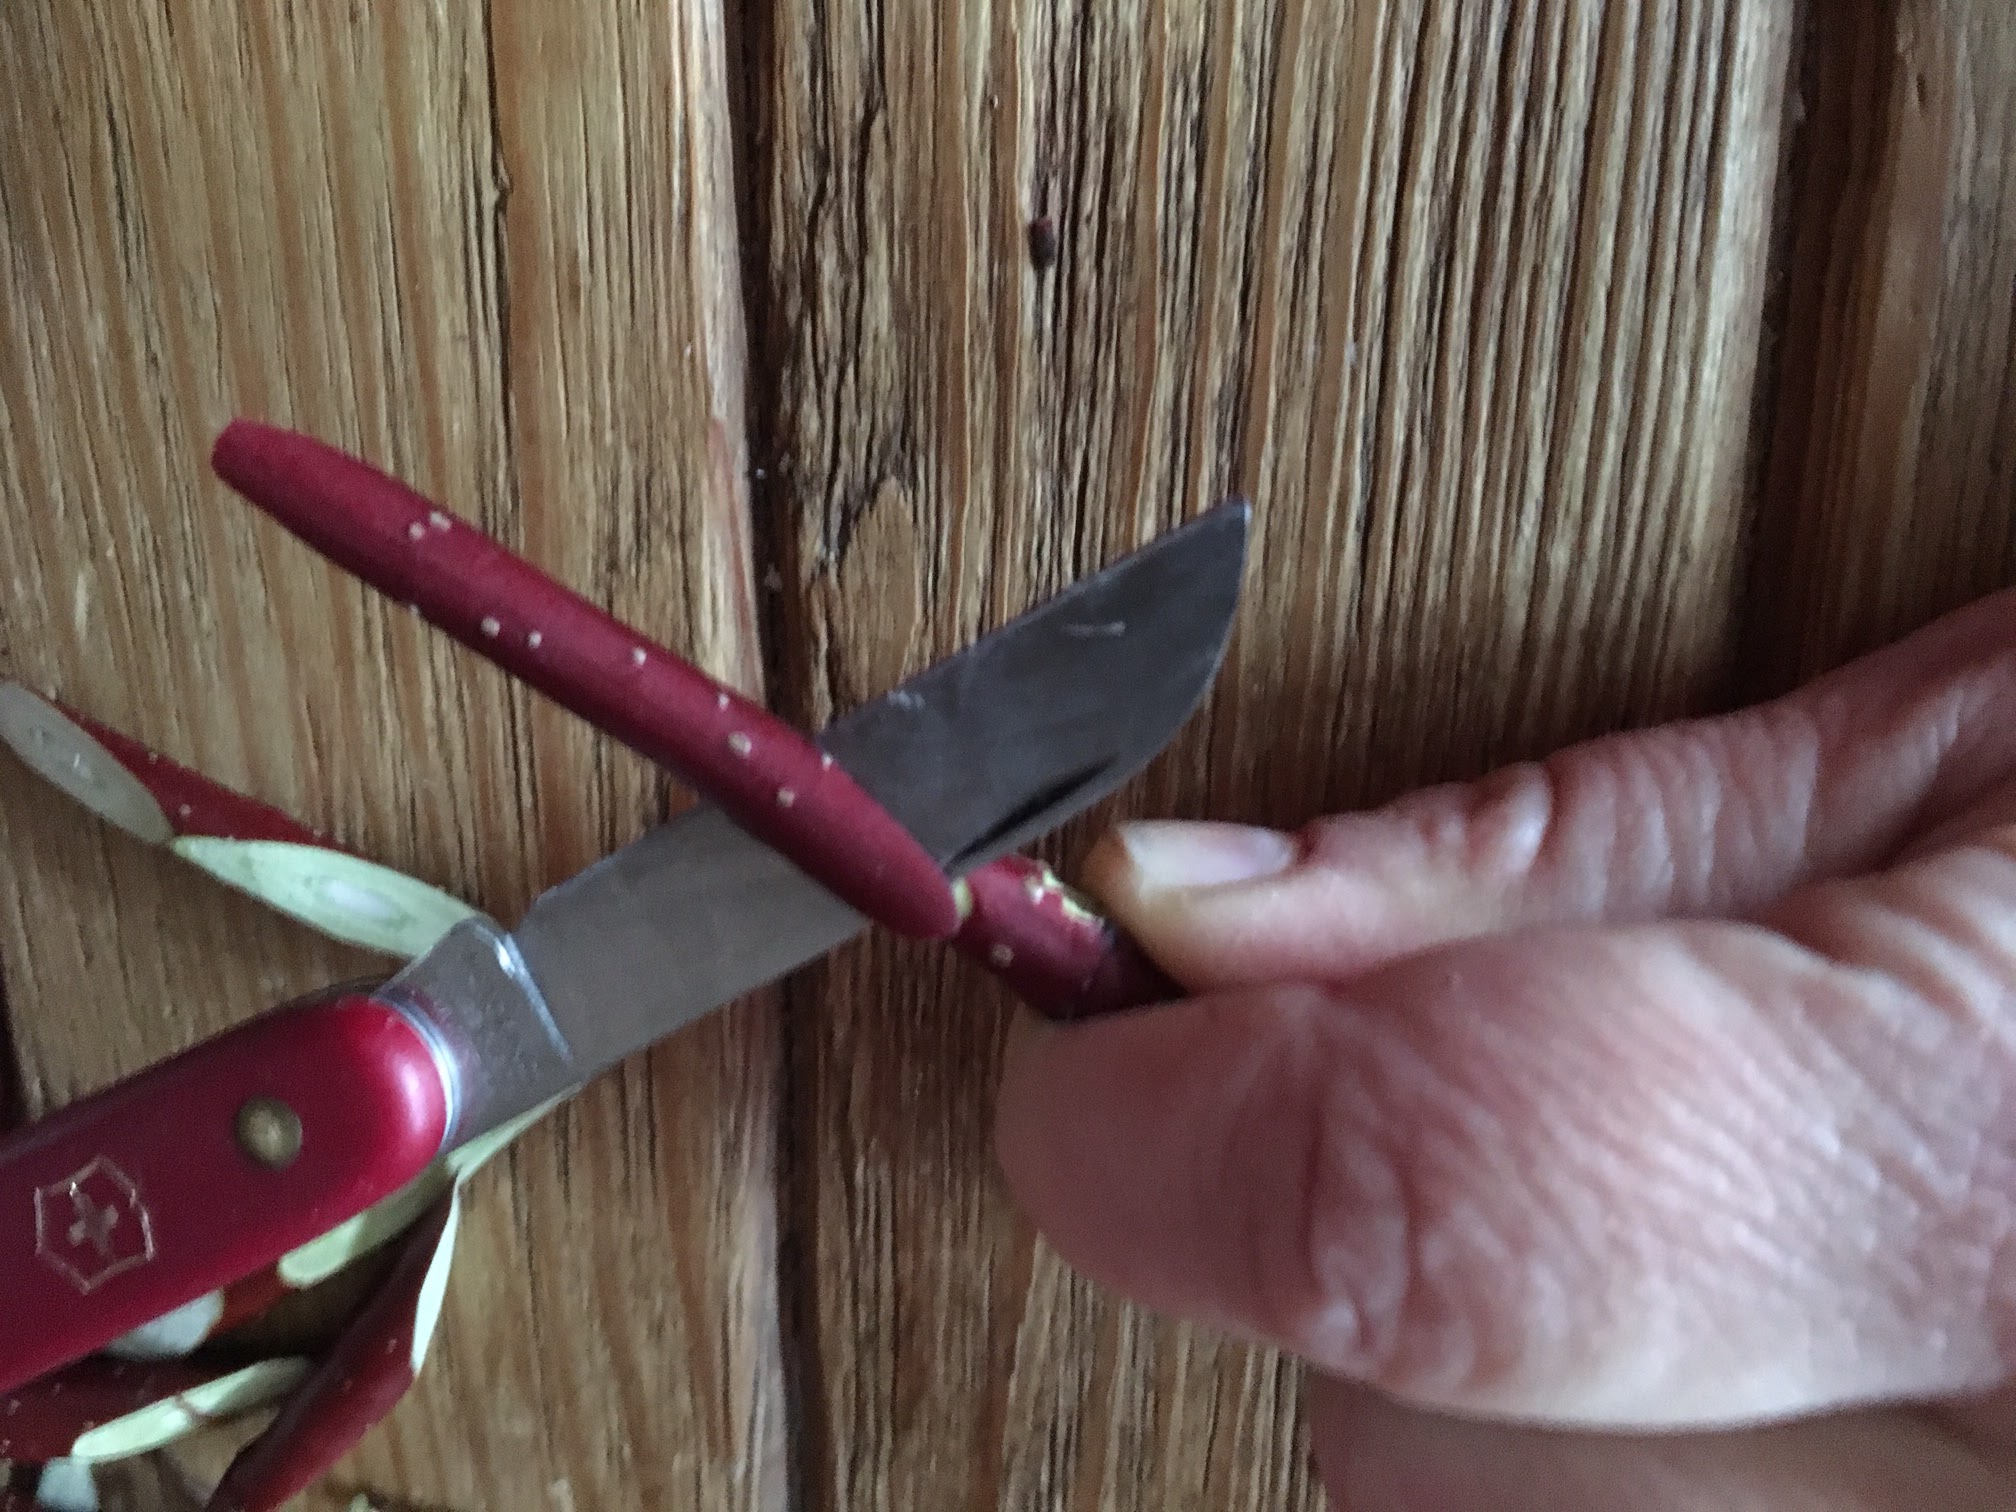
To finish off, remove the burr on the other side of the blade, by placing it flat on the stone and using gentle round motions.
Once you have a sharp knife, you need to hold your wood safely. I have previously nipped my fingertips and therefore find it easier to wear preventative plasters (namely on the thumb of the knife hand), but we were taught a foolproof way to hold the wood to avoid that.
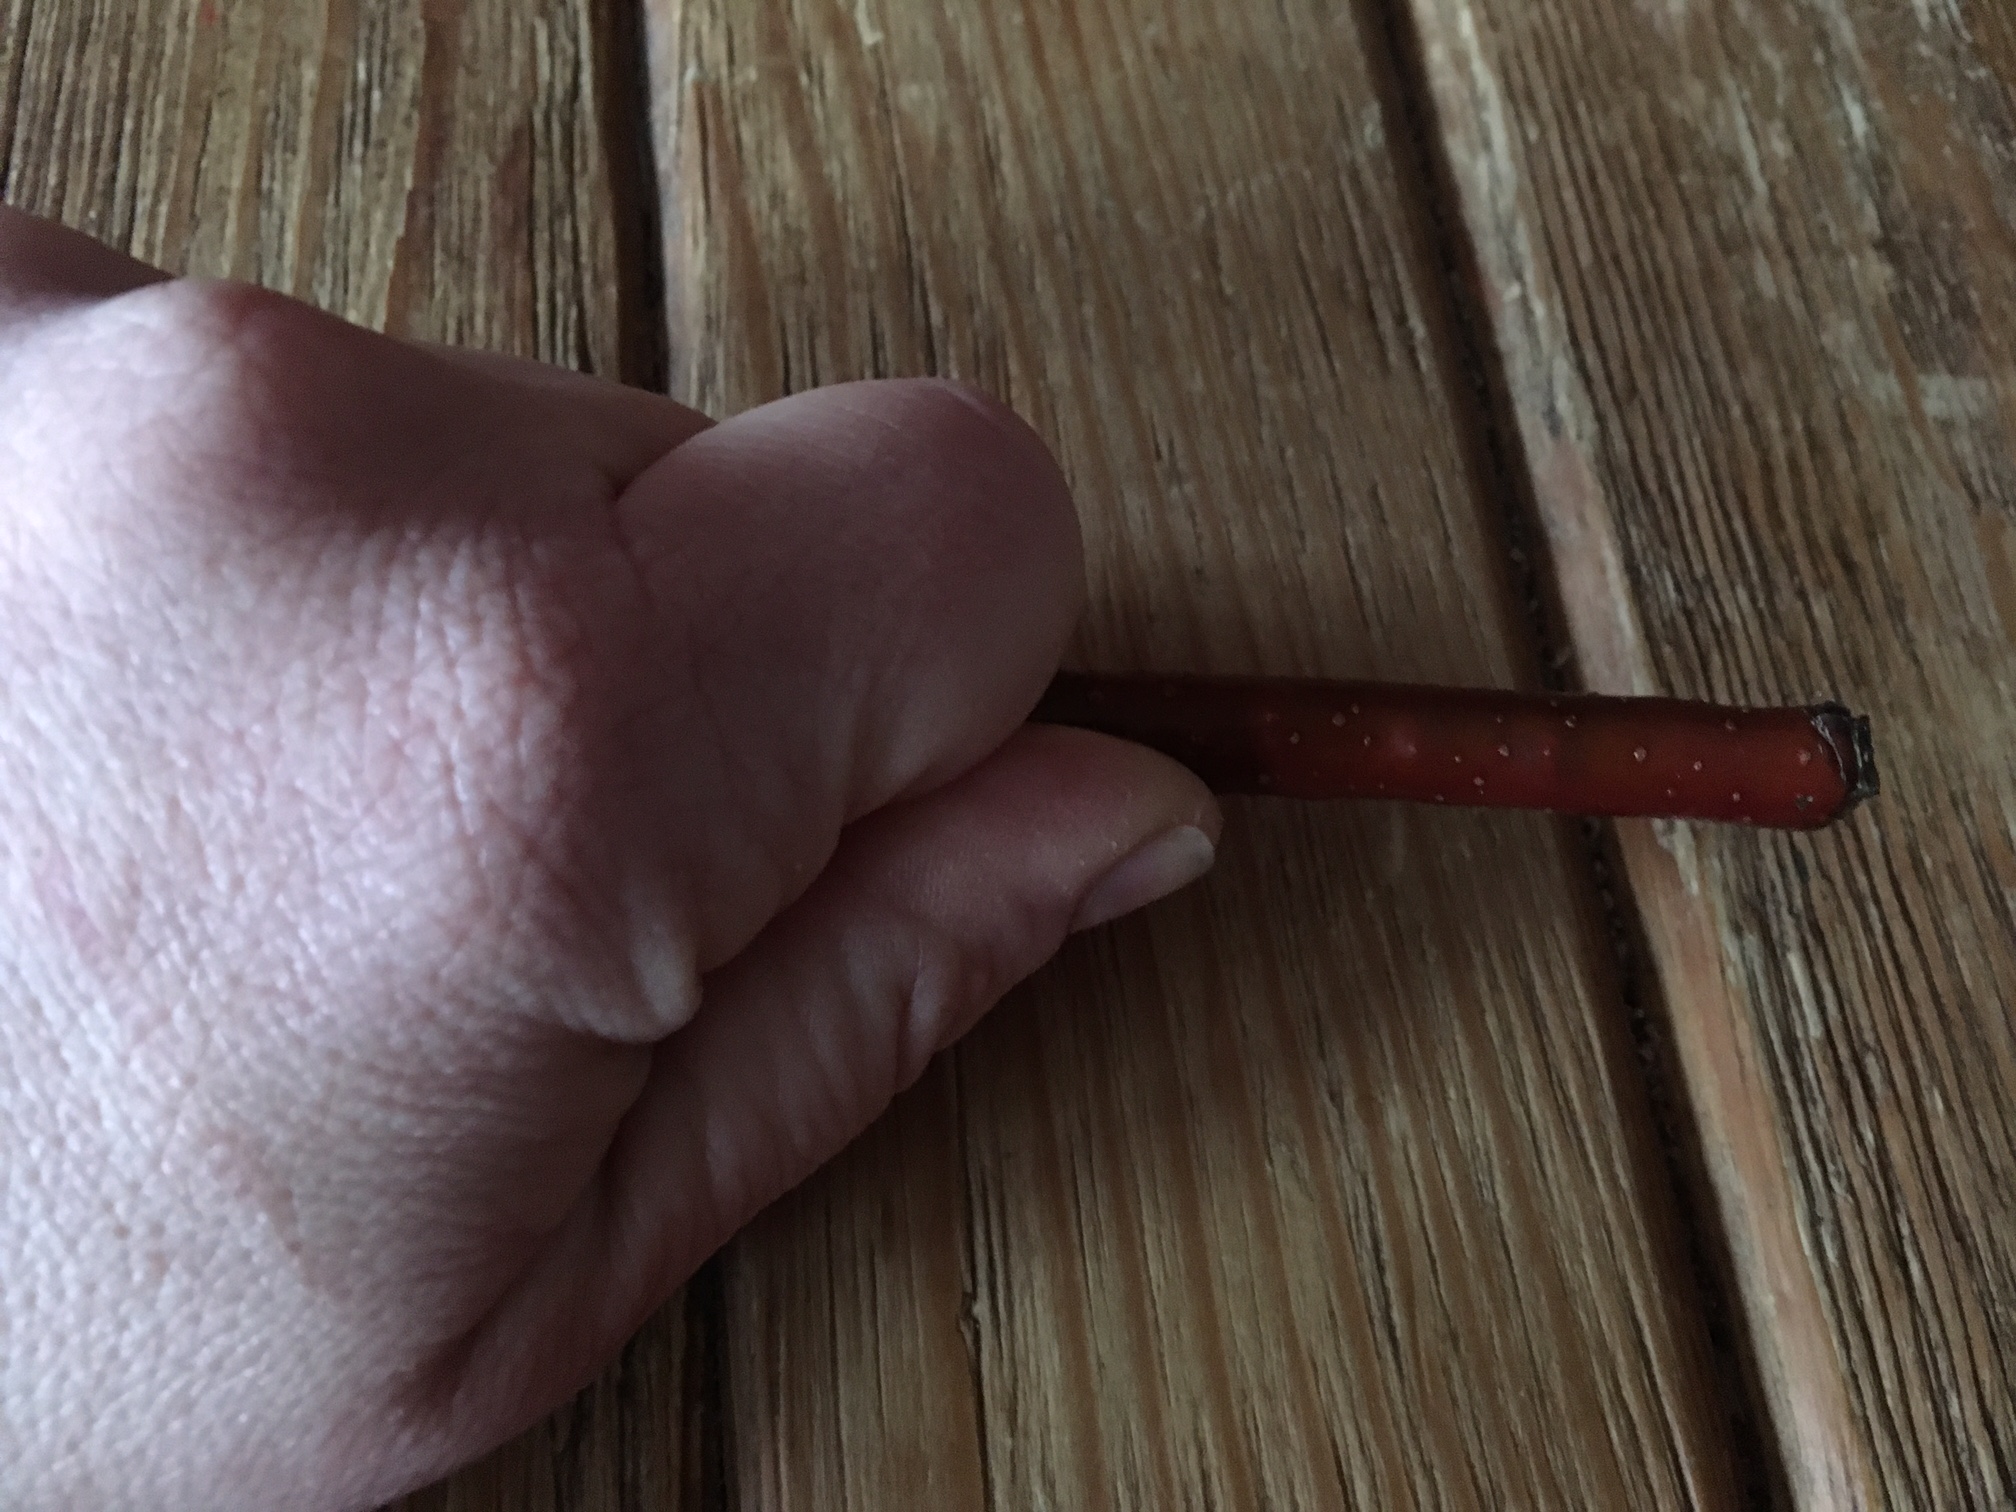
Hold the wood close to where you are going to make the cut, palm down.
Then grab the blade quite close, to wield control, and you are ready to go.
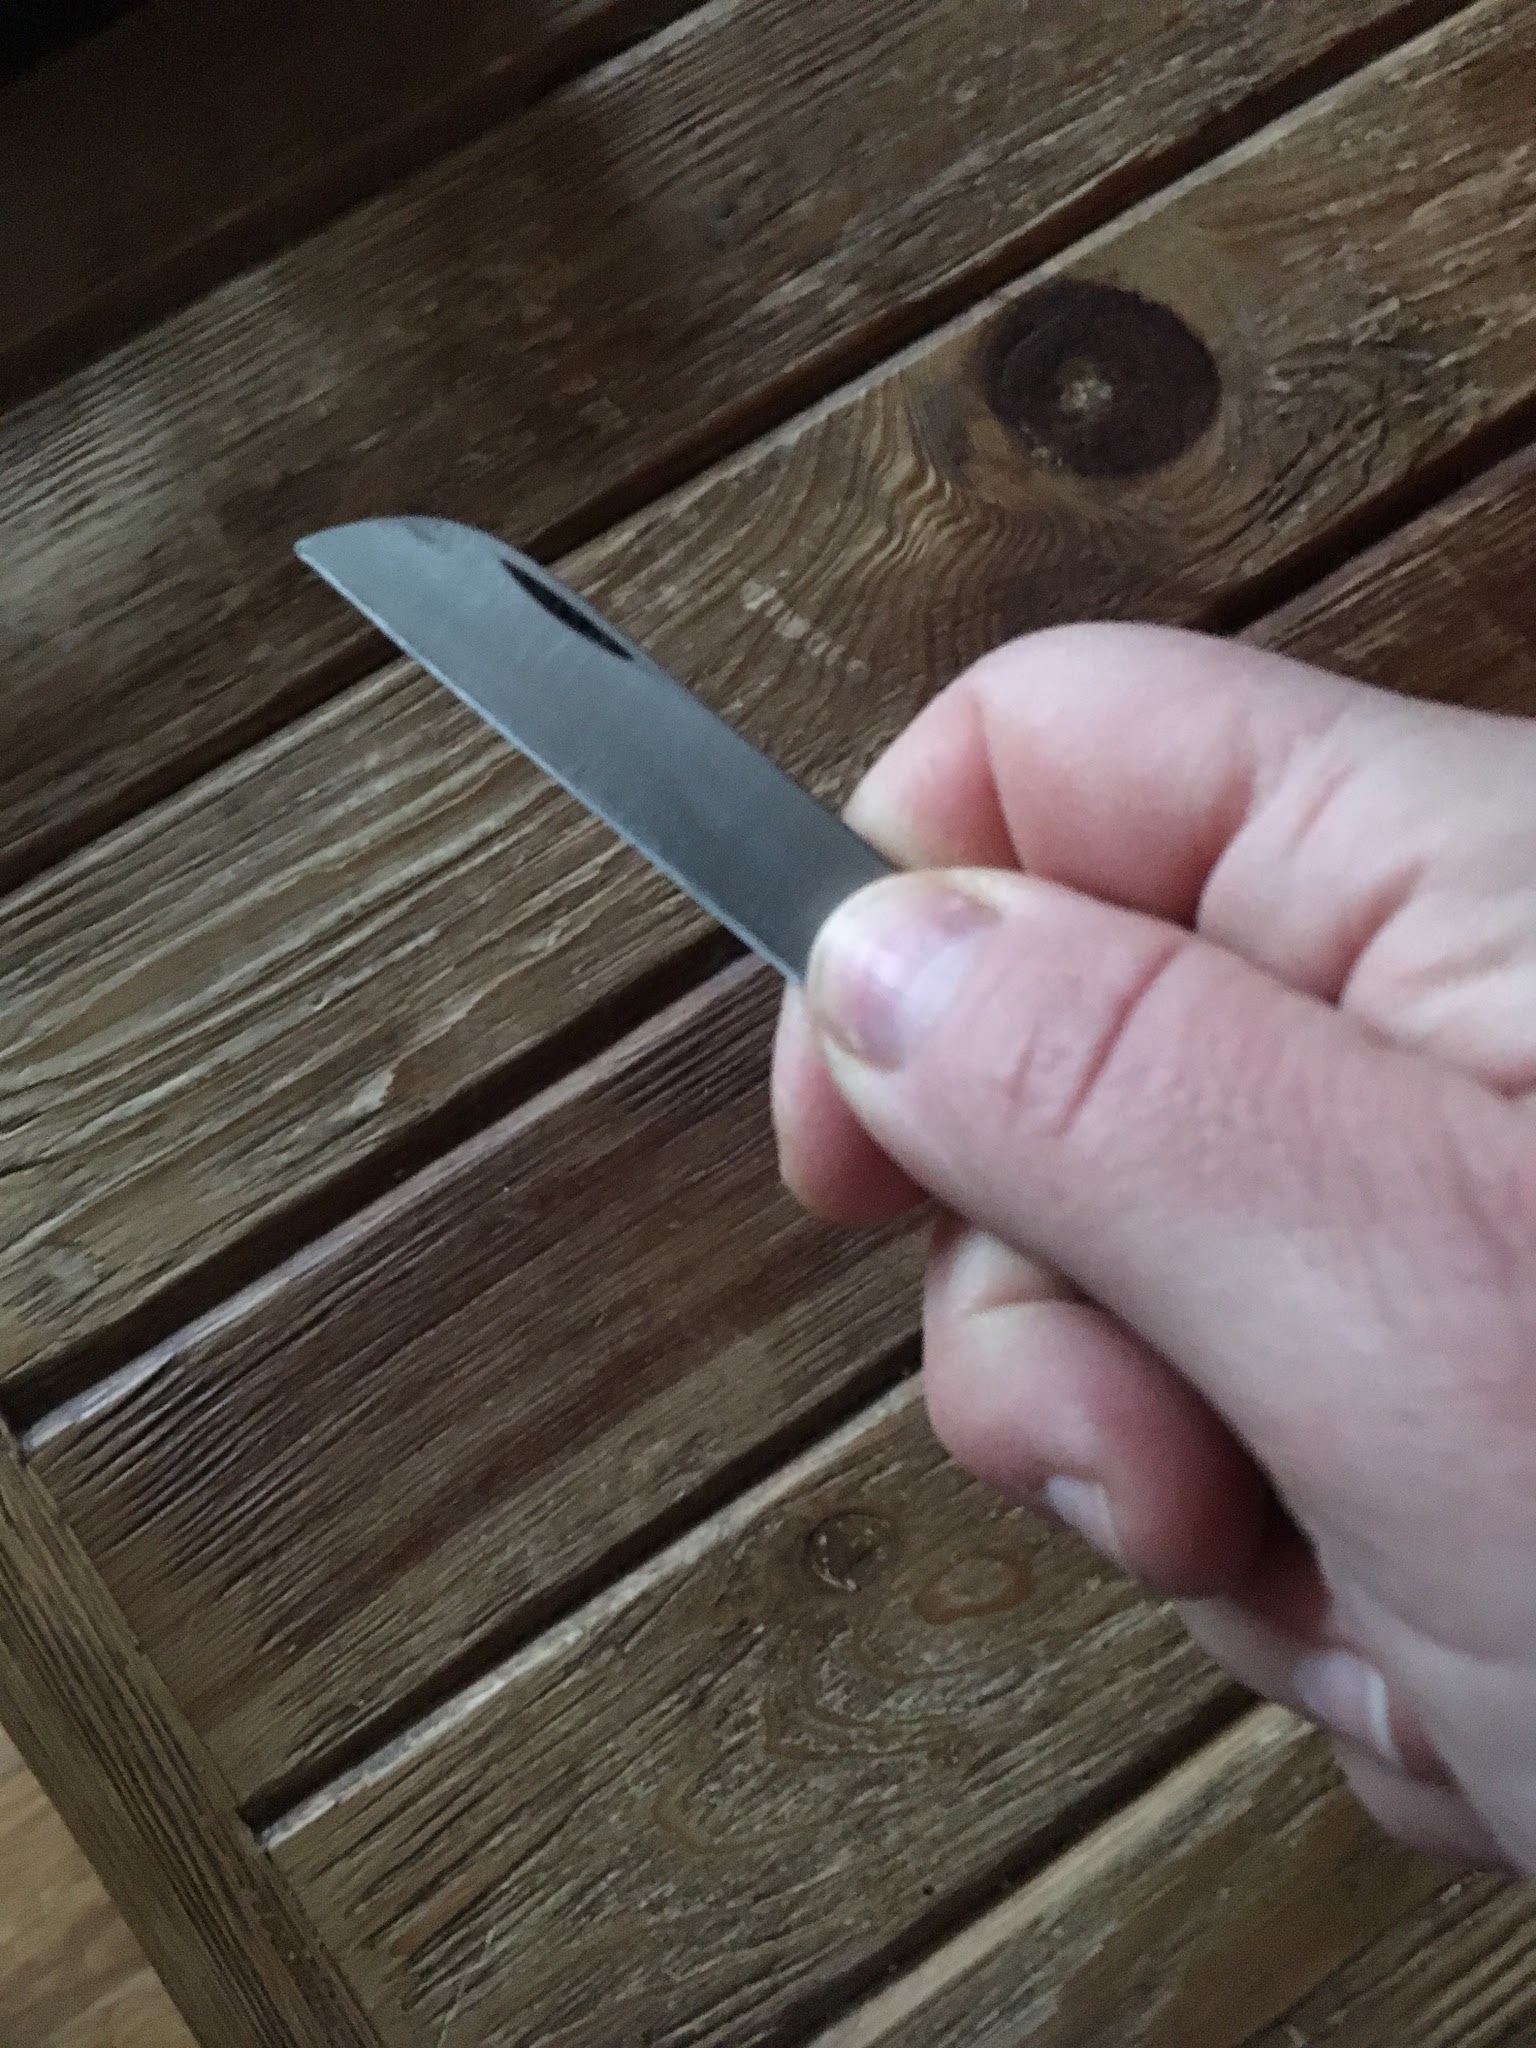
The basic grafting cut is a sloping cut that leaves you with a flat surface, some 2.5 to 3 cm, across the wood. To achieve that, you have to slide the whole blade, bottom to tip. You start by placing the bottom of the blade on the top side of the wood that you are holding, close to your hand, at some 30 degrees angle, then you pull it towards you, sliding it in the wood towards the bottom and all the way to the tip, like below.
You start with the scion wood (the ‘stick’ of wood that you have chosen for a specific cultivar of plant that you want to grow – taste, appearance, whatever that is for) and need a clean cut: as flat a surface as you can muster, as it will need to adhere perfectly to the matching cut you are going to make in the rootstock (which you have chosen for the qualities of the roots i.e. disease resistance, dwarfing stock etc). You can tell if the cut is flat when you place it against the blade of the knife.
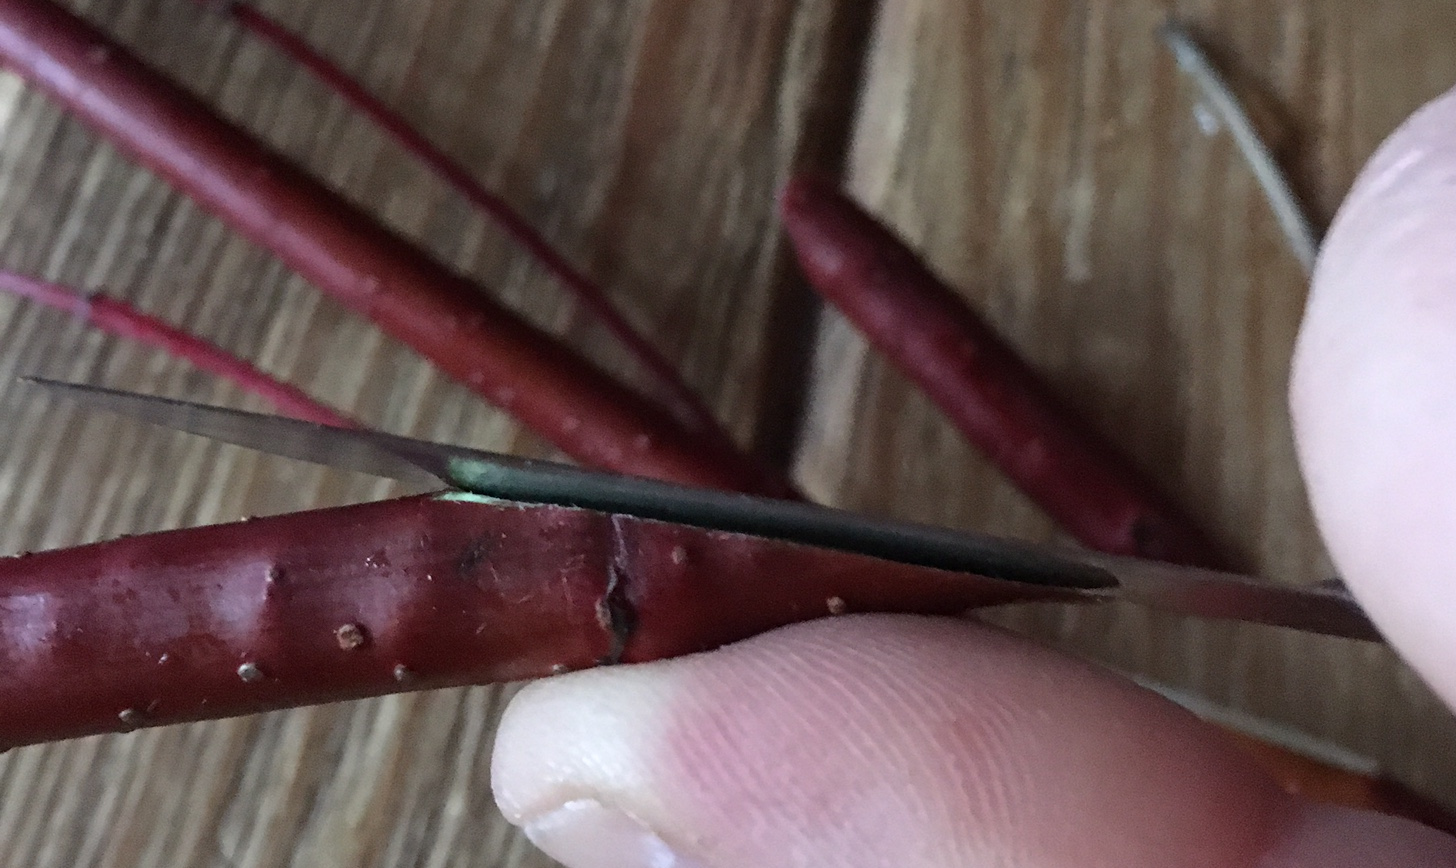 |
| A flat enough cut |
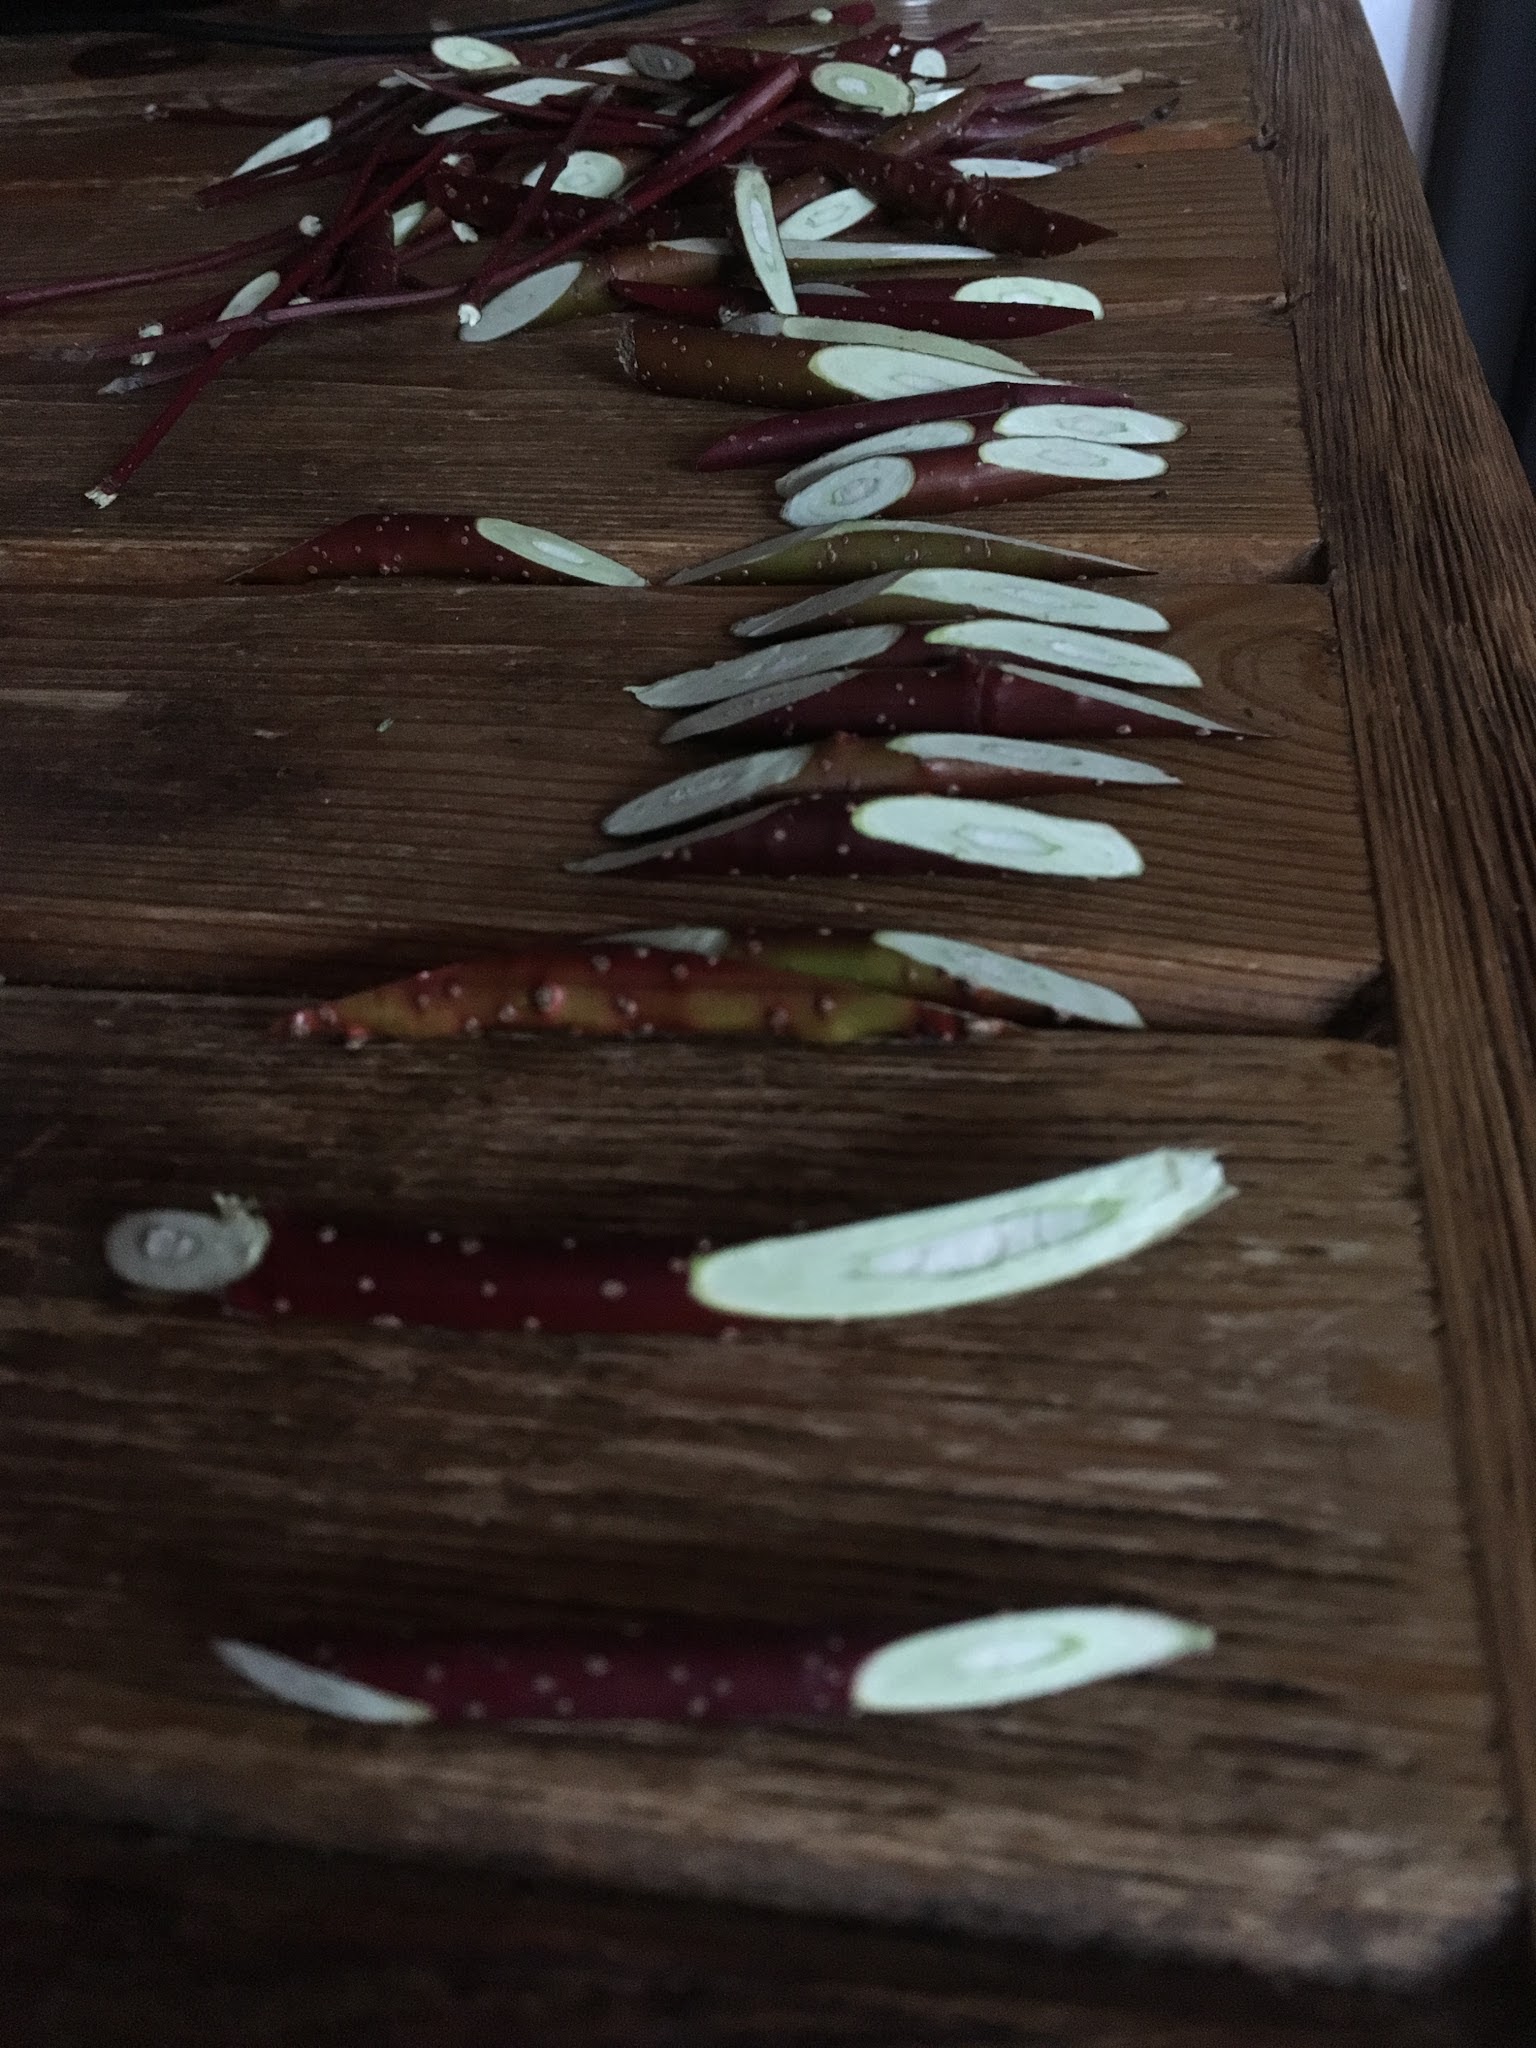
I did practice a few cuts on Cornus stems
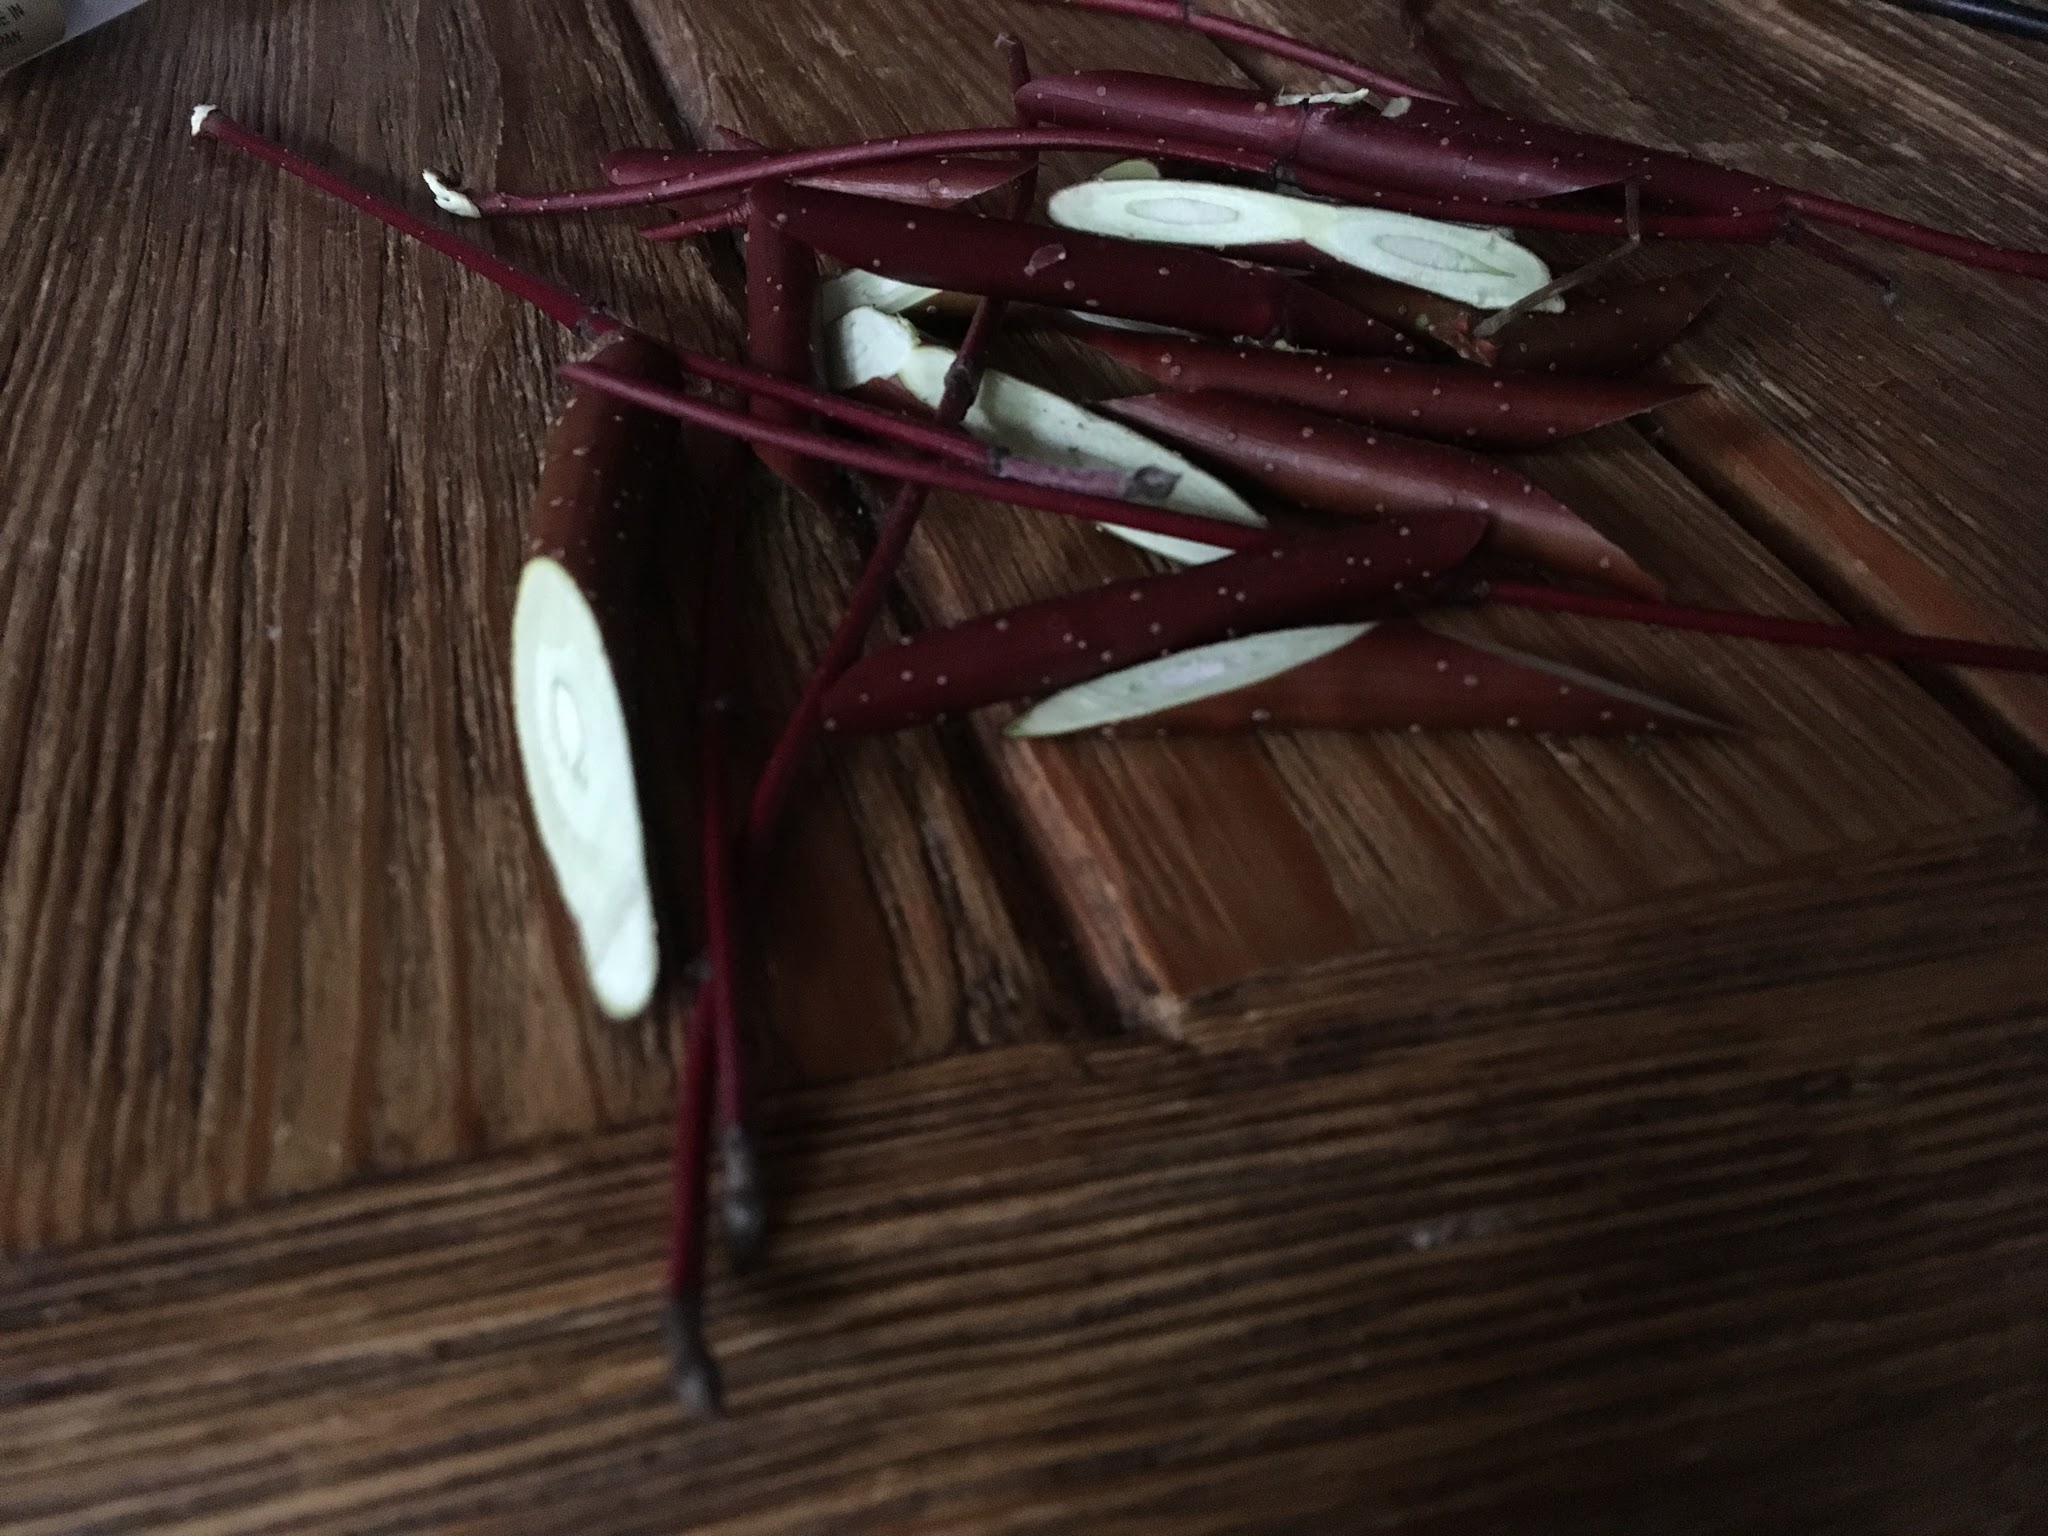
Once you are confident on your cut, you can decide to go for it. I have described the procedure for whip and tongue grafting before, so I won’t repeat it, but there were a couple of different things in bench grafting, which I noticed.
First, the scion stick is longer, 15-20 cm with at least five buds: you don’t risk knocking it off that much at a desk as you do when standing over grafts made in the field. And, because I read in my propagation books that the healing process starts in the scion wood rather than the rootstock, it makes sense to have more wood = more stored energy available.
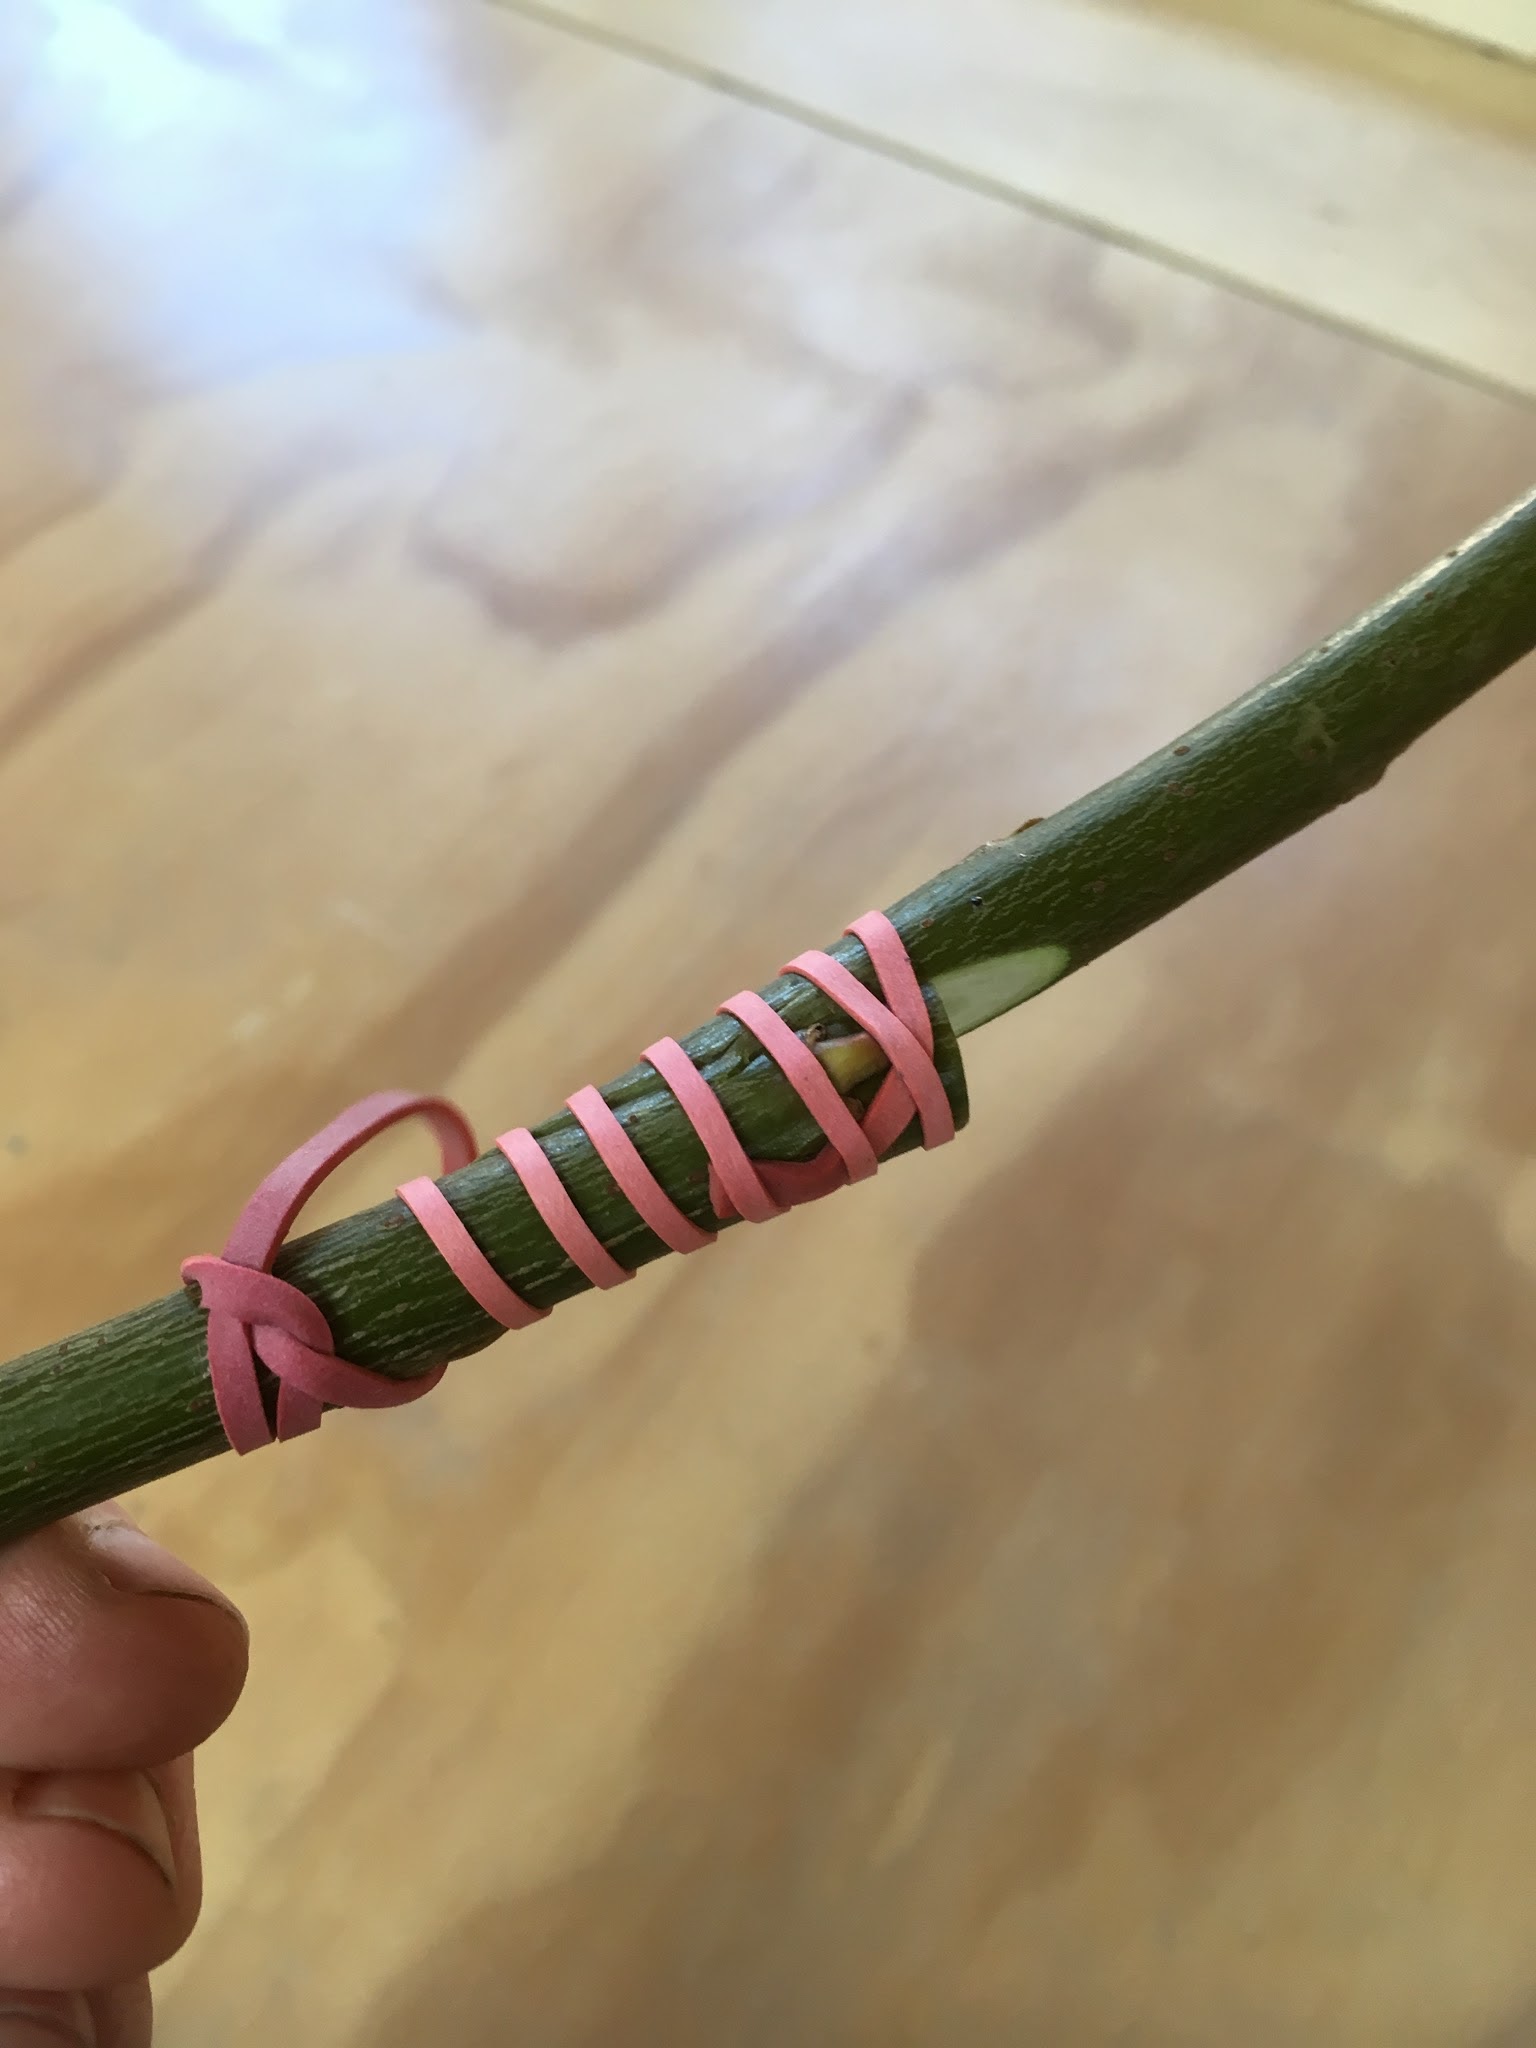
The other difference is in the tying of the graft union. We used a simple elastic band instead of grafting tape, and we started at the top of the graft going downwards, which is really easy. Again, it makes sense – in the field, you are standing over the graft and if you start at the top, the scion stick is in the way and you keep knocking into it, but here… super easy!
 |
| Test whip and tongue on willow |
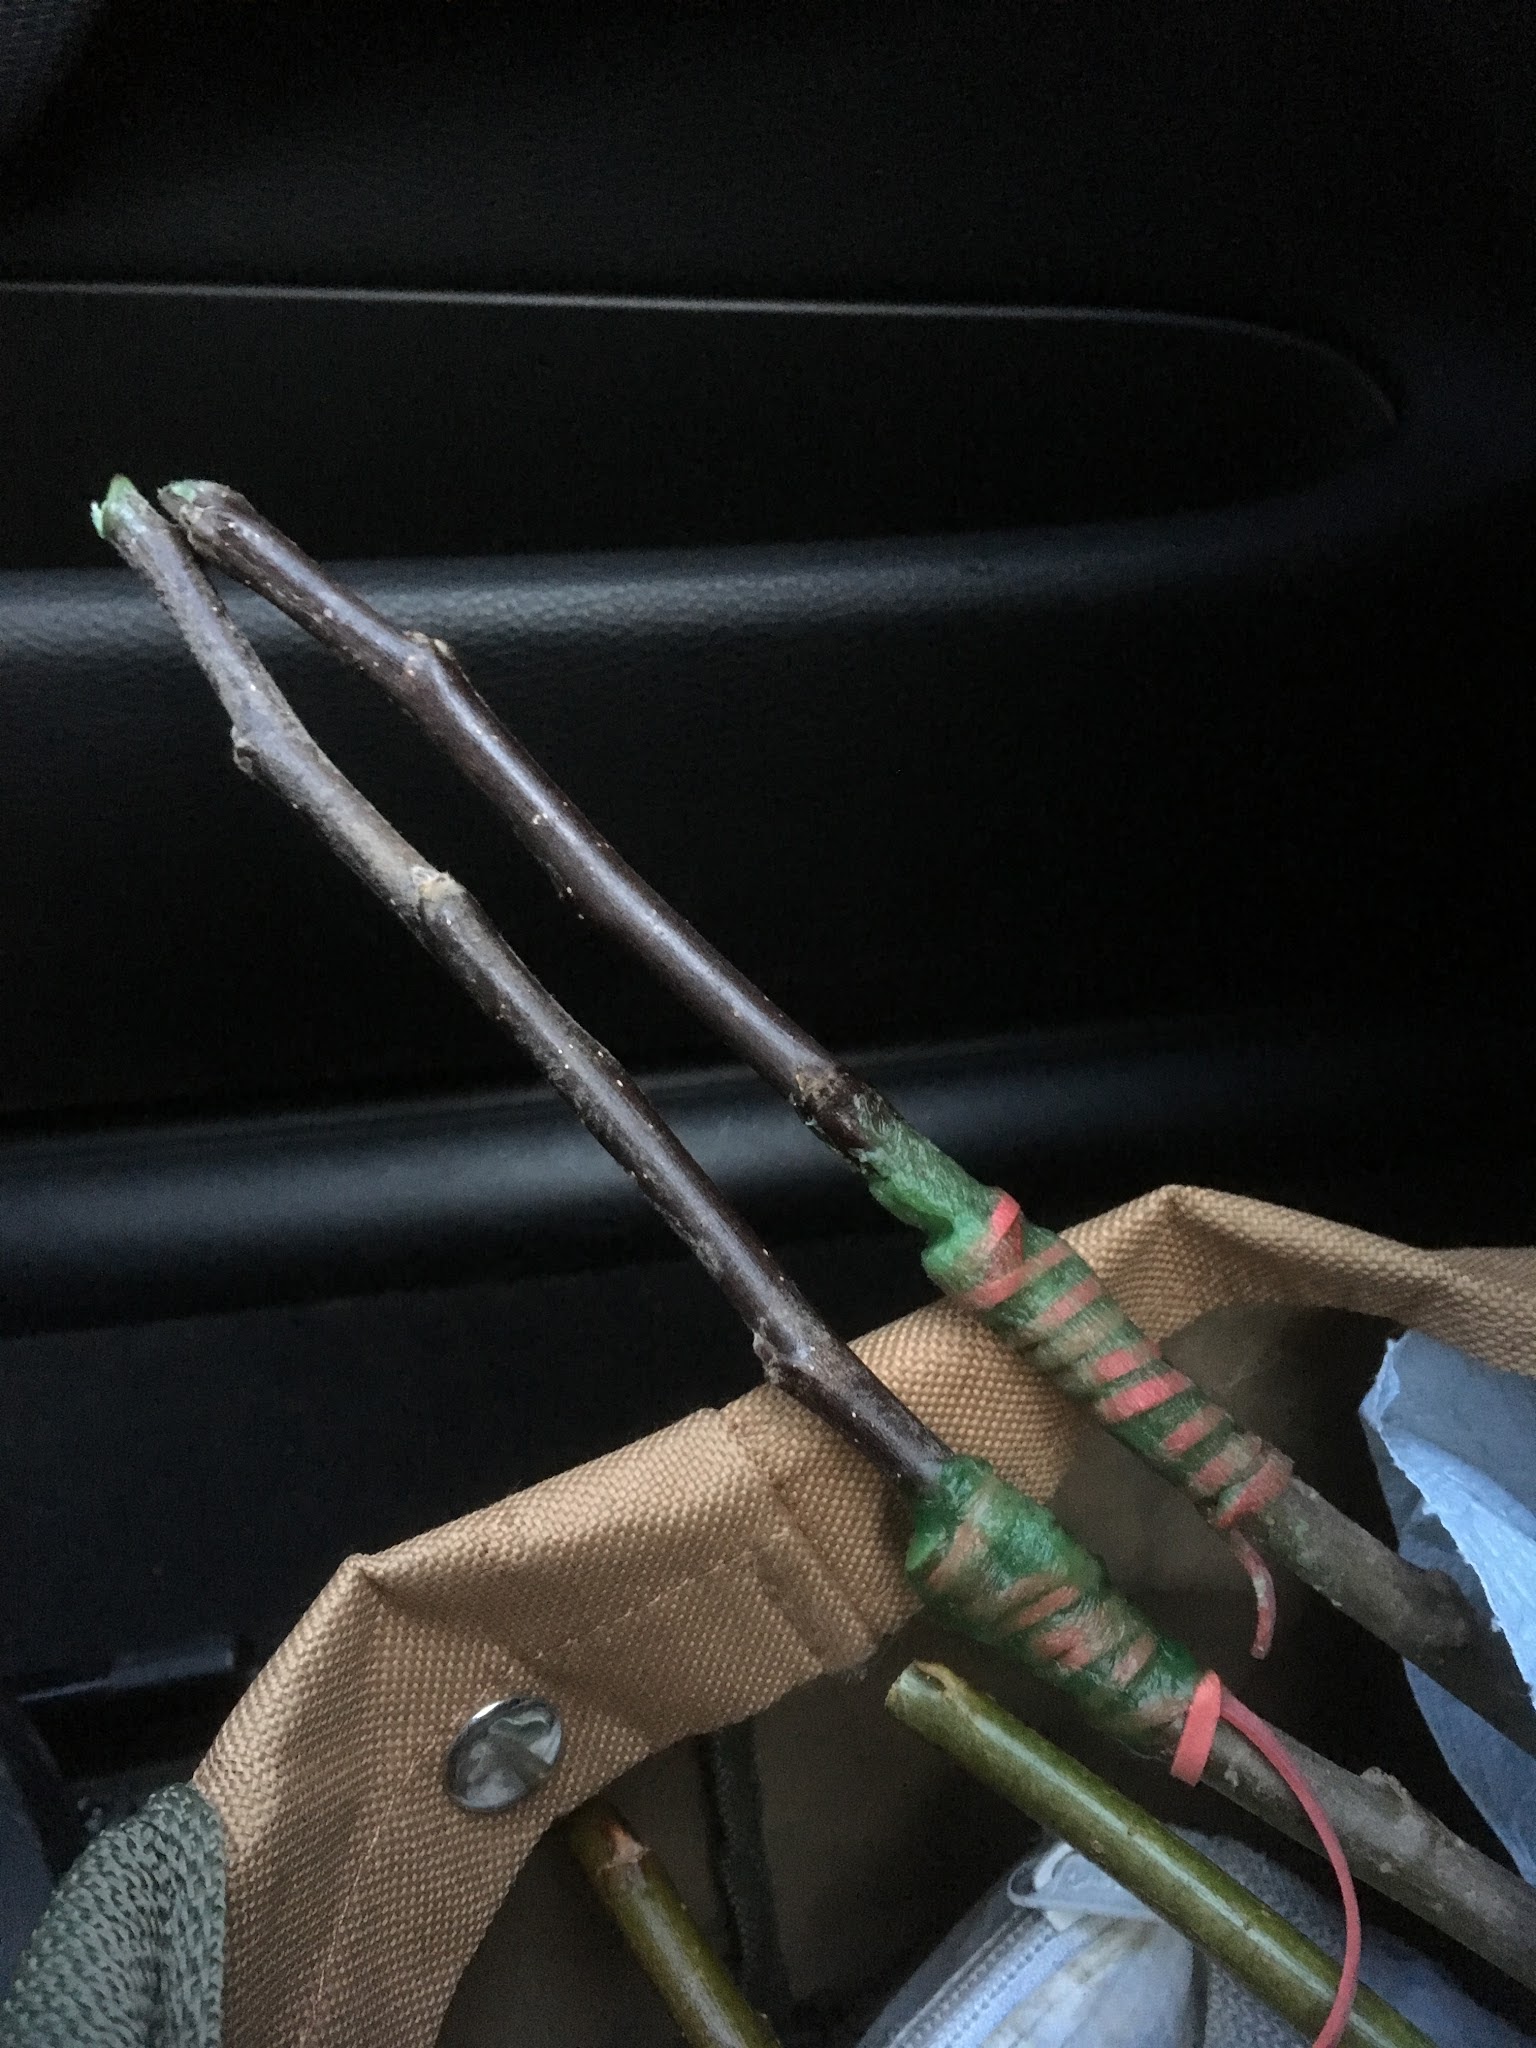 |
The result of my efforts: 2 Spartan apples
on M9 stock |
I went home to pot my new apples up!
The next step, grafting on the plot where 14 rootstock plants await…
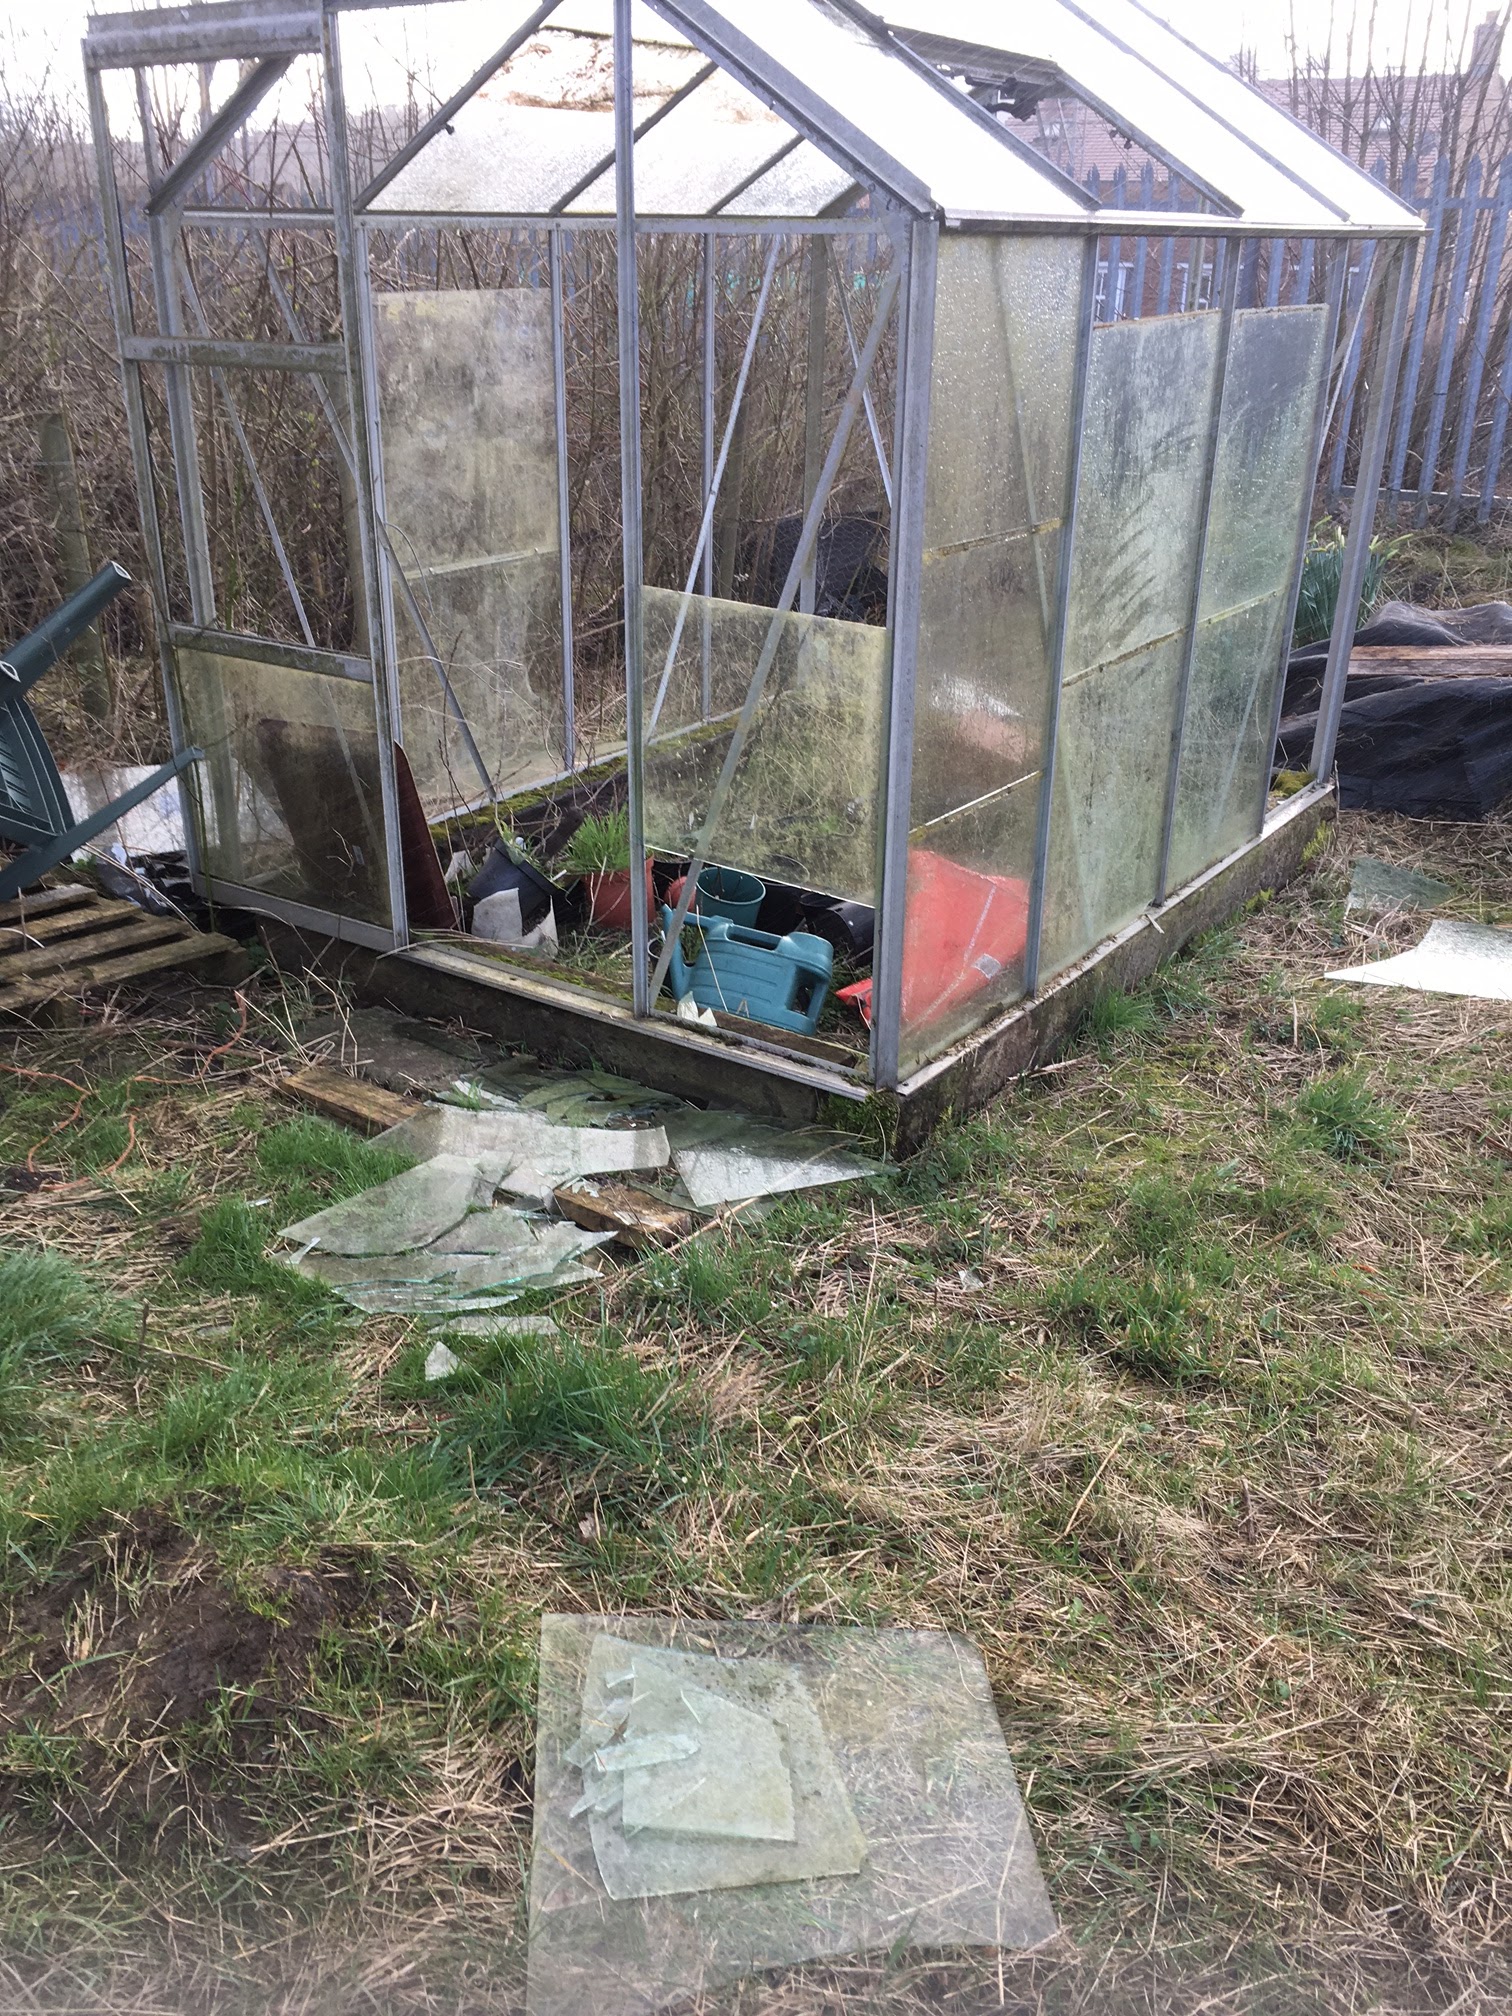 |
| More panes on the ground than on the frame! |
With my newest plot I inherited a rather wrecked glasshouse. I don’t seem to have been overexcited about it, as that is pretty much the only picture I took of it, although I did take some pictures of plants around it, and there are pretty daffs!
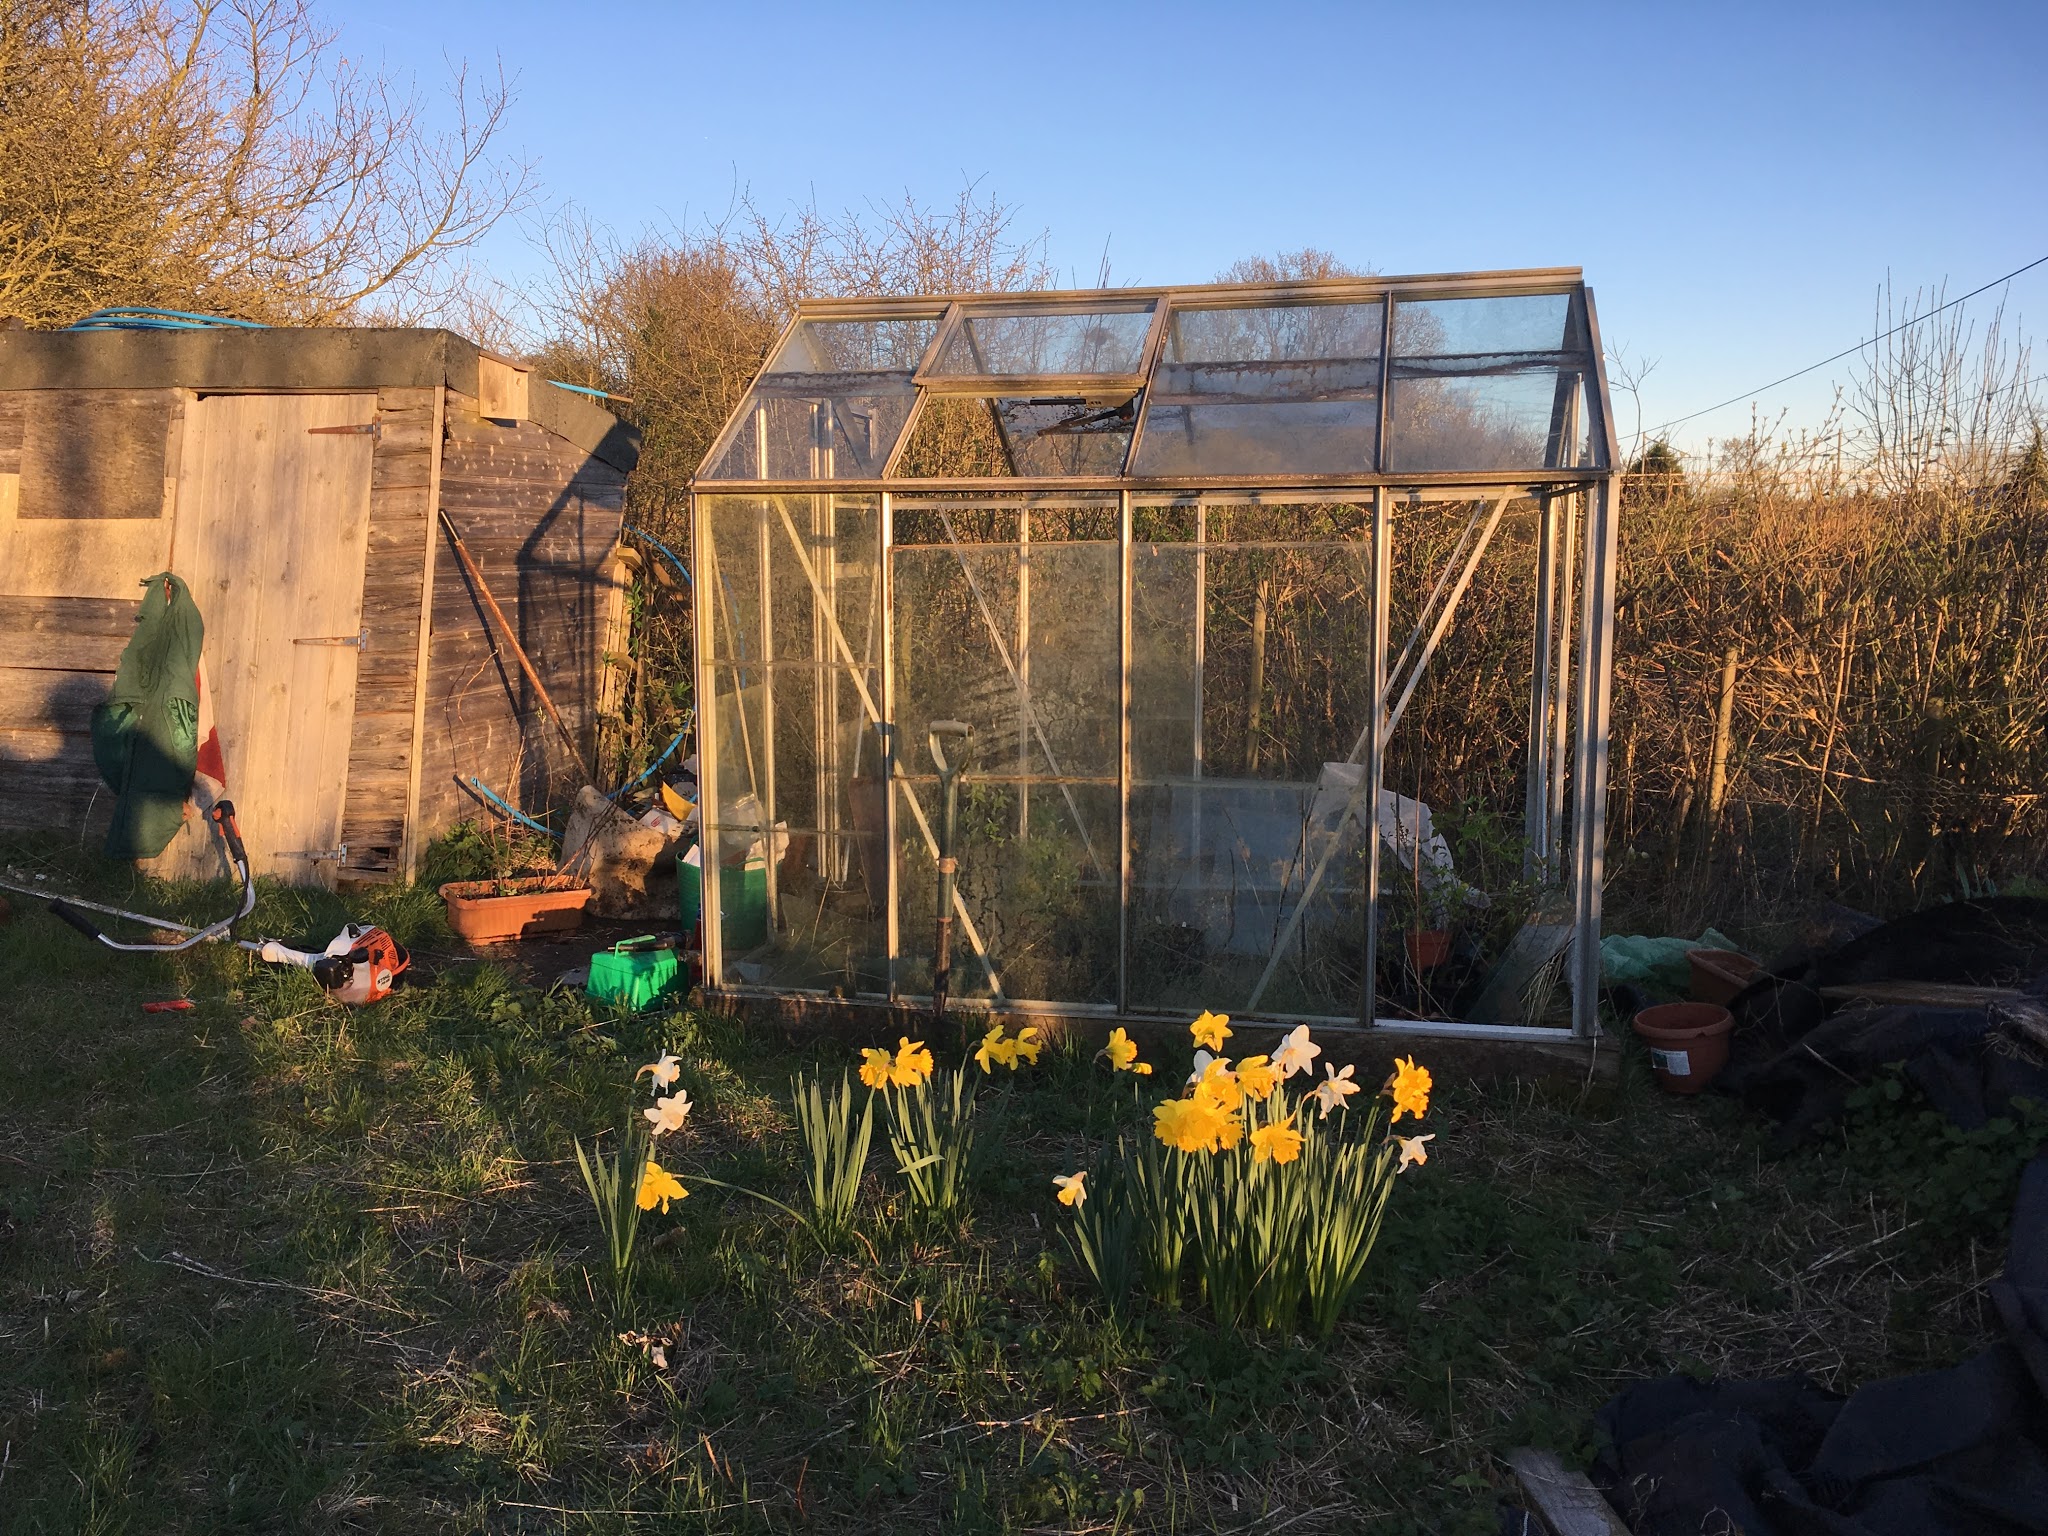 |
| There’s some pretty daffs in front of it |
Anyway, during the most recent Christmas holidays, desperate to take my mind off Brexit and have control over something, I thought it would be a good idea to fix it.
I trawled the internet for glass panes, and found that FB marketplace was a pretty good place for it: I got myself a dozen of panes for the price of only a 4-hour round trip.
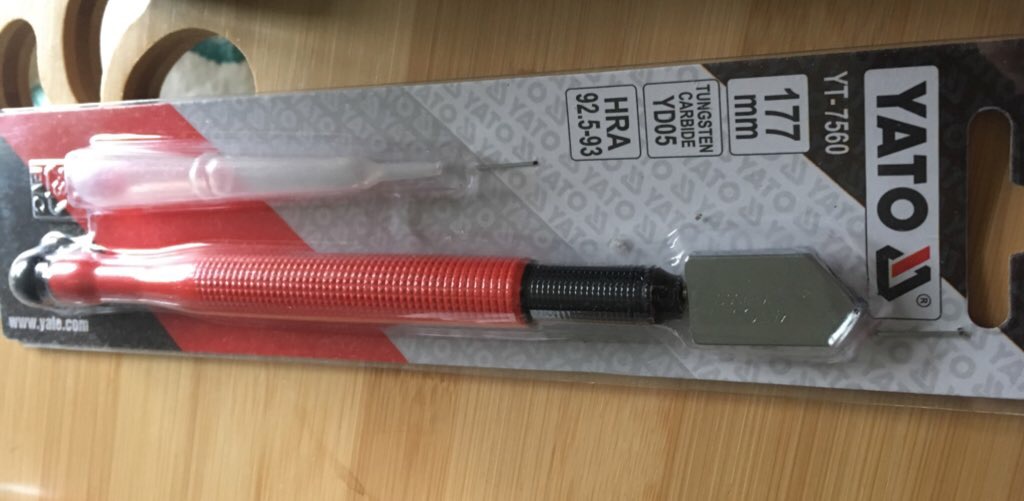 |
| Oil glass scorer |
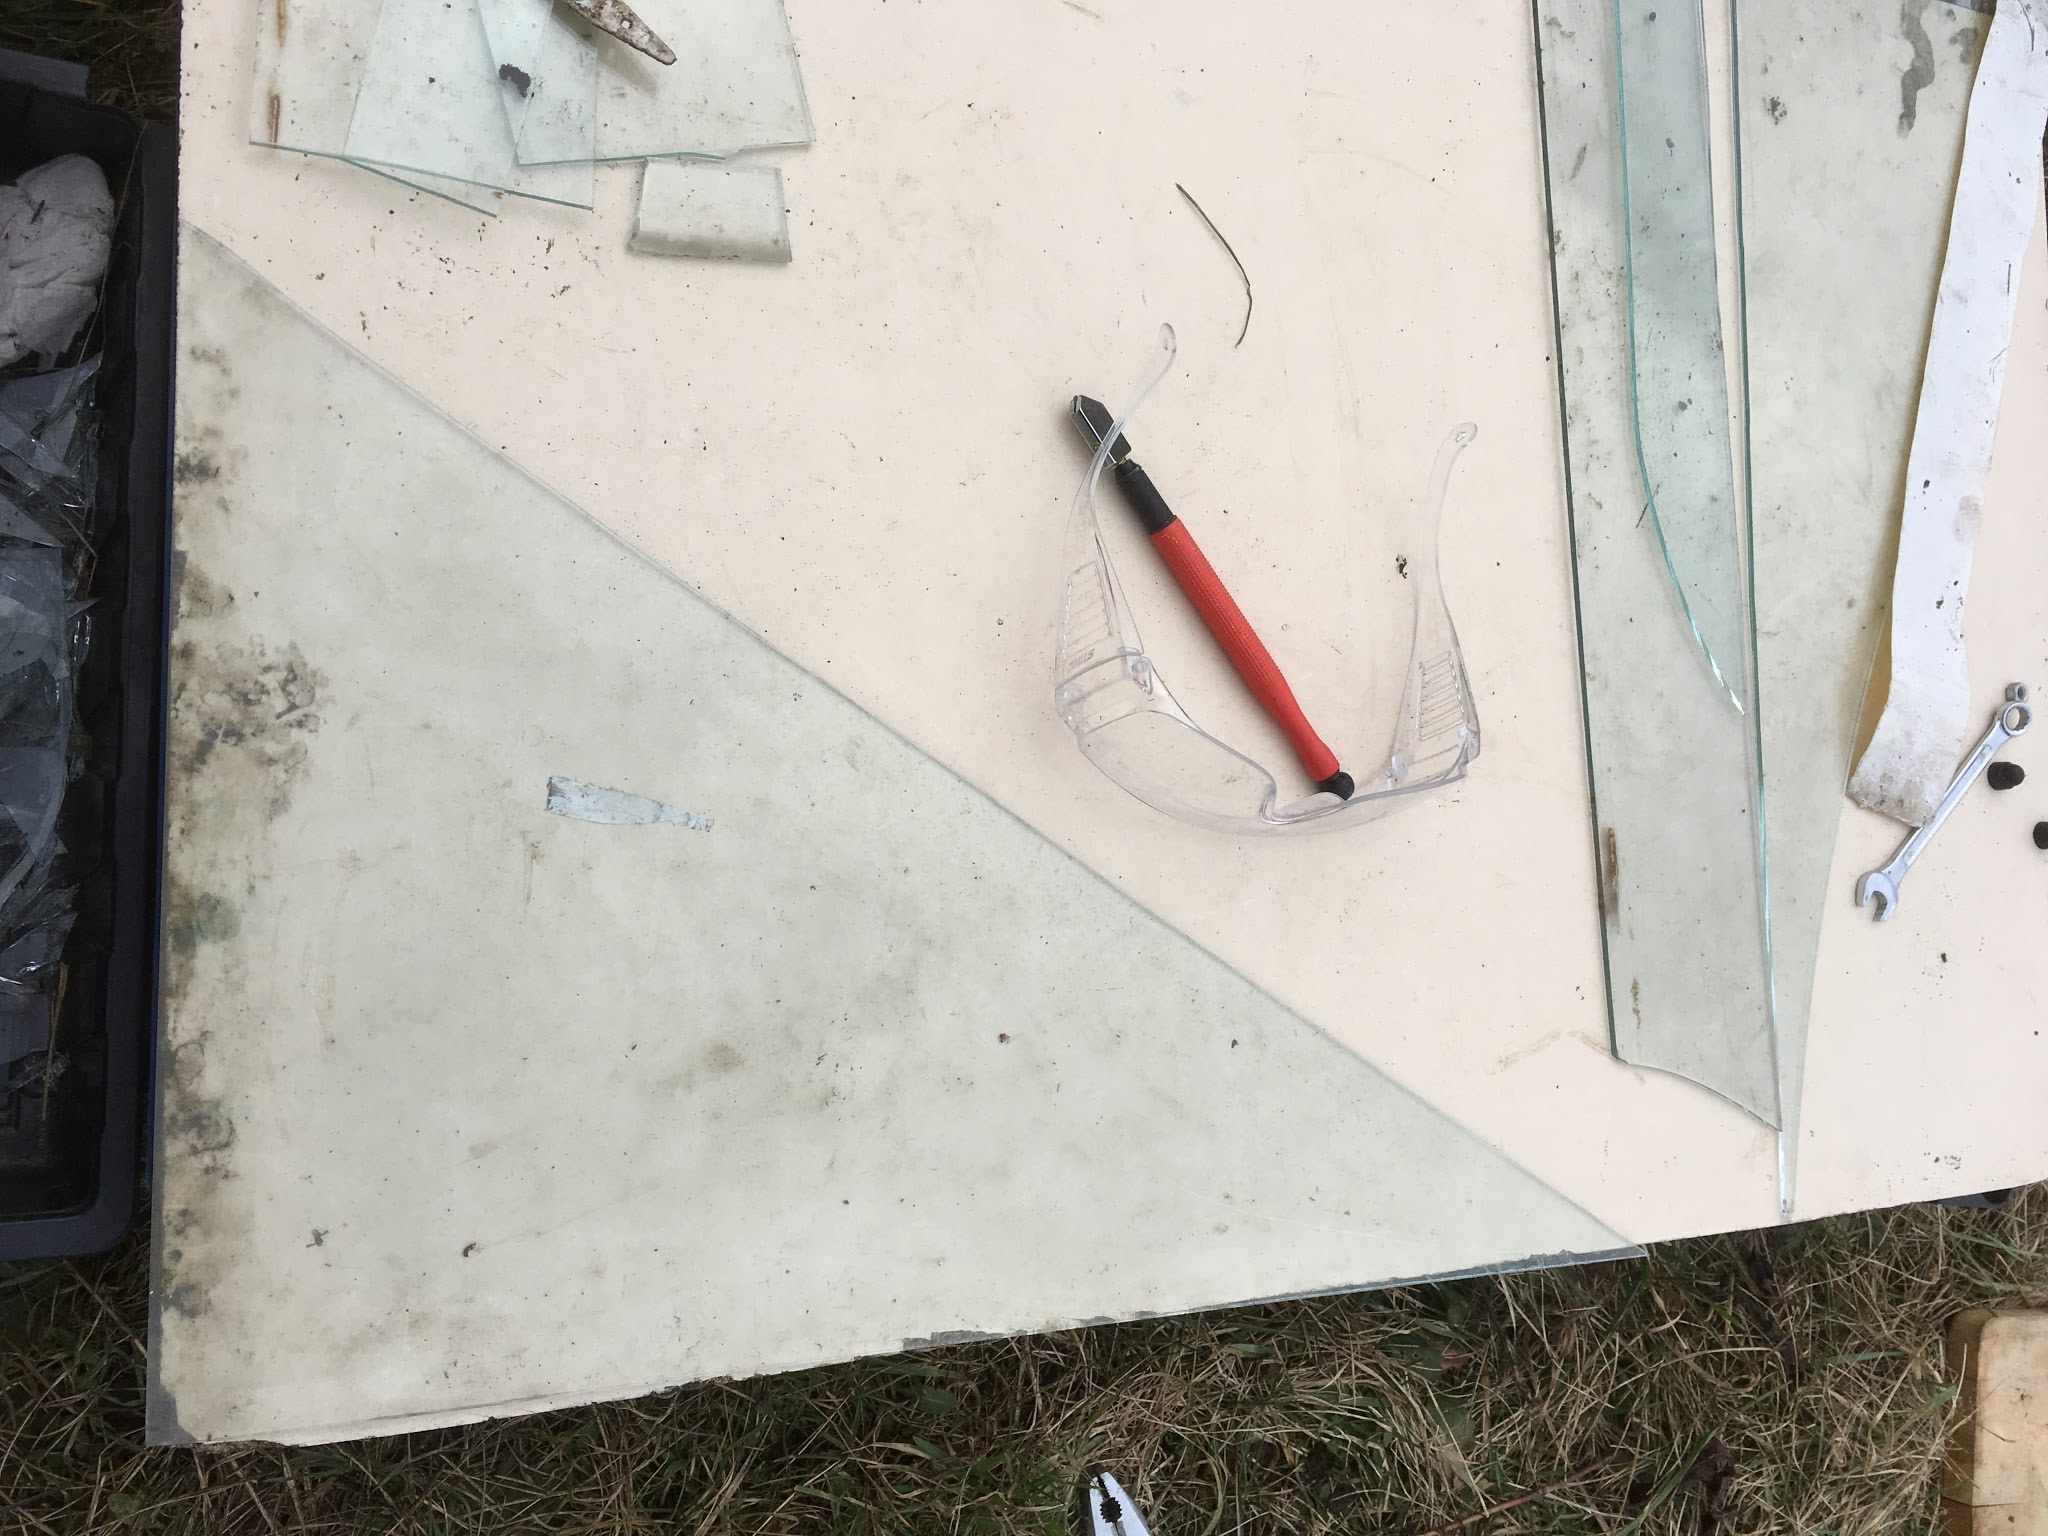
As the panes were different sizes, I also bought a professional glass scorer. I did not use any oil, as YouTube taught me it was not really necessary.
I also got some W and Z glasshouse clips, my safety glasses, and thus armed I made my way to the plot.
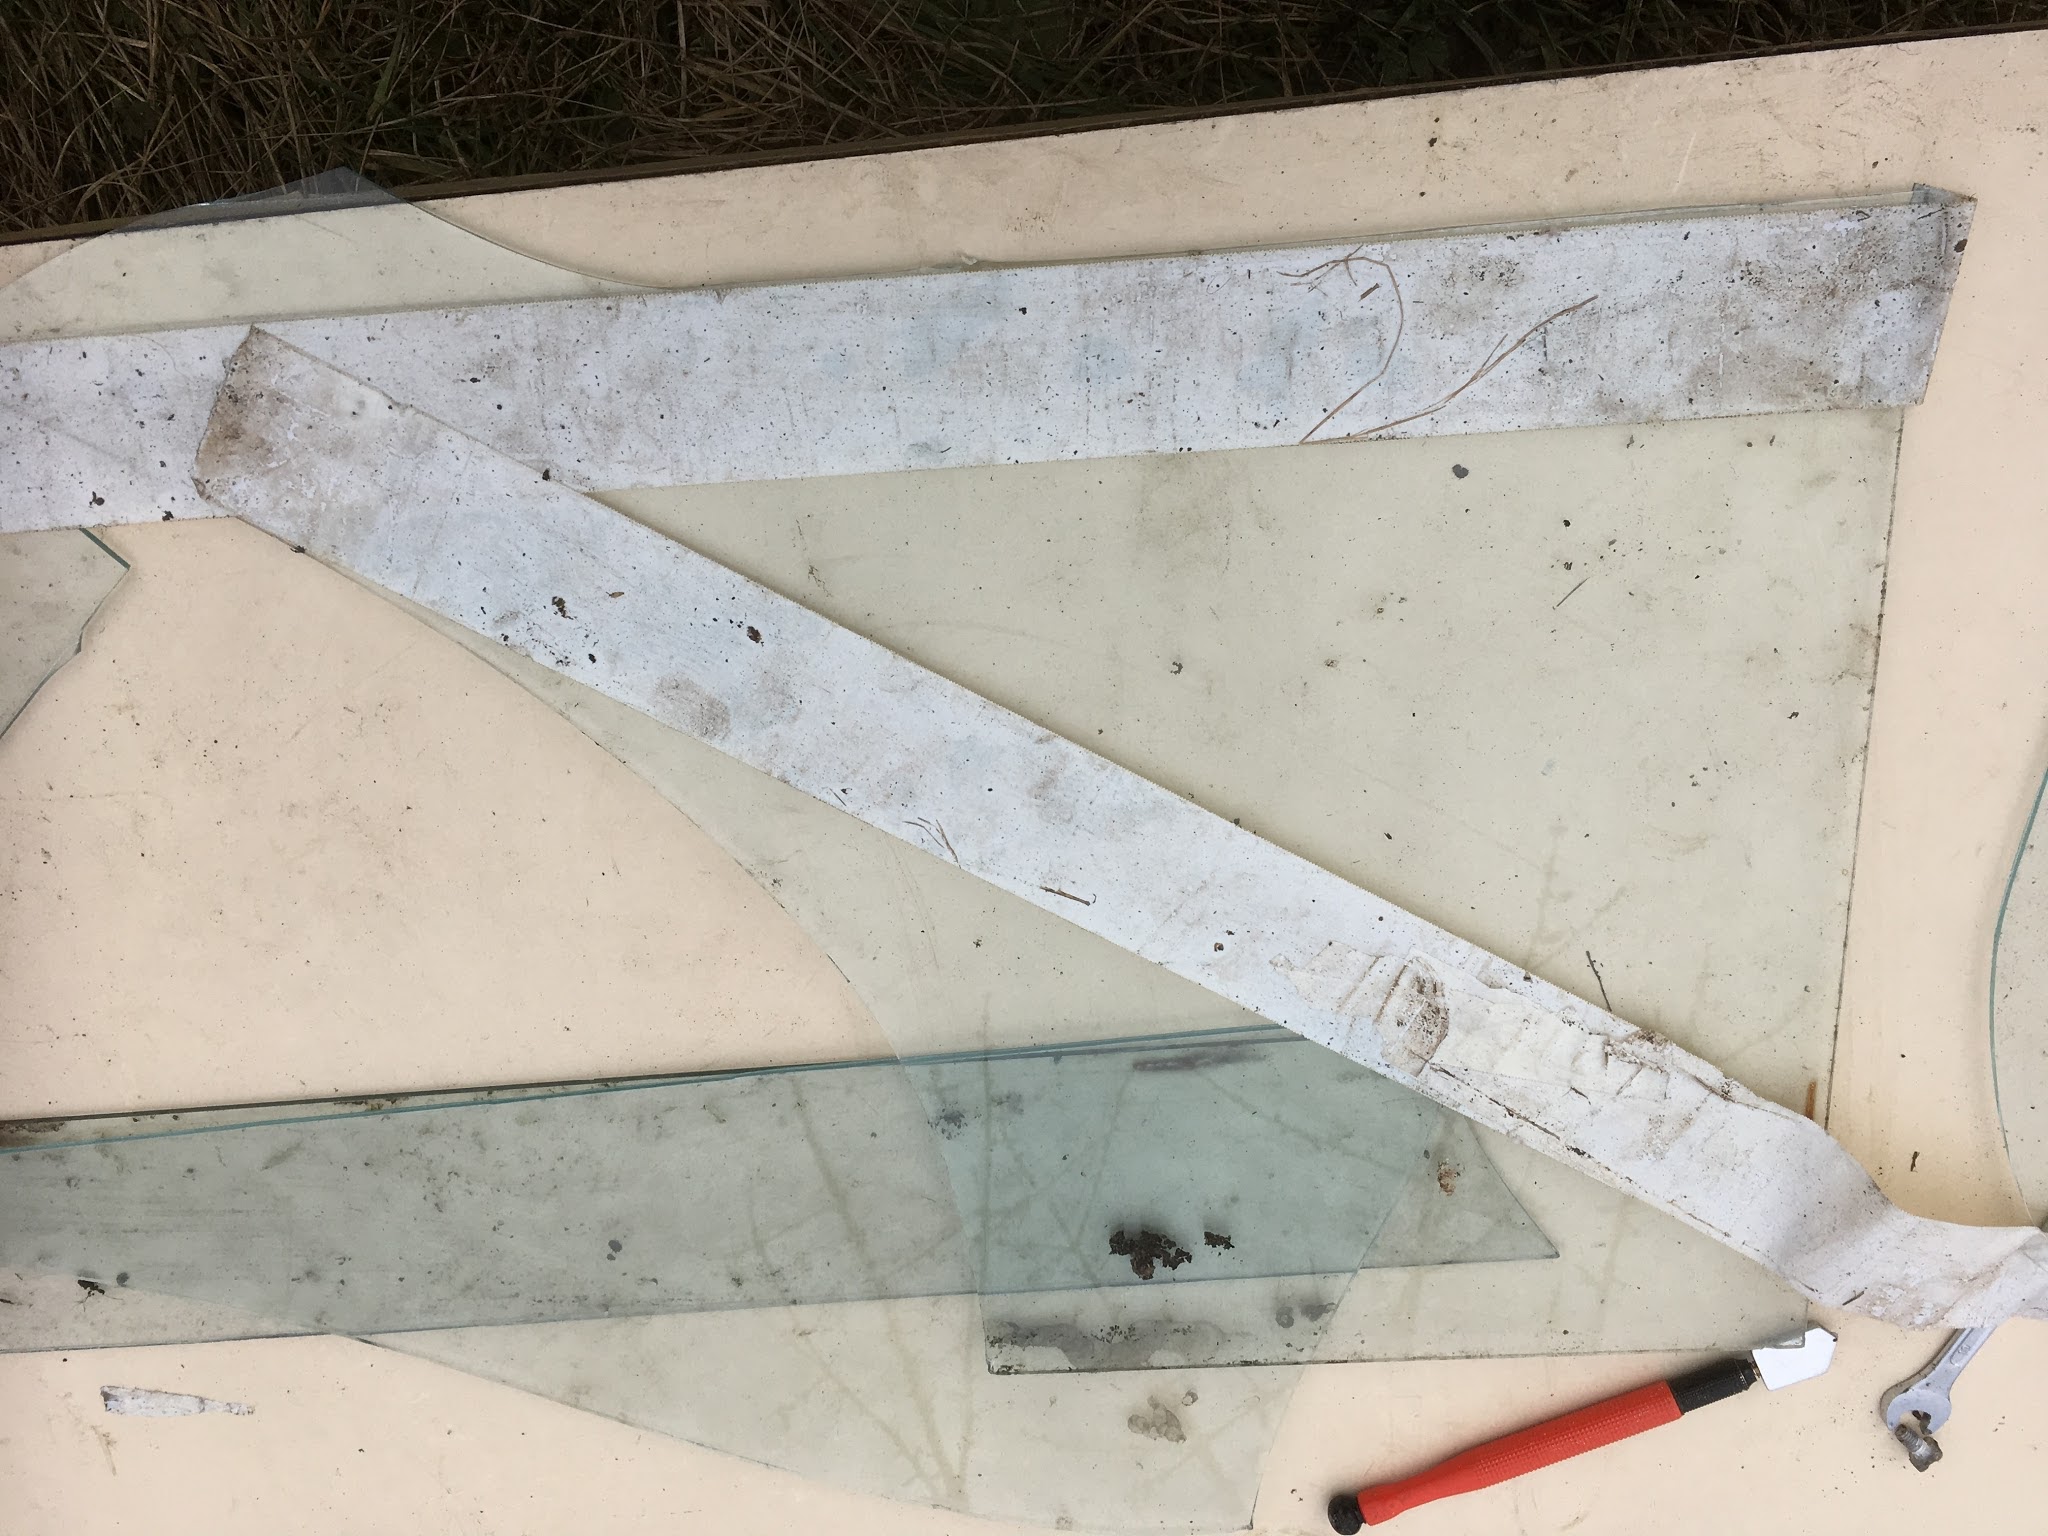
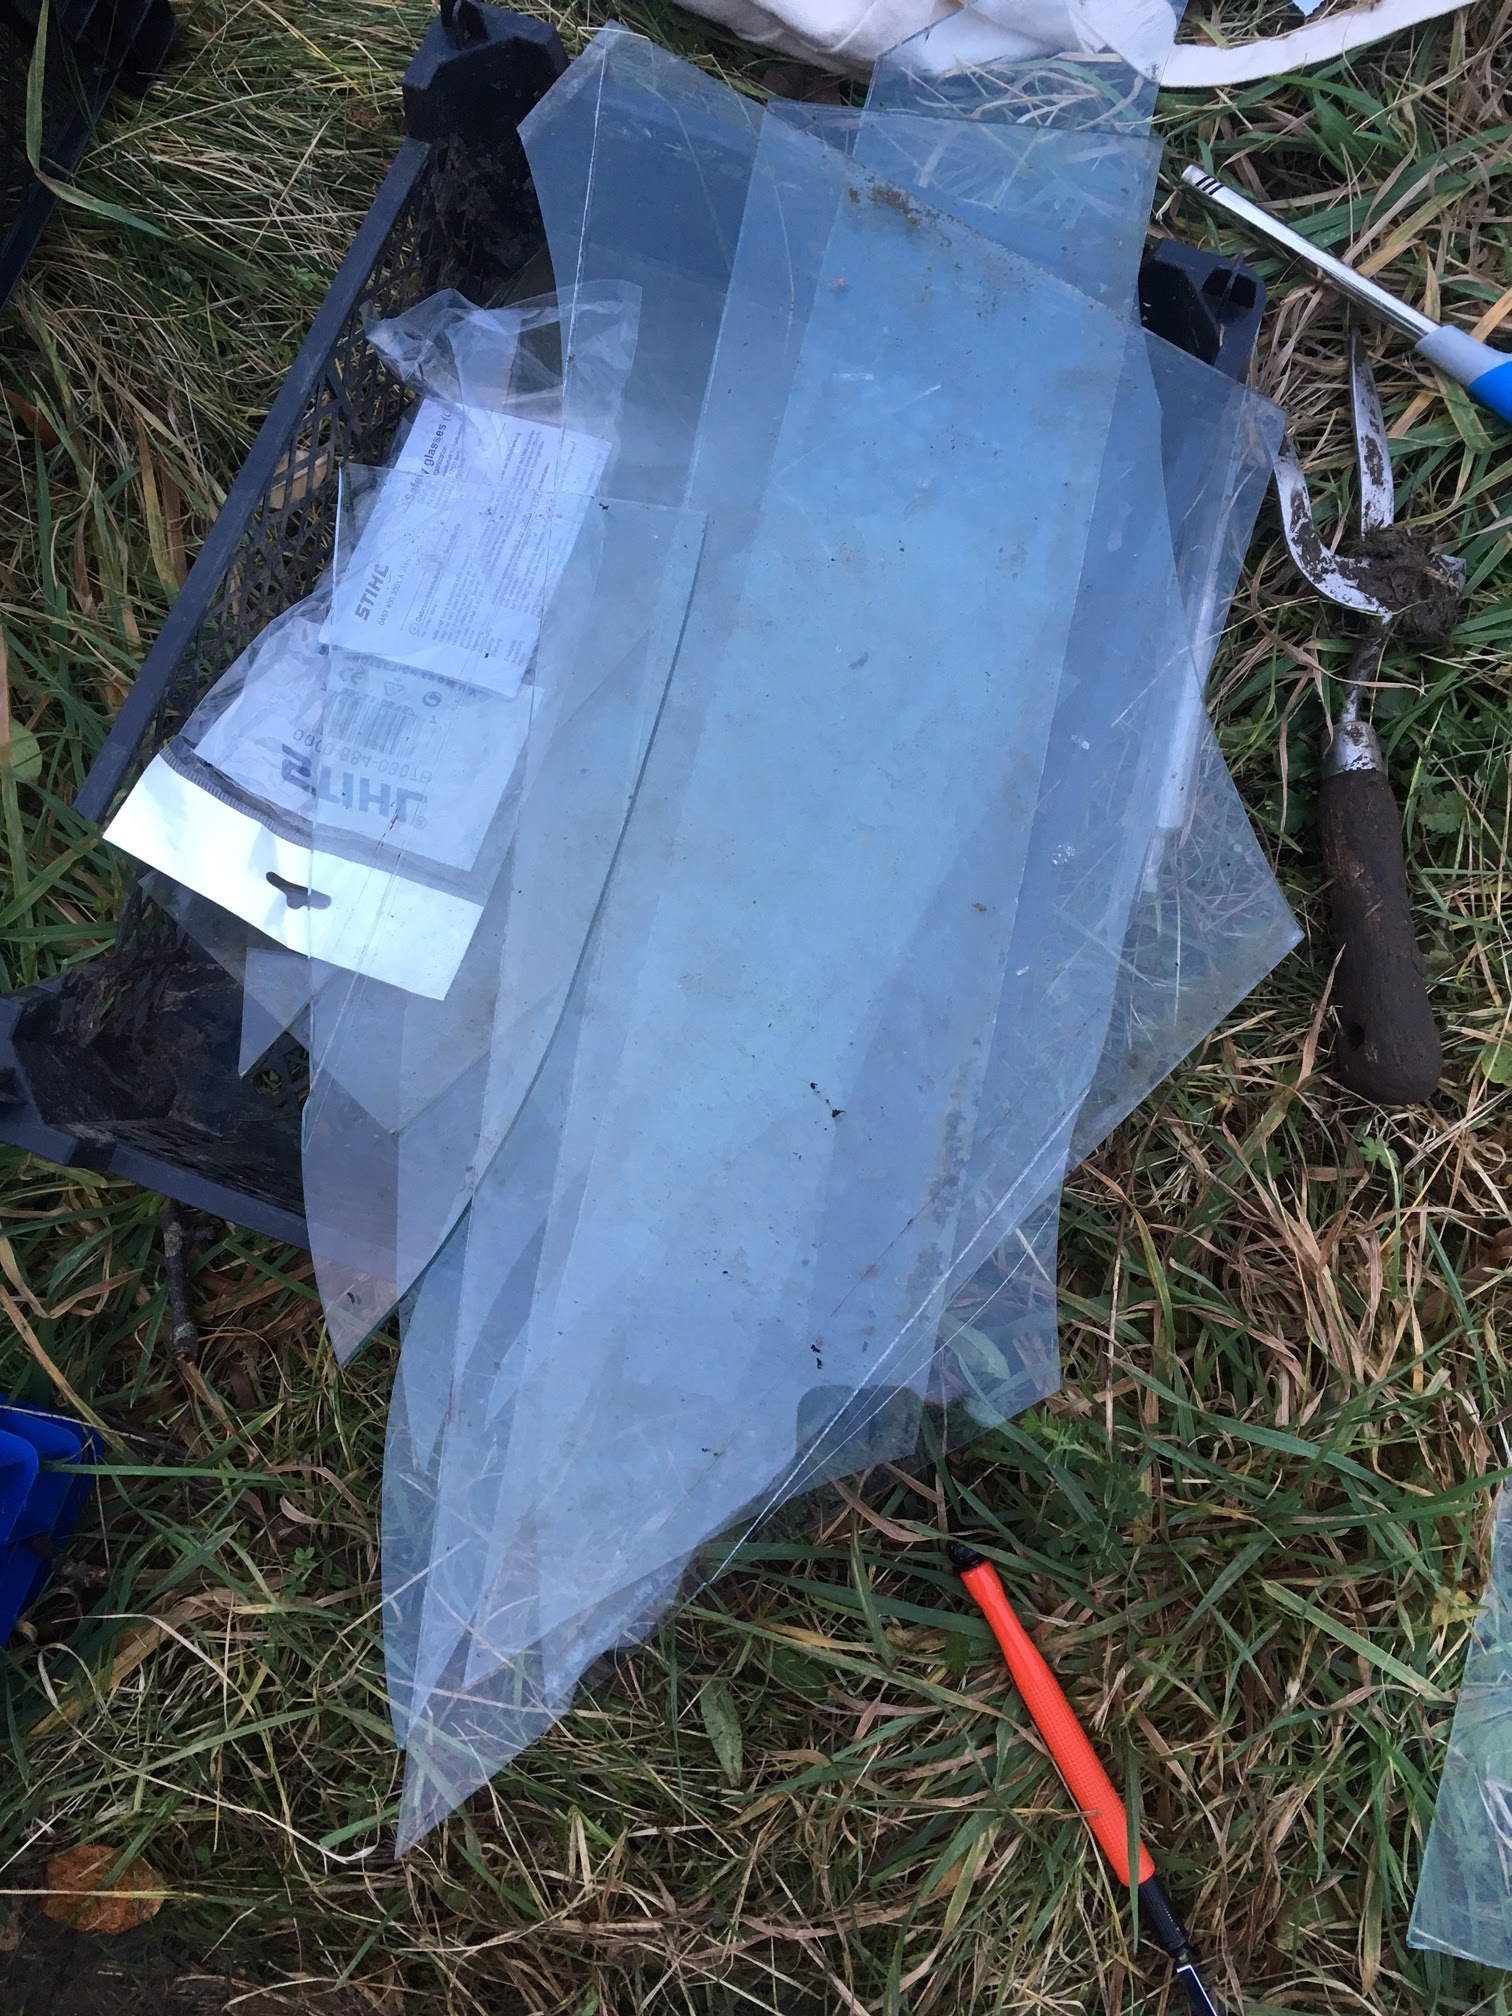 |
| So much glass wasted |
The first thing I realised I needed was a very flat surface, clear of debris. Luckily, my falling-apart shed delivered just the perfect laminate board, so I got myself a ruler and started cutting, with mixed success and a lot of frustration.
Anyway, two months on, I finally seem to have cracked it, thanks to random suggestions from peeps on the web and a lot of practice, and I want to share my tips with you, hoping you won’t waste as many panes, should you have a go.
Essential tools:
- a scorer
- safety glasses
- gloves
- a smooth surface
- a bucket for fragments
- a ruler that covers all the length of the cut and is thick enough not to end up between the scorer tip and the metal head, rather help the metal head slide
- duck tape
- pliers (the standard worked ok, but you can get special ones too)
By trial and error, I found the following worked for me:
- tape the glass inside the part that you want to keep, and score along the side that has to go
- although you can tape only one side, score both sides
- use a long enough ruler to go all the way in one smooth score line
- hold the scorer like a pen; when scoring, try not to stop halfway, and press well: it has to make a jarring scratchy sound as it goes
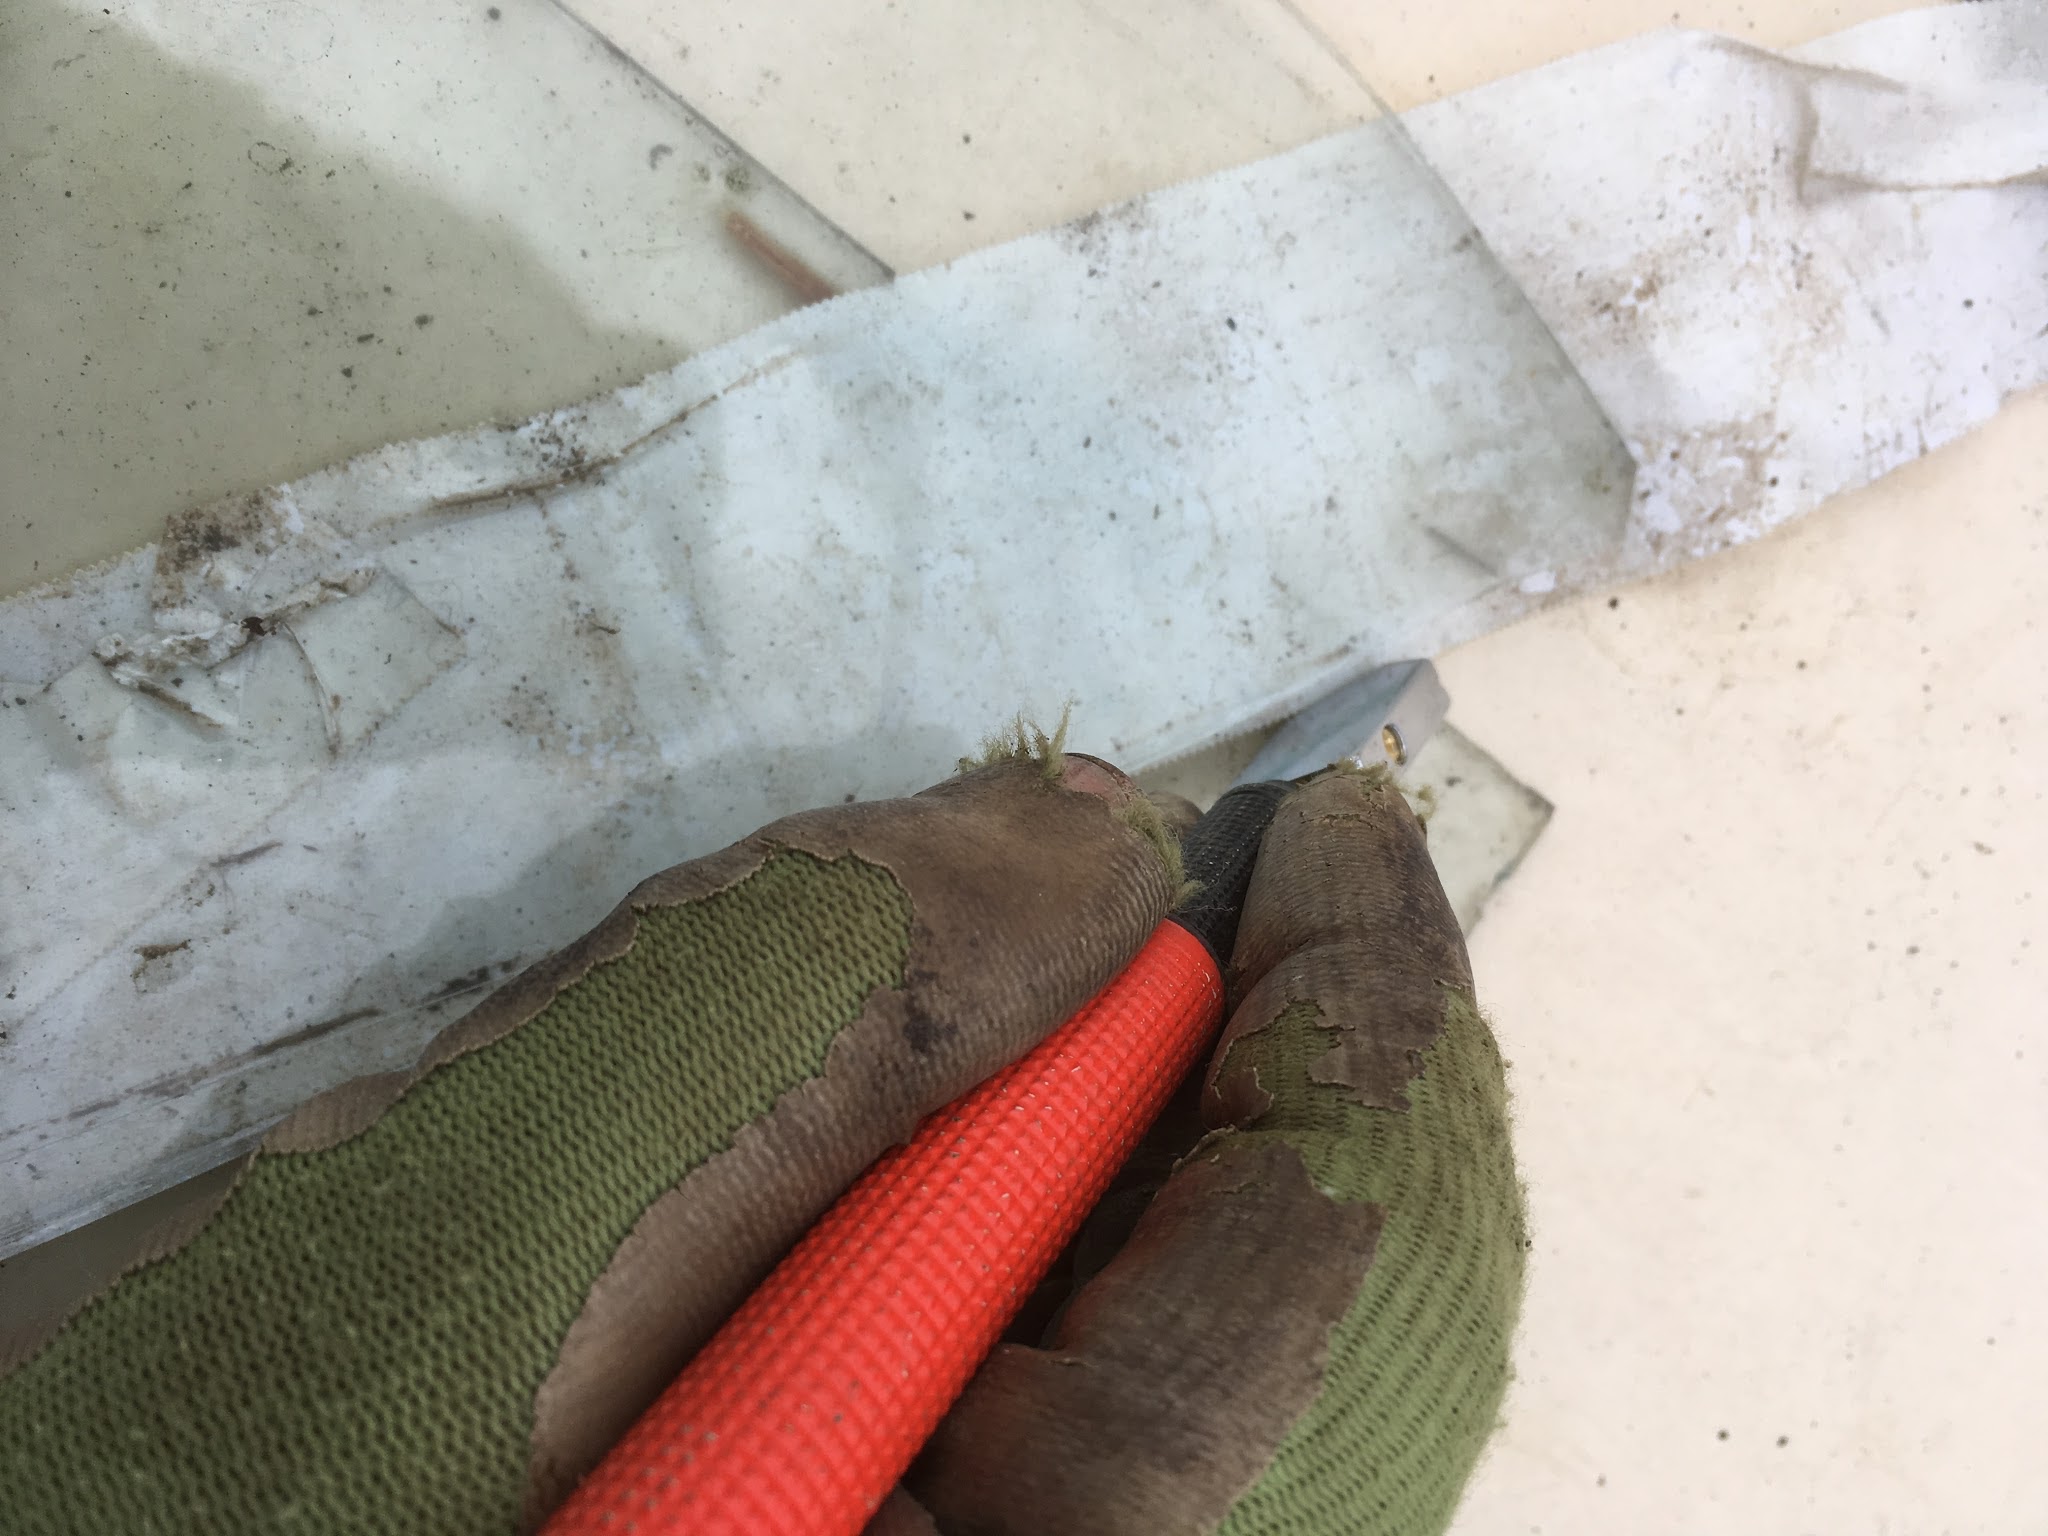
- if the side that has to go is 10 cm or larger
- once you have scored both sides, turn it with the tape side up
- place a glass strip (or similar), long enough to go all the score line and not too thick, under the tape and aligned with the cut
- apply equal and gentle pressure with the palms of your hands both sides of the tape and away from it, until the pane snaps (if you are lucky, in one snap and a perfect straight line)
- if the side that has to go is 10 cm or thinner, there is a high chance the pane will shatter if you apply pressure with your hands: use pliers! If you are lucky and the strip is thin enough, it will come off in one go. Otherwise you have to do it bit by bit.
Ideally, one would sand the cut surfaces too, especially when they are ragged.
I finally managed to do triangles for the roof sides, and that was with great satisfaction!
Both sides that needed cutting were taped, to start with. I was going to score outside the tape (recycled tape so it looks a bit tatty by the third pane, but works).
I used a long fragment of glass (appears in the picture above) as a ruler, placed alongside the tape: you can see that the metal handle is guided by the glass pane in a straight line
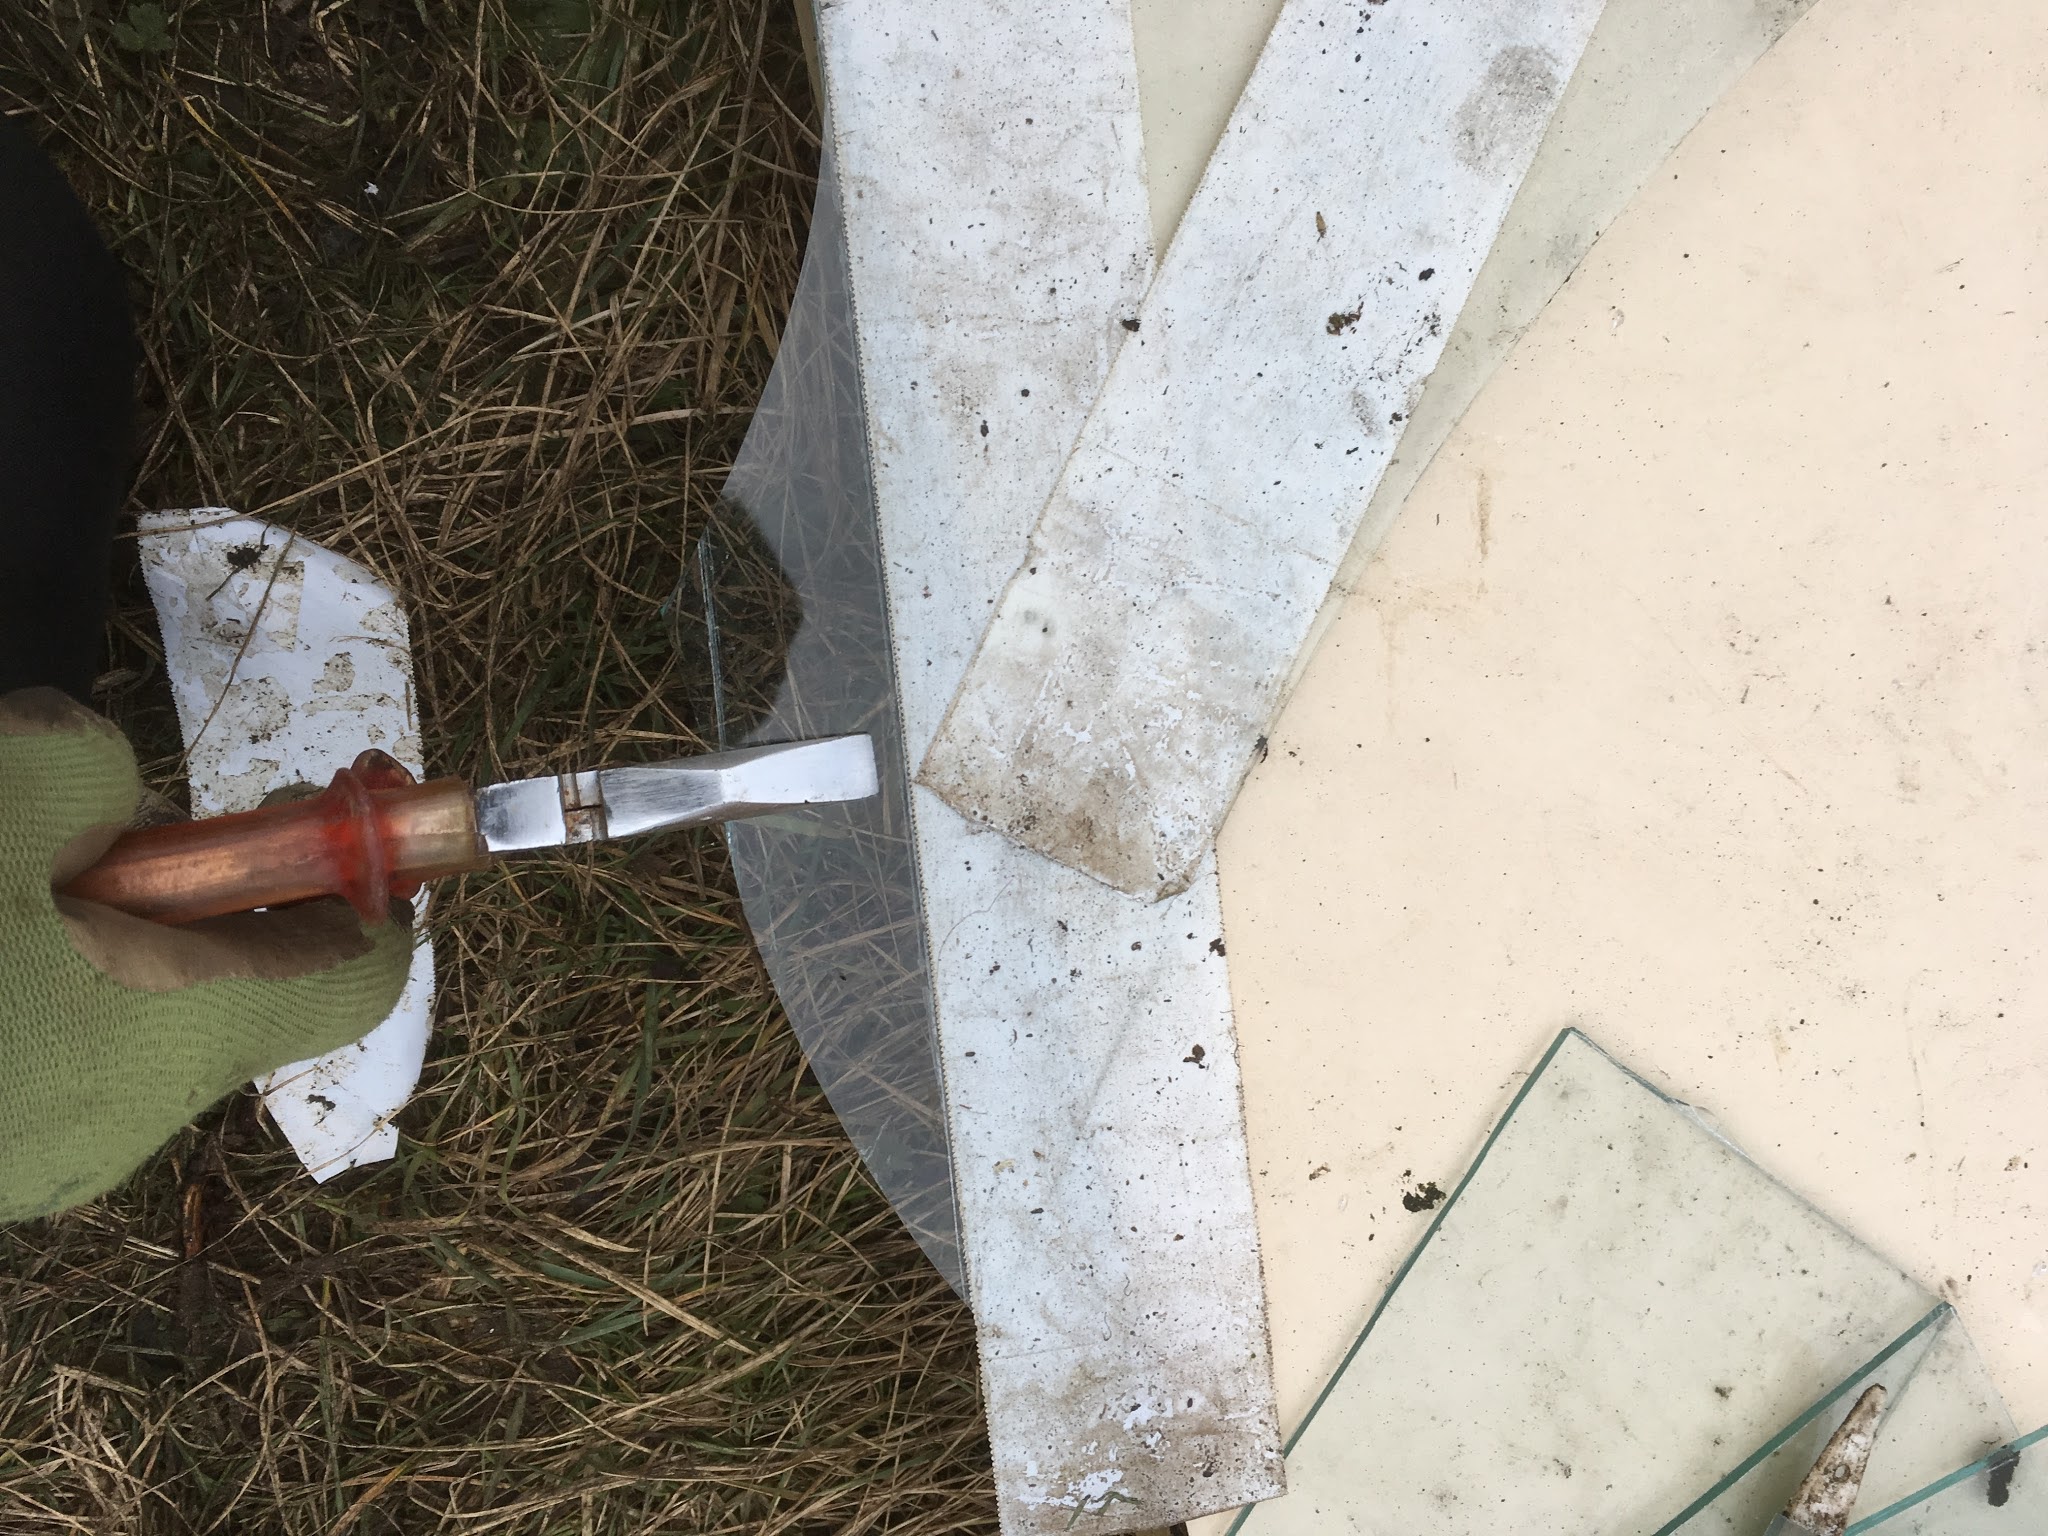
Finally, with the taped side up, I grabbed the glass with the pliers, and pulled gently upwards (don’t forget to wear your safety glasses while doing that)
And… ta-dah!
Unfortunately, in the process I broke too many panes to finish the glasshouse.
Very luckily, I found more panes, thanks to a chance conversation in the office and a lovely colleague, so I will be at it again soon.
 |
| It’s starting to look like a proper GH again |
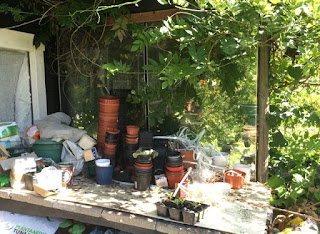
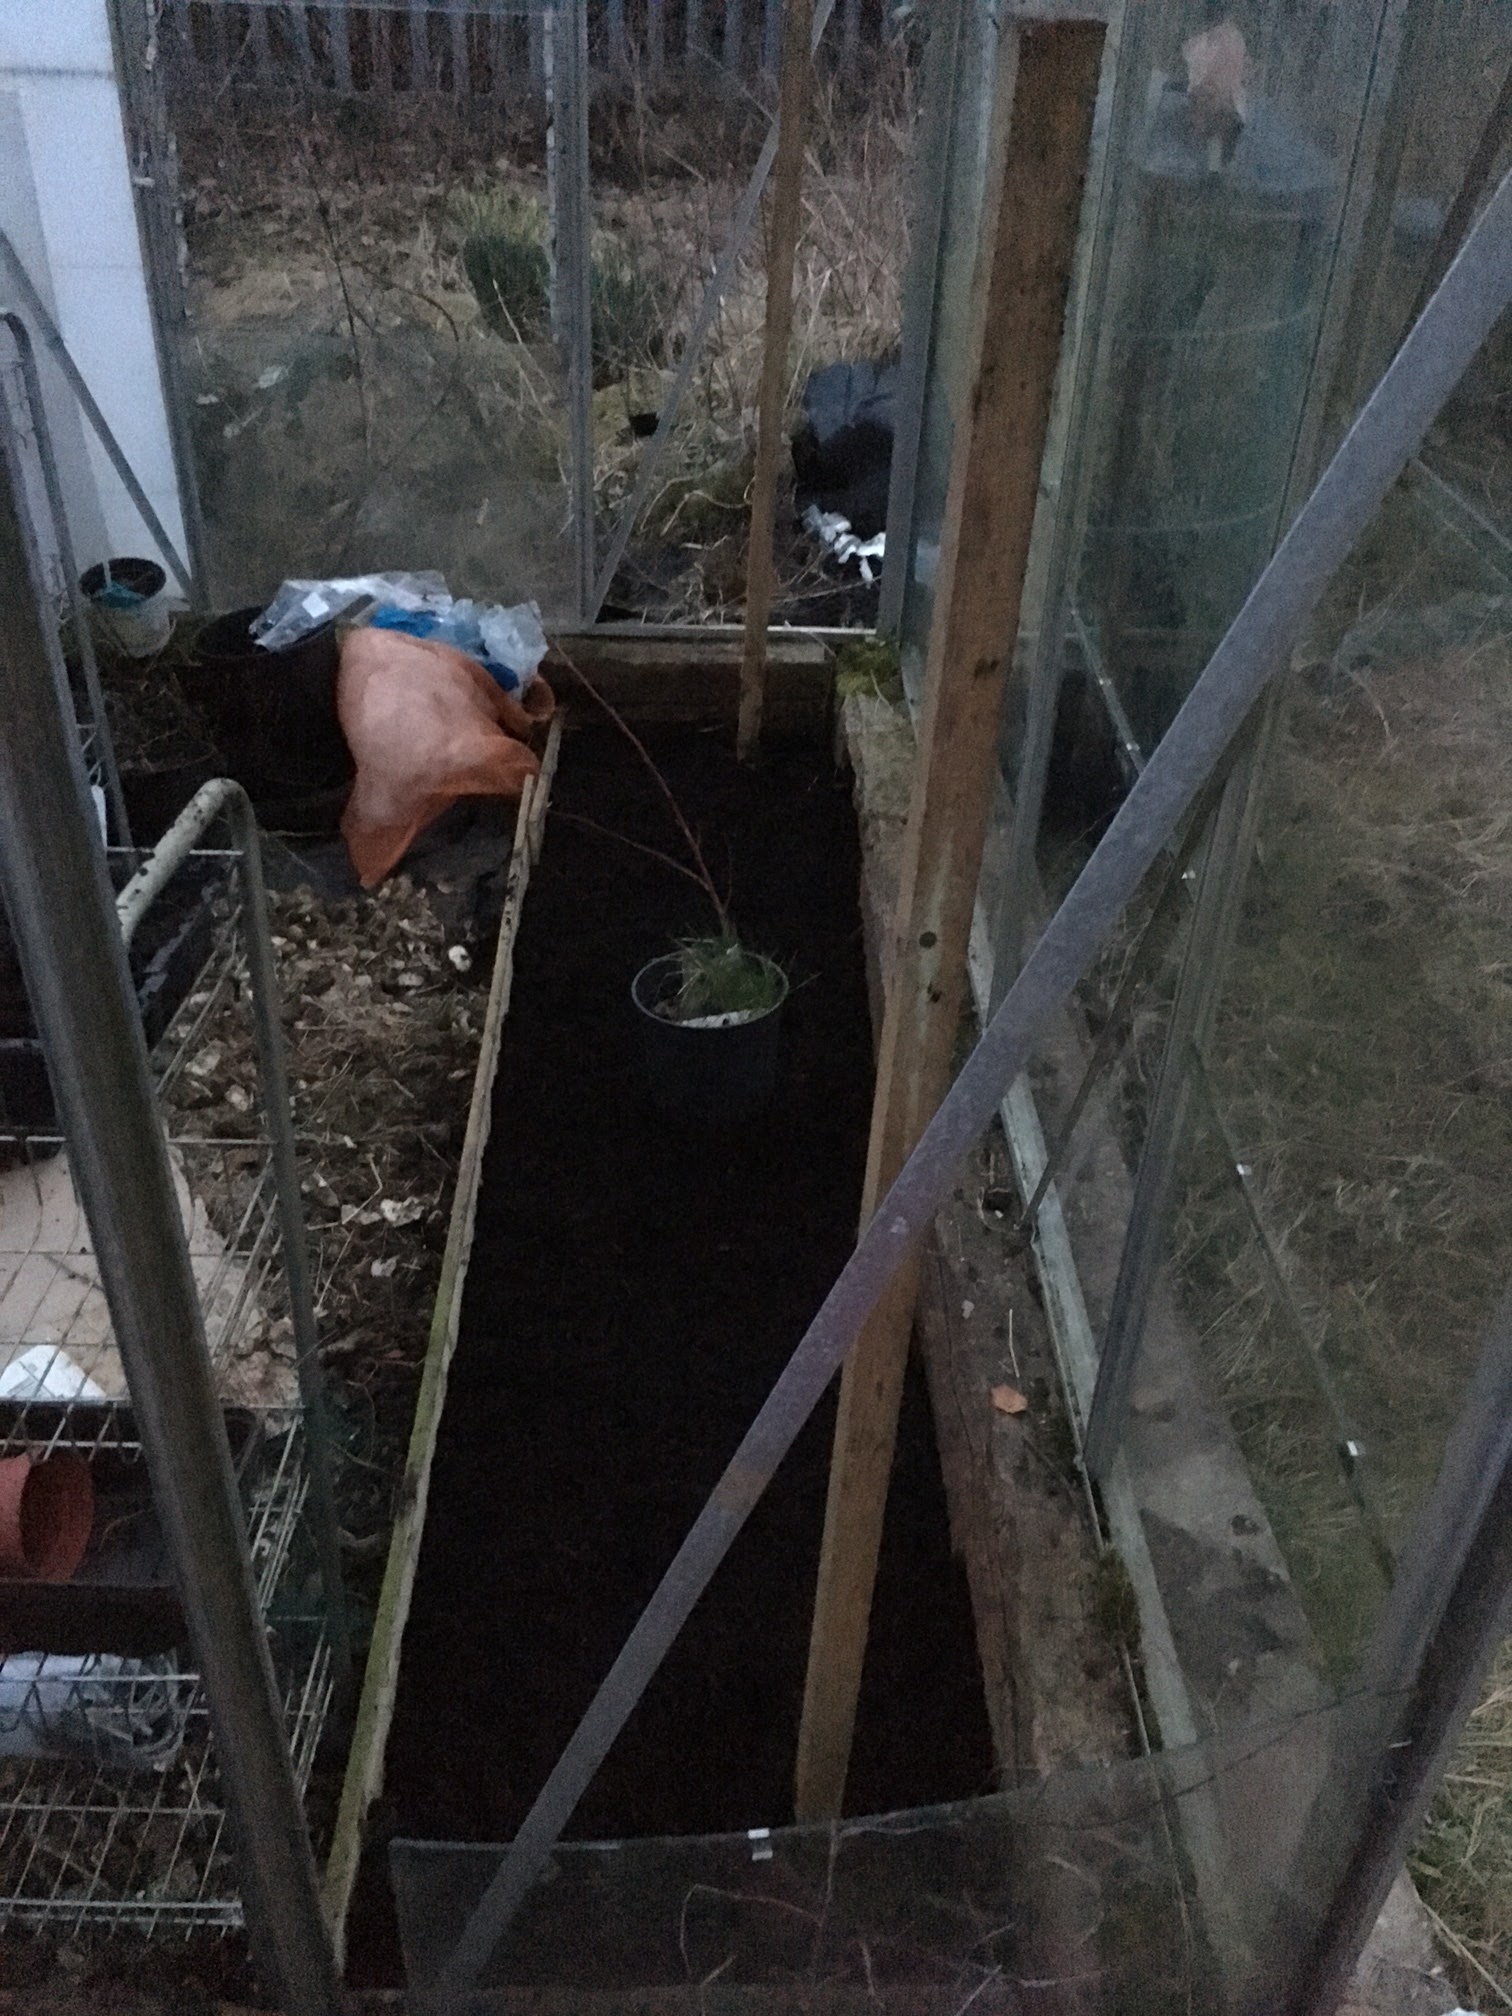
In the meantime, I have tidied up the weedy inside of the glasshouse. I dug two beds, edged them, and topped them with compost, then re-established the middle path, which was flintstones on plastic membrane.
I will have a trained peach on the front bed, underplanted with shallow rooted annuals. At the back (alongside the plot hedge), I want to have a very tall bench for pots, underplanted with annuals. We’ll see…
Happy new gardening year to all!