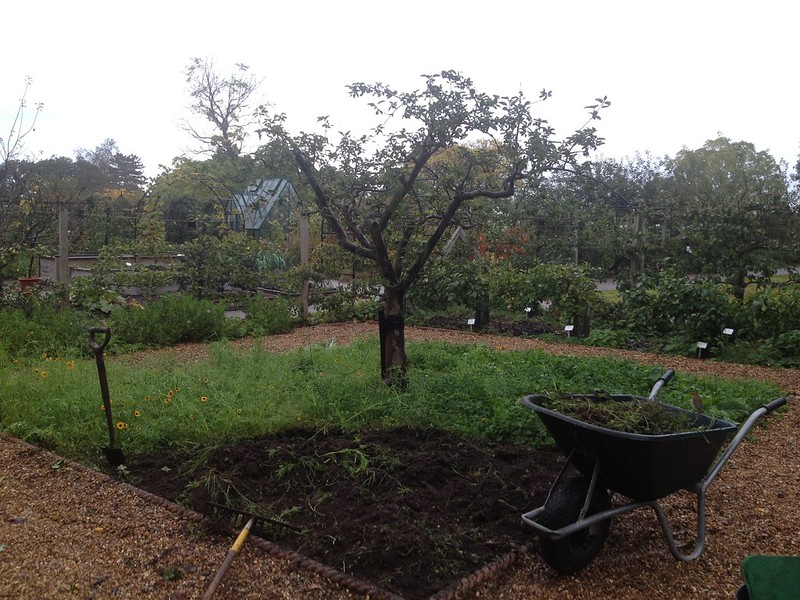
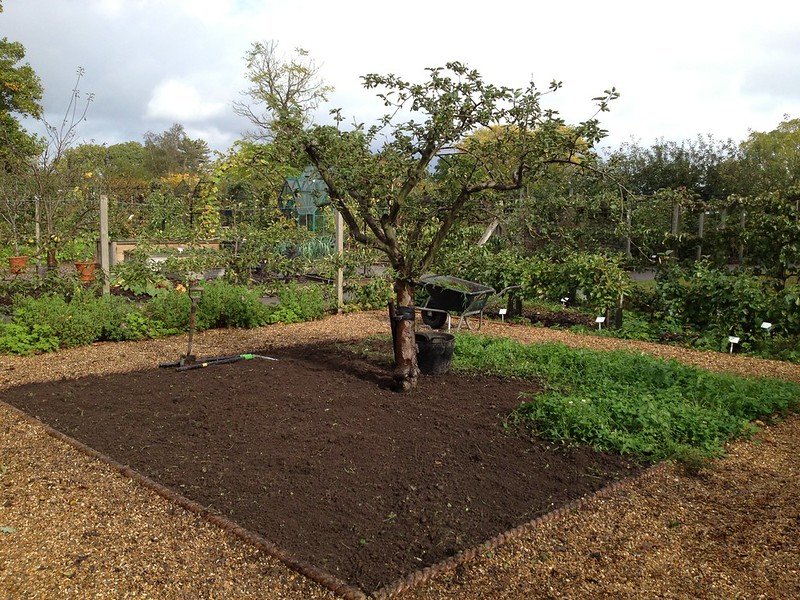
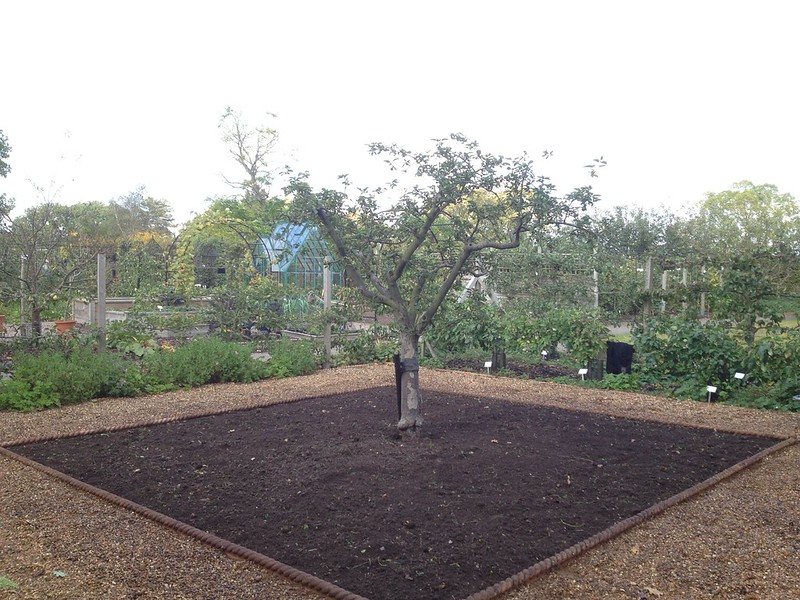
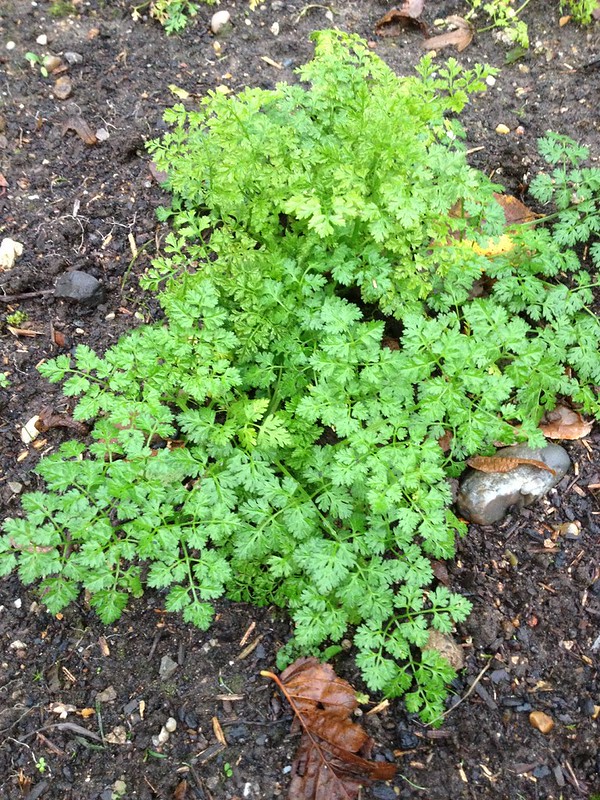
I have spent quite a few nights, planning the revamp of my area, the Cottage Garden in the Model Fruit Garden, and a few daylight hours weeding it and getting to know it close up, including measuring it up and drawing a plan.
The area consists of a formal garden on the left, with straighter lines, and an informal area with curving, fluid lines.
First thing, I sketched it out on a piece of paper. Well, more than one, as it is quite a sizeable area, so I first sketched the whole of it, then, as I started measuring, I needed further sketches of the details. With my sketches and a single tape measurer (it’s better if you have two, one as the baseline and the other for the offsets, saves loads of time, or you can use string as the baseline) I started measuring.
The straighter lines were easily measured as offsets of the boundary lines along the main paths in the Model Fruit Garden, but for the more irregular shapes I had to triangulate: measuring the distance of one point from at least two other fixed ones (some of the triangulation lines can be seen by enlarging the picture below). I then transcribed all the measurements on graph paper, which also allowed me to double check that all the measurements fitted together.
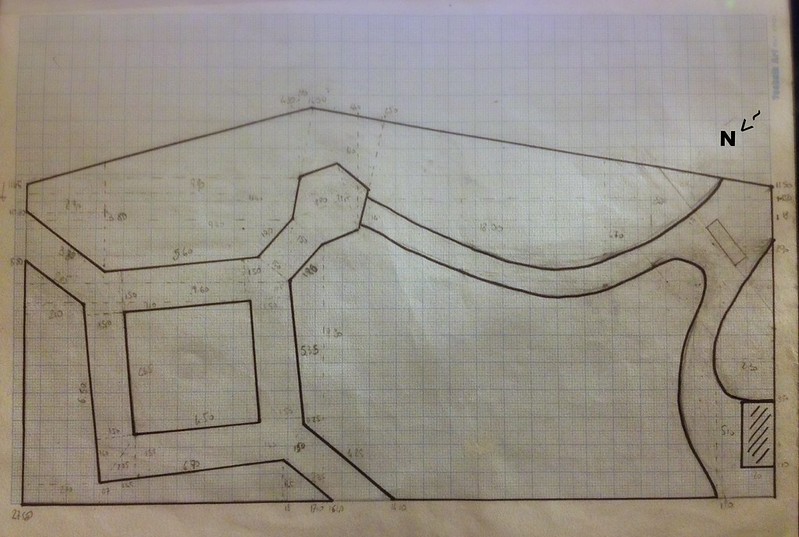 |
| The final plan of the Cottage Garden |
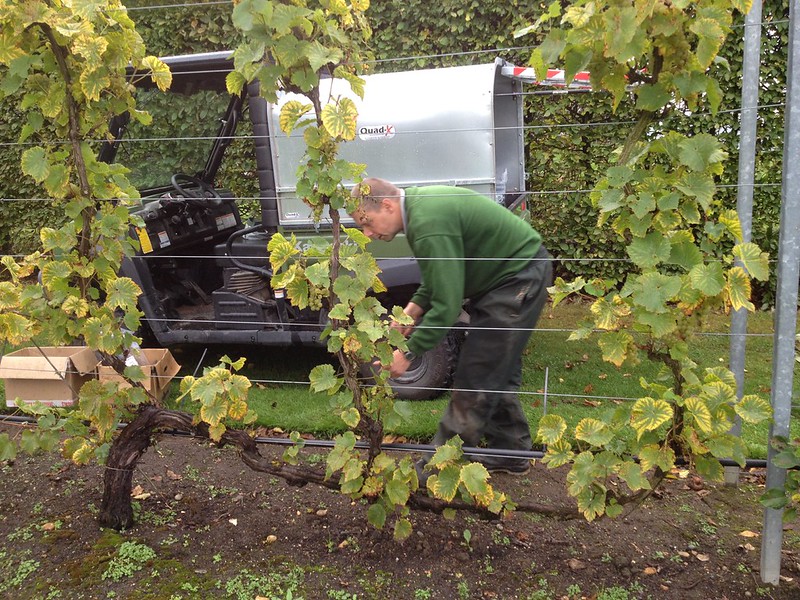
The curved lines were the most difficult to measure and I was so grateful when I had the opportunity to have the Fruit Dept’s intern with me to help with the measuring.
Once the map was drawn, I used tracing paper to draw the existing trees (in permanent green ink in the picture below) and to experiment with ideas on how to move shrubs and what to plant in which layout. While this is still very much work in progress, I have had the opportunity to discuss a first plan with my manager, and to amend it based on our discussion. While this is still very much work in progress, two main ideas have emerged clearly for me.
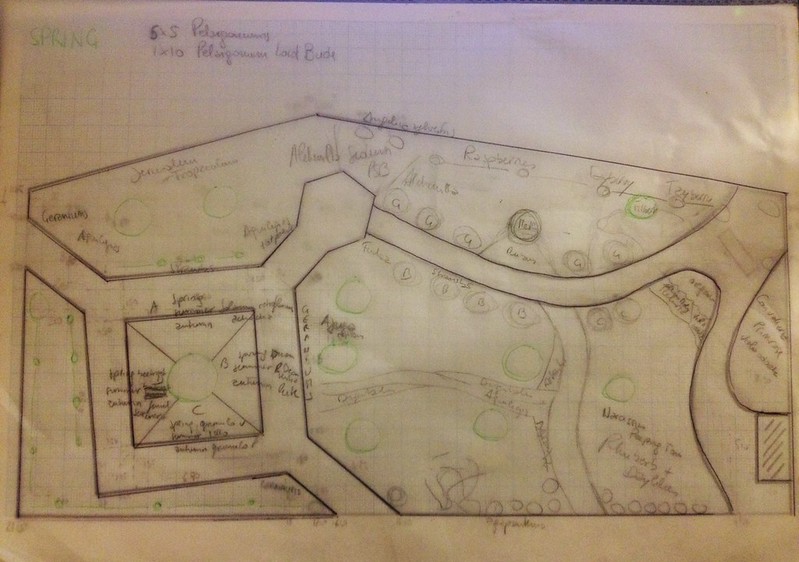 |
| Second round of ideas for the Cottage Garden |
First of all, I would like to use the square bed in the formal area as a little potager, with seasonal planting of interesting and decorative fruit and vegetables. I would like to structure it as a four year rotation space, with four areas, separated by short hedging. The central part of the bed is already planted with a Malus, so that will have to separated by hedging too, so as to accidentally damage the roots of the apple tree. After debating options with my colleagues, I decided I would like to use a box substitute for my hedges, as that would be rather educational and in keeping with the area’s objectives. In fact, the spread of box blight (Cylindrocladium buxicola and Pseudonectria buxi) which causes dieback and bare patches, has encouraged exploration into alternative hedging and topiary plants – not that that would be a novelty, as over the centuries several plants have been used: from Hyssopus, to Santolina, Ilex creata or Myrtus communis. I would like to experiment with Lonicera nitida, which is suitable for both hedging and topiary – I like its graceful leaves and purple berries (when not clipped).
Also, I think a path should be dug across the informal area, to allow access to the three trees located in the middle of the bed and a closer experience of the planting for visitors. The jury is still out on this feature.
Next step is to draw up a list of plants suitable for shade, as this is mainly a shady area, due to the line of tall Carpinus planted just outside the area to the East, and the beautiful and sizeable trees in the Forage Garden to the West.