So today was my first day in the arboretum nursery. July is the month when the Kew Diploma students in the 1st year finish their classes and go back into the gardens, so with me was also a student, new to the nursery.
We were shown around, and then assigned an area to take care of.
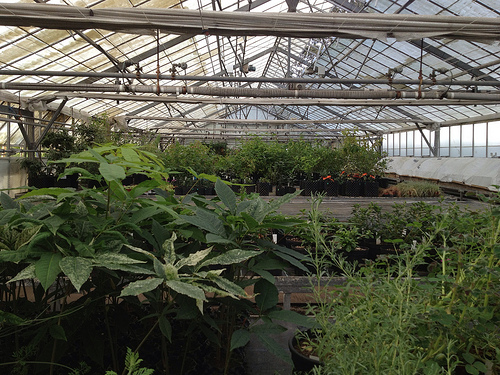
For the next two weeks, I will have responsibility for temperate greenhouse 30A. Inside, some rootstock plants, bedding plants (i.e. Euonymus fortunei) that will be used around the Palm House, some propagated Ilex from the holly walk that need replacing, and the collection of rhododendrons that will be used to populate the new area when it is ready (as the soil is getting impoverished in the current area and the stock needs rejuvenating).
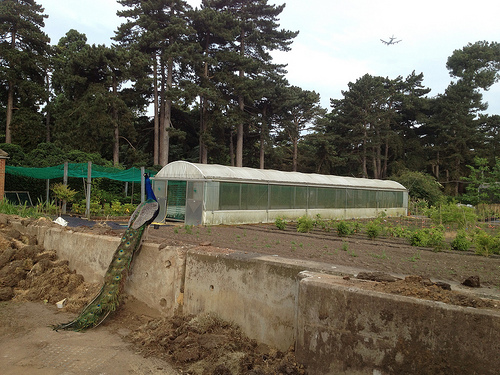
I am also looking after the two polytunnels (one here portrayed with peacock and plane, two of Kew’s most characteristic sightings!) where some plants are grown on before going off to their final destination.
The day starts with taking the min/max temperatures from all the houses and polytunnels, and checking that the mist unit and hot pipe are working. Then it’s watering of those plants that need it. I find this task quite daunting, as I am very conscious that overwatering can kill more than letting plants dry out. Roots cannot get oxygen from soil that is waterlogged, so they cannot perform respiration, they die and rot.
In order to check that a plant needs watering I am looking at three things:
- the surface of the soil is dry; that is not enough however, because the surface is what dries first and underneath the soil might still be wet;
- probe to see if soil is wet underneath the surface, looking under those pots that have grids instead of bottoms or even opening those pots that can be unrolled (if in doubt);
- weigh the pots: if the soil is dry they will be rather light compared to those with wet soil in.
It’s raining on prom night (Week 12, Friday)
Not really to do with prom nights, but it is my last day on the South Canal beds (at least for a while), but it was raining today, which slowed me down considerably even though I was working under cover of some trees. As a result, I have not finished what I was planning to do, and, even though I did not end up with flu (as the song goes), I felt a bit like the ‘cruel force of nature’ was doing it on purpose to spoil my plans! Anyway, we desperately needed rain and it is highly likely I will come back to the South Canal beds after my stint in the nursery, so not much of a deal, really.
 |
| Weeded out Cotoneaster |
It was mainly about clearing bindweed, the last of the garlic mustard from the other day, overgrown Rubus, and a couple of large bryony (Bryonia dioica) and bittersweet (Solanum dulcamara) plants. Oh, and the usual self-seeded Cotoneaster, grown to shrub size, unnoticed in a hidden spot.
 |
| Front, before |
 |
| Front, after |
 |
| Front, panorama (click to enlarge) |
 |
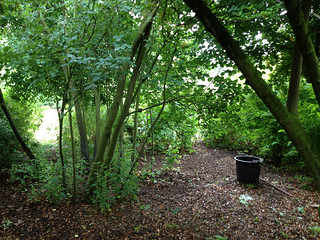
| Back, before |
 |
| Back, after |
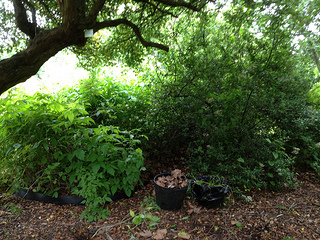 |
| Back (2), before |
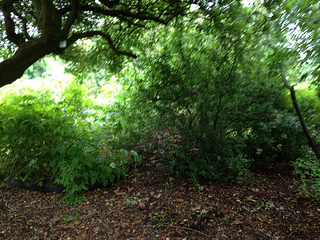 |
| Back (2), after |
 I seem always to find something that fascinates me, when I work with plants, even in the more mundane of tasks, like weeding and cutting back. Today, I found this Spirea leaf, and then a few others like it. Something obviously went wrong when cells were dividing to make the leaf lobed and dented, which is obviously not a simple pattern, as any of you that are knitters know (casting on and slipping stitches…). The leaves (like a bad knitter might do) seem to have produced too much tissue, which got grafted in the required shape, with all excess just curled up underneath the leaf…
The work experience lad (Week 12, Thursday)
Back from my study leave and RHS Level 3 exam (that was a long day, as I was taking the first part early in the morning and the last one in the afternoon) I knew I would have to take care of a work experience lad for the day.
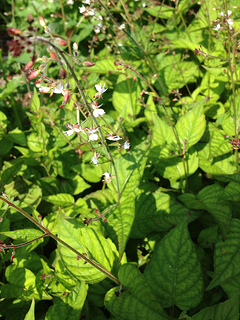 |
| Circaea lutetiana |
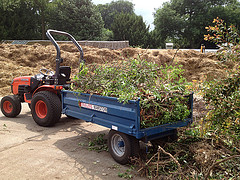
Tipping the trailer (Week 11, Friday)
The reason why you may not see all the diary entries published online yet is that I am preparing for my RHS Level 3 exam next week, not that I am working or learning any less (or having less fun).
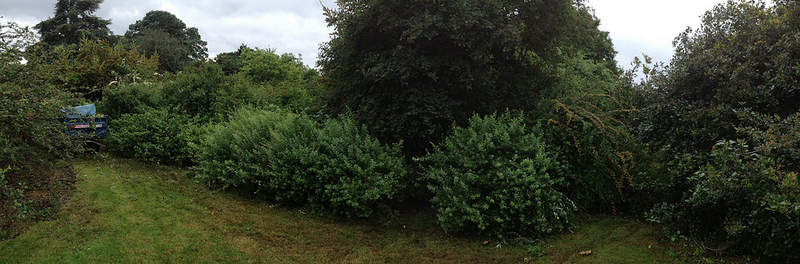
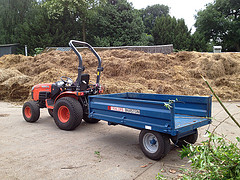
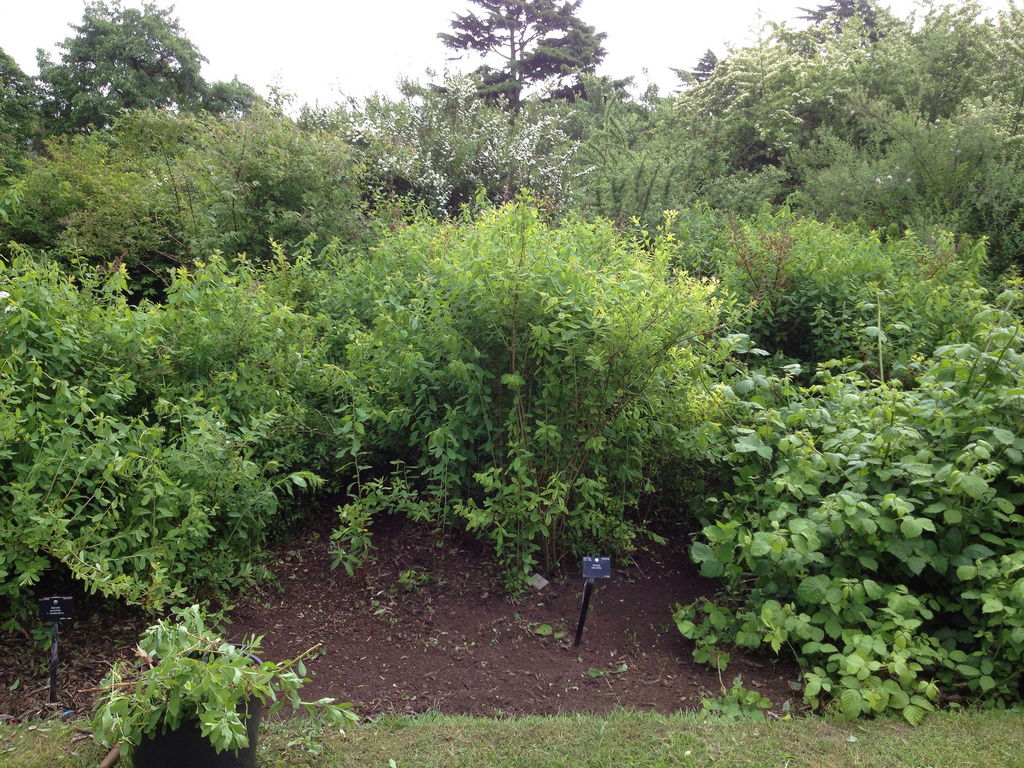
I am still clearing the middle bed of dead wood and overgrown plants, so that I can complete the stock-checking with some accuracy. I am so engrossed by the task, and on such a tight schedule at the moment, that I forgot to take a “before” picture, but here is the panorama view of the “after”: in front of the tractor is where I finished, behind the tractor, where I still have to work.
| (click to enlarge) |
And, from the front of the bed, you can now make out the individual plants: two Spirea on the left, two Prinsepia on the right, and the Spirea in the centre at the back, instead of an undifferentiated mass of greenery.
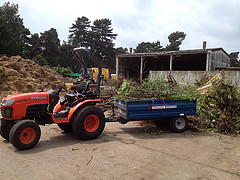
Going to and fro from the yard with my loaded tractor today, I thought it would be nice to talk about tipping the trailer, especially as several of my friends (girls in particular!) have been almost as excited as myself about my driving a tractor.
In the yard (where our compost heap is), we sort our loads in two groups: the green and the woody, which will be turned into soft and woody mulch respectively. Today I was tipping woody material.
Before driving into the enclosed compost heap working area, you have to wear a hi-vis vest, so that any moving vehicle can see you. Of course, if there is any moving vehicles, especially the big tractors, or when our colleagues are working on shredding wood etc, you have to wait at the entrance until you are waved in, for safety reasons.
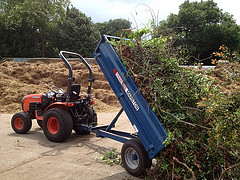
Once you drive in, you approach the relevant heap area and reverse your trailer as close as possible to it. Then get off and a. open the back flap (when the load is not too high and likely to slide through it) b. remove the back flap, as I did, my load being quite big and full of branches that would get stuck.
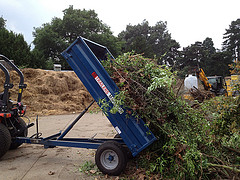
At that point, operating a lever will get the hydraulic hoist to lift the trailer, ready to dump. Once the trailer is up, driving backwards and forwards a little bit with great care (a lifted trailer is easily overturned, so you have to make sure the wheels are both safely level on the ground) will cause the load to slide off, in a neat, contained mound. Well, sometimes you have to help it along, as some branches might get stuck… they did today. What you should not do is just drive forward, as you would scatter the content all over the place.
Then you lower the trailer, before replacing and fixing the flap, and driving off: mission accomplished!

Incidentally, today I realised that, if you are interested in compost making at Kew, including us tipping tractors etc, there is a raised platform for visitors to watch all the proceedings live 🙂
Gallium aparine (Week 11, Thursday)
While pulling the Alliara, I found myself covered in cleavers (Galium aparine), another weed whose name I have just learnt, despite being familiar with the plant from the plot at home.
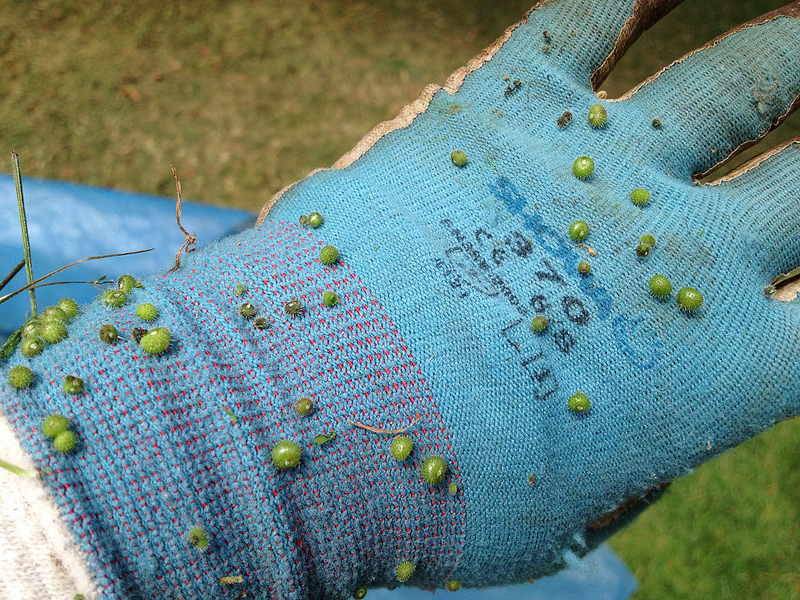
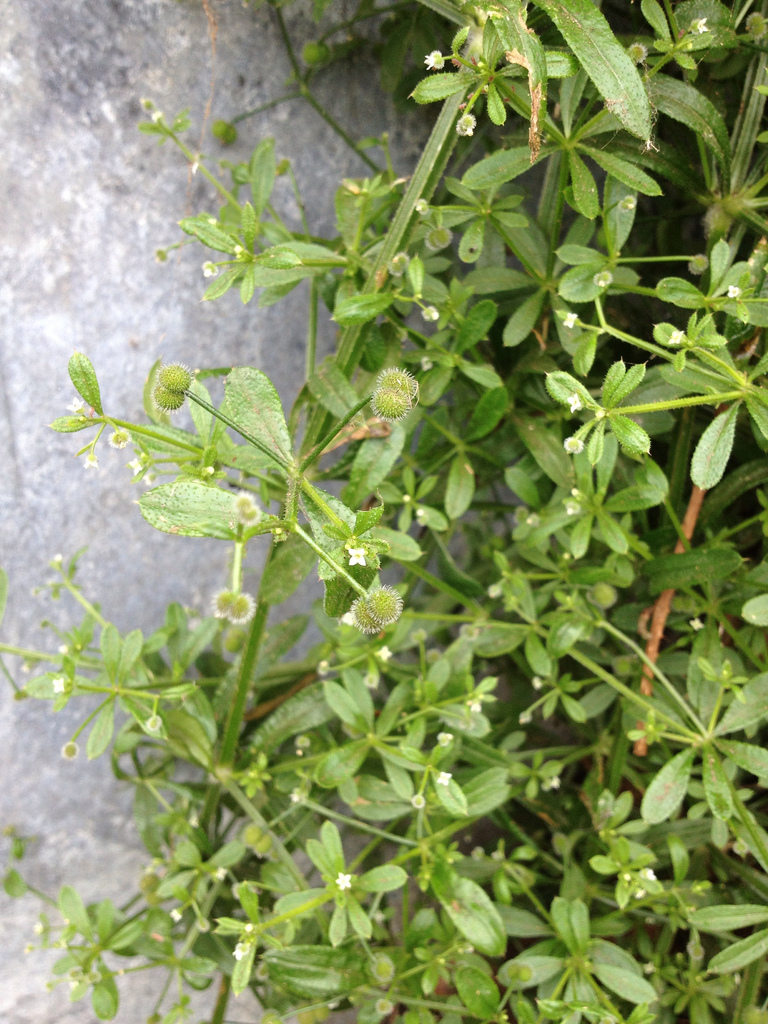
Amazingly effective, cleavers, in, well… cleaving to whatever is at hand. Seed are not the only part of this plant of the Rubiaceae family endowed with hooked hairs either. The stems are covered with them and so are the leaves, which make for the perfect climbing arrangement.
Try and disentangle it from a Spiraea as I had to do today and you will know: perfect adaptation, it is…
The plants itself is rather pleasant with its whorls of bright green, oblanceolate leaves on four-angled stems and dainty white flowers (if only it was not that invasive) and edible (which could help keep it in check as a weed)
I was starting to think it would take me all day to get rid of the seeds from my shirt, when I felt as if something was tapping me on the back. Then again.
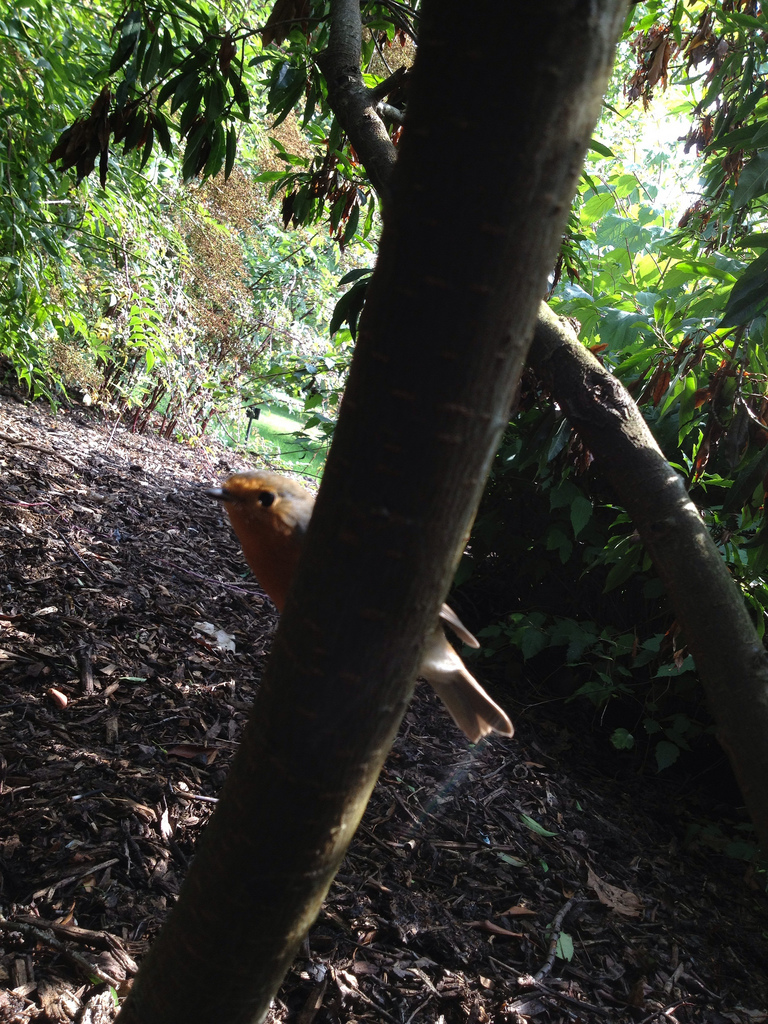
It was then that I realised it was the robin that had been following me, while I was weeding in between the shrubs in the middle of the bed, from a couple of metres’ distance.
She had become bold, and started using me as her bird feeder. Not that I minded, so I kept weeding in the area, under the canopy, until she had had enough.
Garlic mustard (Week 11, Wednesday)
 |
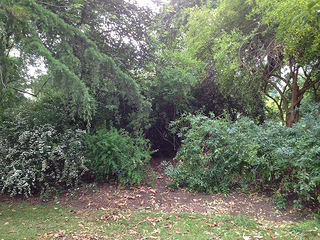
| The front of the bed |
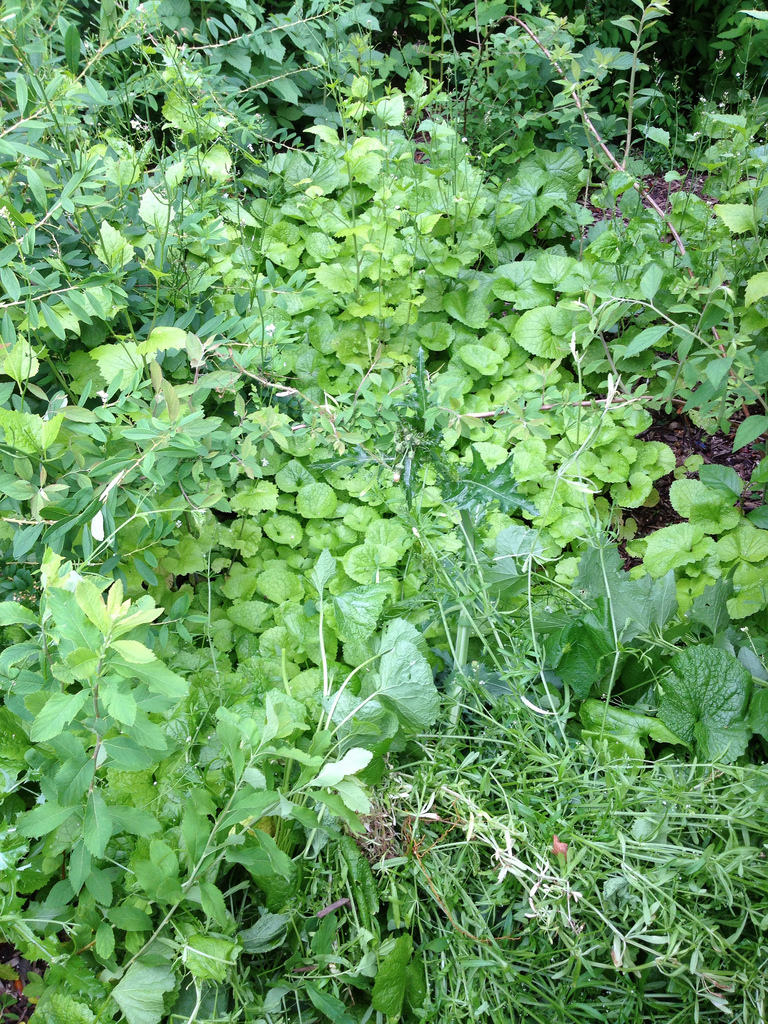
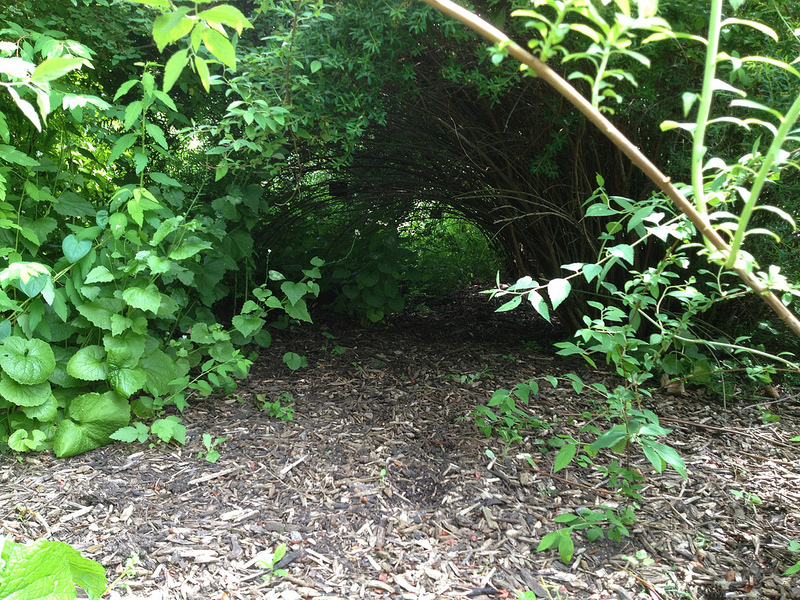
Weeding week this week, and having done with the front of a bed, I decided to step inside, behind a wall of Spiraea… where I found what I can only define as a plantation of garlic mustard (Alliaria petiolata) aka Jack-by-the-hedge!
 |
| Just behind |
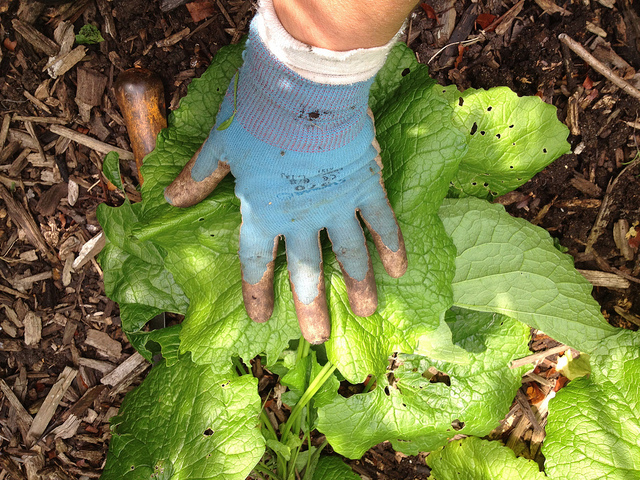
It was actually quite something: I had never seen so much garlic mustard together, and certainly not leaves larger than my hand; definitely thriving back there in the shade.
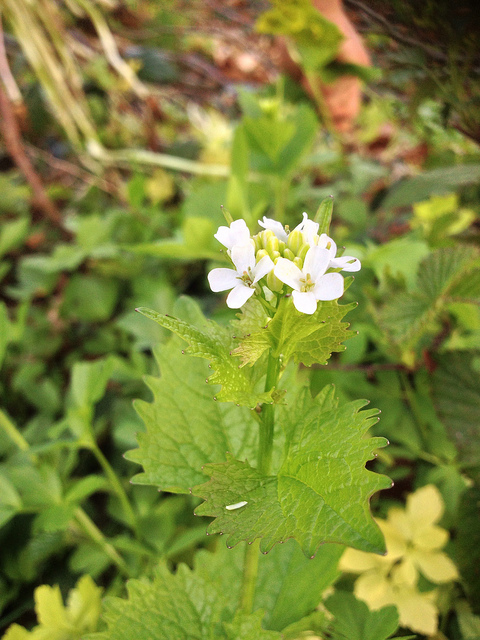
I have never made use of this herb of the Brassicaceae family, which is said to taste of garlic and mustard. It certainly smell garlicky when being pulled out.
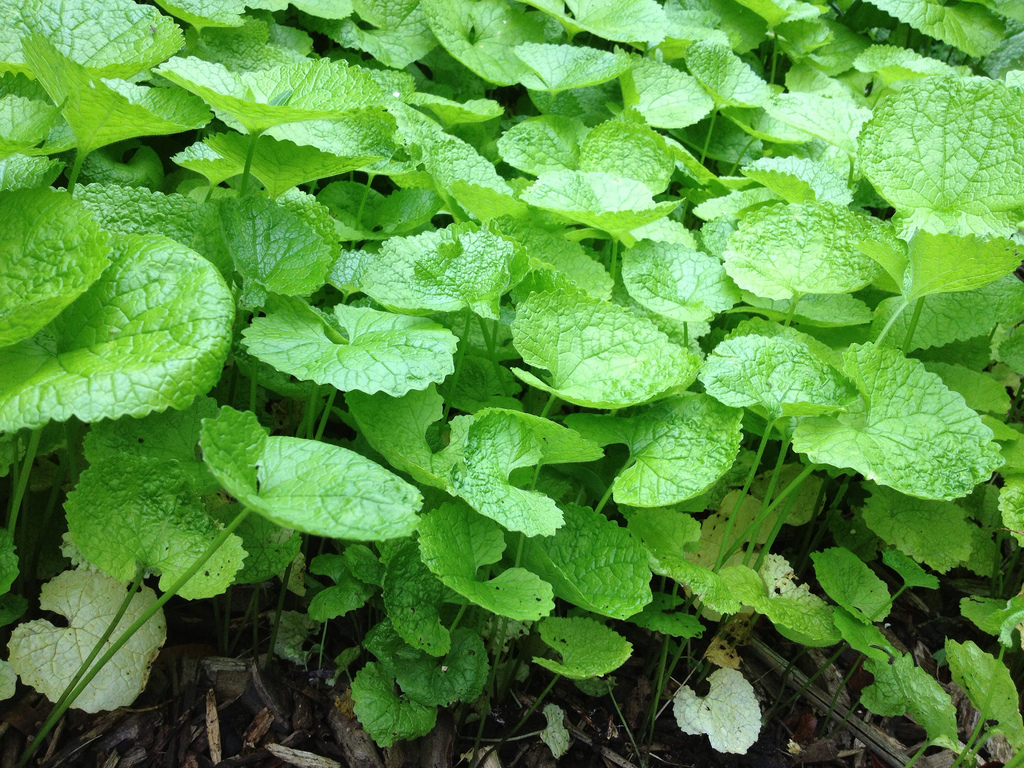 |
| First year’s leaves |
It is a biennial, with the first year’s leaves reniform, auriculate at the base, crenate at the margins.
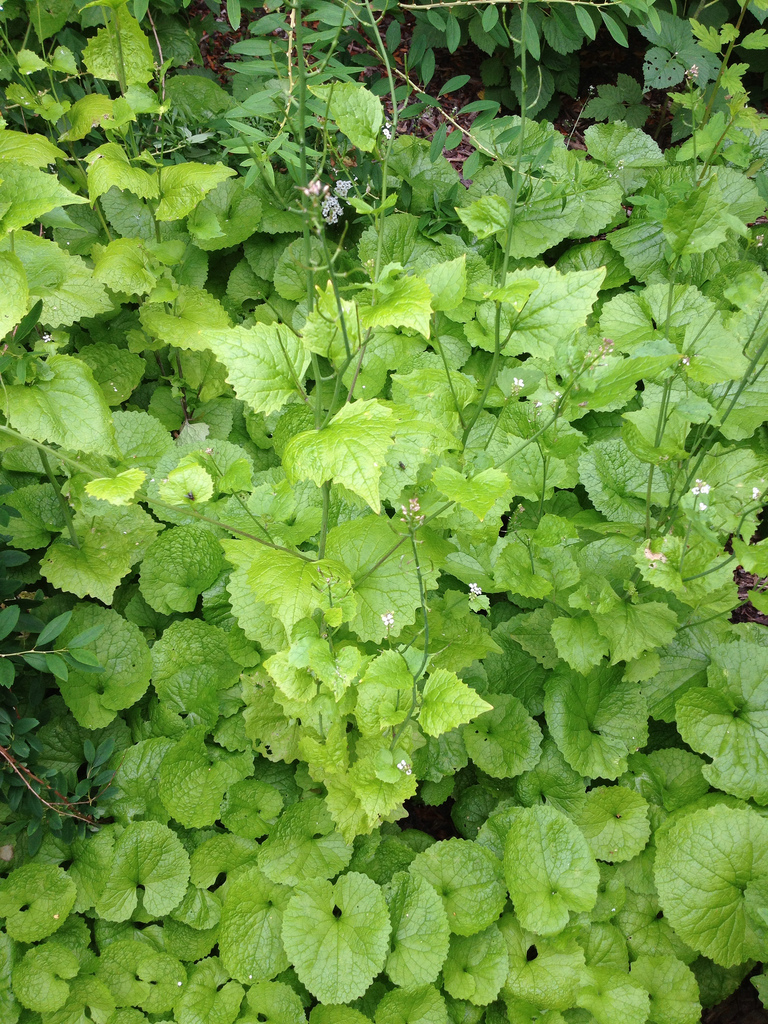 |
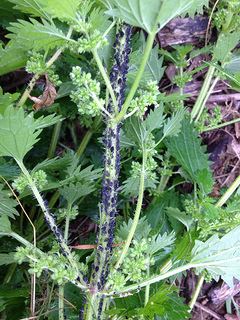
| Second year’s stem and leaves |
The second year’s leaves are alternate on the stems and cordate. The flowers, with four petals as it is the characteristic of the family (previously called Cruciferae because of the cross-like shape of the flowers) are white and grouped in racemes.
Garlic mustard is said to be good for wildlife:
Garlic mustard is famously the larval food plant of the Orange-tip butterfly particularly on damper more open sites such as riverbanks. Look out for the orange eggs laid just behind the flower. Less well known is its importance as the food plant for the caterpillars of green-veined whites.*
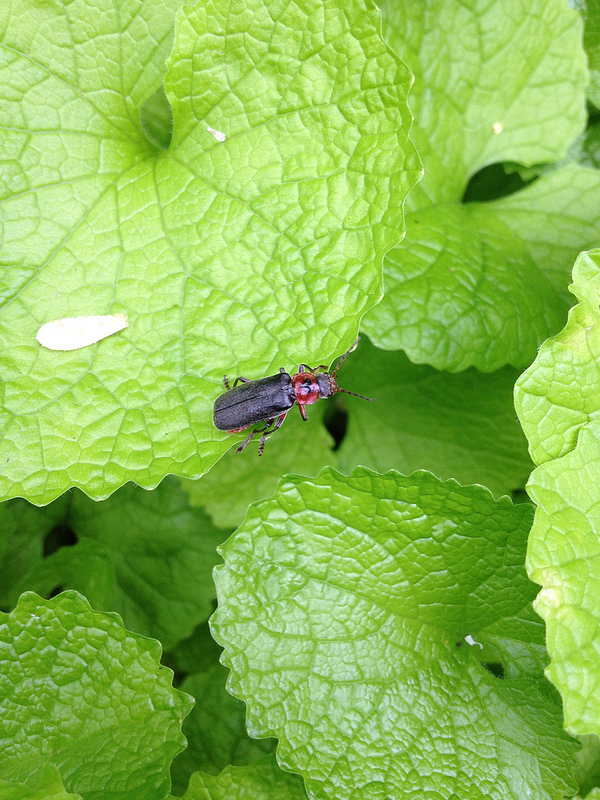 |
| Cantharis rustica |
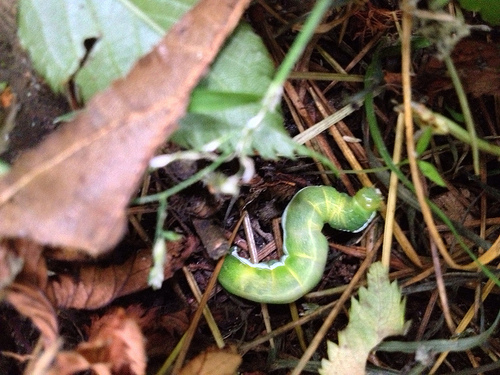
I found an unidentified caterpillar (not the larva of either those butterflies) a pretty and beneficial predator, Cantharis rustica, with its heart-shaped spot on the thorax, on one of the leaves.
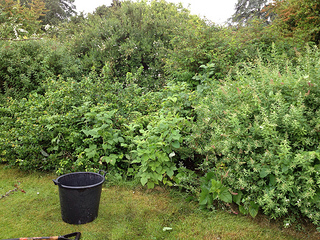
The middle of a bed that I have to stockcheck is however not the place for those pretty plants to grow, so I started work on them and it took longer than one day to clear the whole patch properly. A couple of pictures from the end of the first day.

Notes
*Emorgsgate seed catalogue, http://wildseed.co.uk/species/view/12
Weeding the tree circles in the South Canal beds (Week 11, Tuesday)
Team day, as usual, but the difference today was that we were weeding tree circles in my area: Malus, Pirus, Crataegus…
I sat for a while under a large pear tree, pulling weeds from under its canopy. When I came out, my colleague went quiet and looked strange, his eyes on my back: “you have something on your back”.
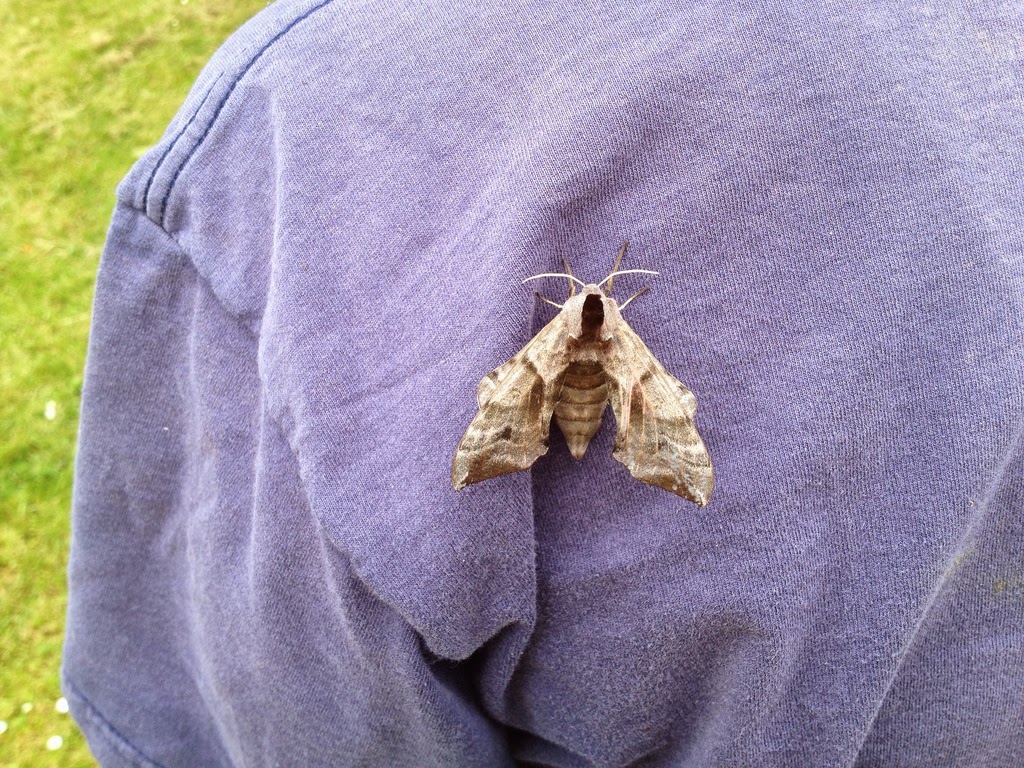
A large moth was taking a ride. “A picture, take a picture…”, says I, and a few people tagged along with their mobiles too.
The moth did not seem inclined to leave me, so I carried on weeding, while it stood, parrot-like, on my shoulder. Luckily I’m not too fussed about this kind of things!
There it remained, until lunchtime, when we looked it up: eyed hawk-moth (Smerinthus ocellata) was its name. Not even the manager was immune from the fascination this large insect held on us. Unfortunately, in all the time it hung around, it never spread its wing so that we could see they eyes that give it its common name.
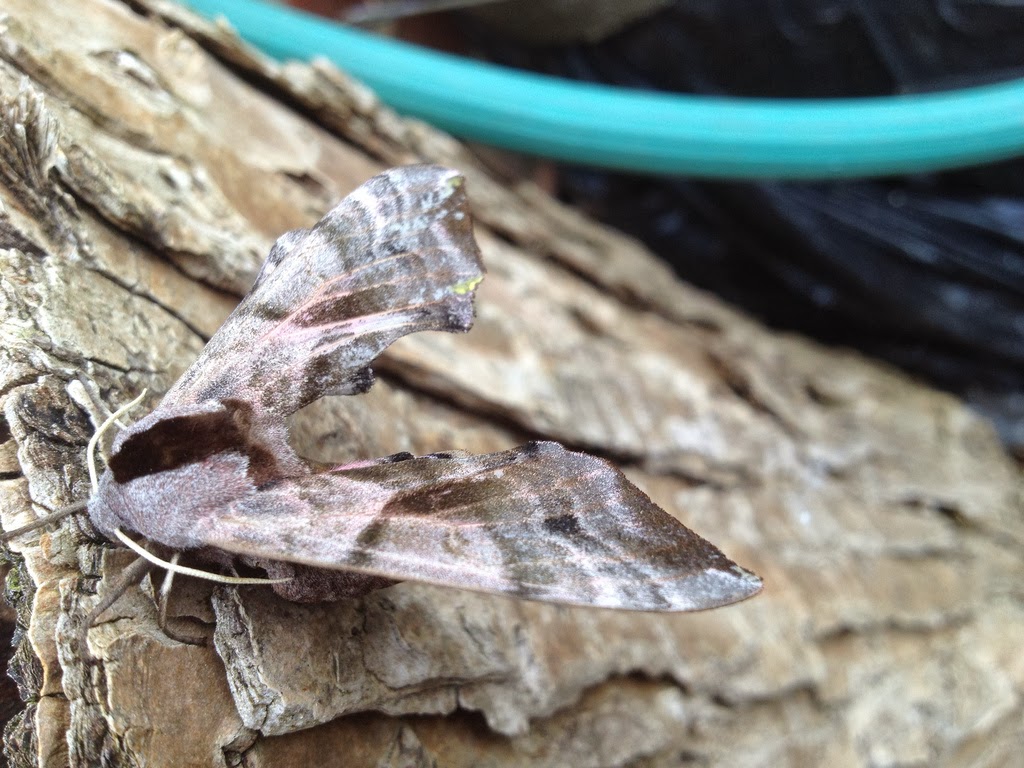 |
| Smerinthus ocellata |
Having left it on a log, I went back to my weeding. Another surprise was in store for me, inside a Crataegus. As I was trying to make my way under the specimen’s canopy, in fact, our teamleader for the day asked me if I wanted to see something interesting. Well, you can guess my reply!
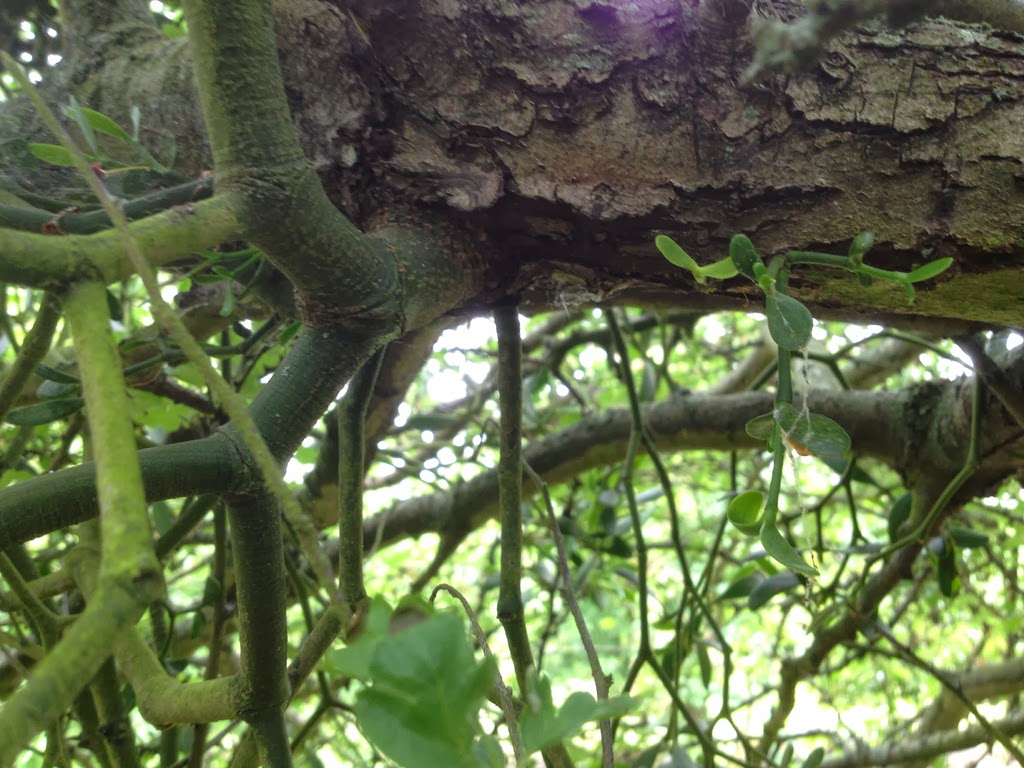 |
| Viscum album, main plant and seedling |
Deep inside the branches, impossible to see if not directed, was a mistletoe (Viscum album). Its main stem came out of an hawthorn’s branch, almost indistinguishable from any other branch, it looked so at home there. A seedling emerged from the bark right next to it.
An interesting team day, this one was, in my area!
About Me
 M.Paola, that’s me
I got my first allotment in the UK in 2007 and started growing my own food. Learning as I went along was not enough, so I studied horticulture. Faced with the horticultural warfare, I became a conscientious objector: I use no chemicals and support organic principles and regulations.
Brexit gave me a new life in the Netherlands, three new plots by a nature reserve and an MSc in sustainable food systems.
I write in my personal capacity and, as a language perfectionist and a non native speaker, I keep reviewing my entries’ text for clarity.
Some Rights Reserved

This work is licenced under a Creative Commons Licence.