Orto di Casa Cecconi

My first allotment, and then one thing leading to another…

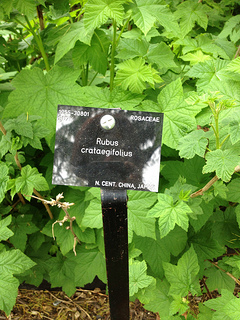
  • Rubus crataegifolius (Week 7, Wednesday)

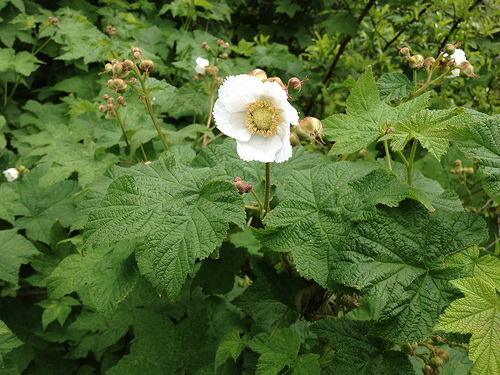
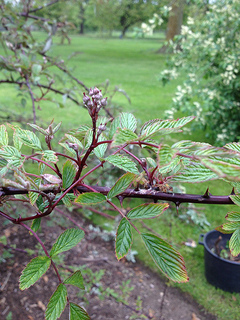
    To anyone that has ever seen a Crataegus, this must be a mistery. Why this Rubus is called crataegifolius (with leaves like Crataegus), I mean. No similarity whatsoever to a Crataegus (not that this is an isolated mystery case: have you ever seen a Spiraea betulifolia?). Anyway, if anything the palmatifid leaves with bidentate margins resemble an Acer. They are a pleasant deep green, slightly lighter when young.

    And I have decided this is my favourite Rubus ever.


    With flowers very much like small anemones, hairs rather than spines, and leaves that – brushed – release a bitter lemon scent, which rubs off on your skin, this Rubus is a joy to work with!

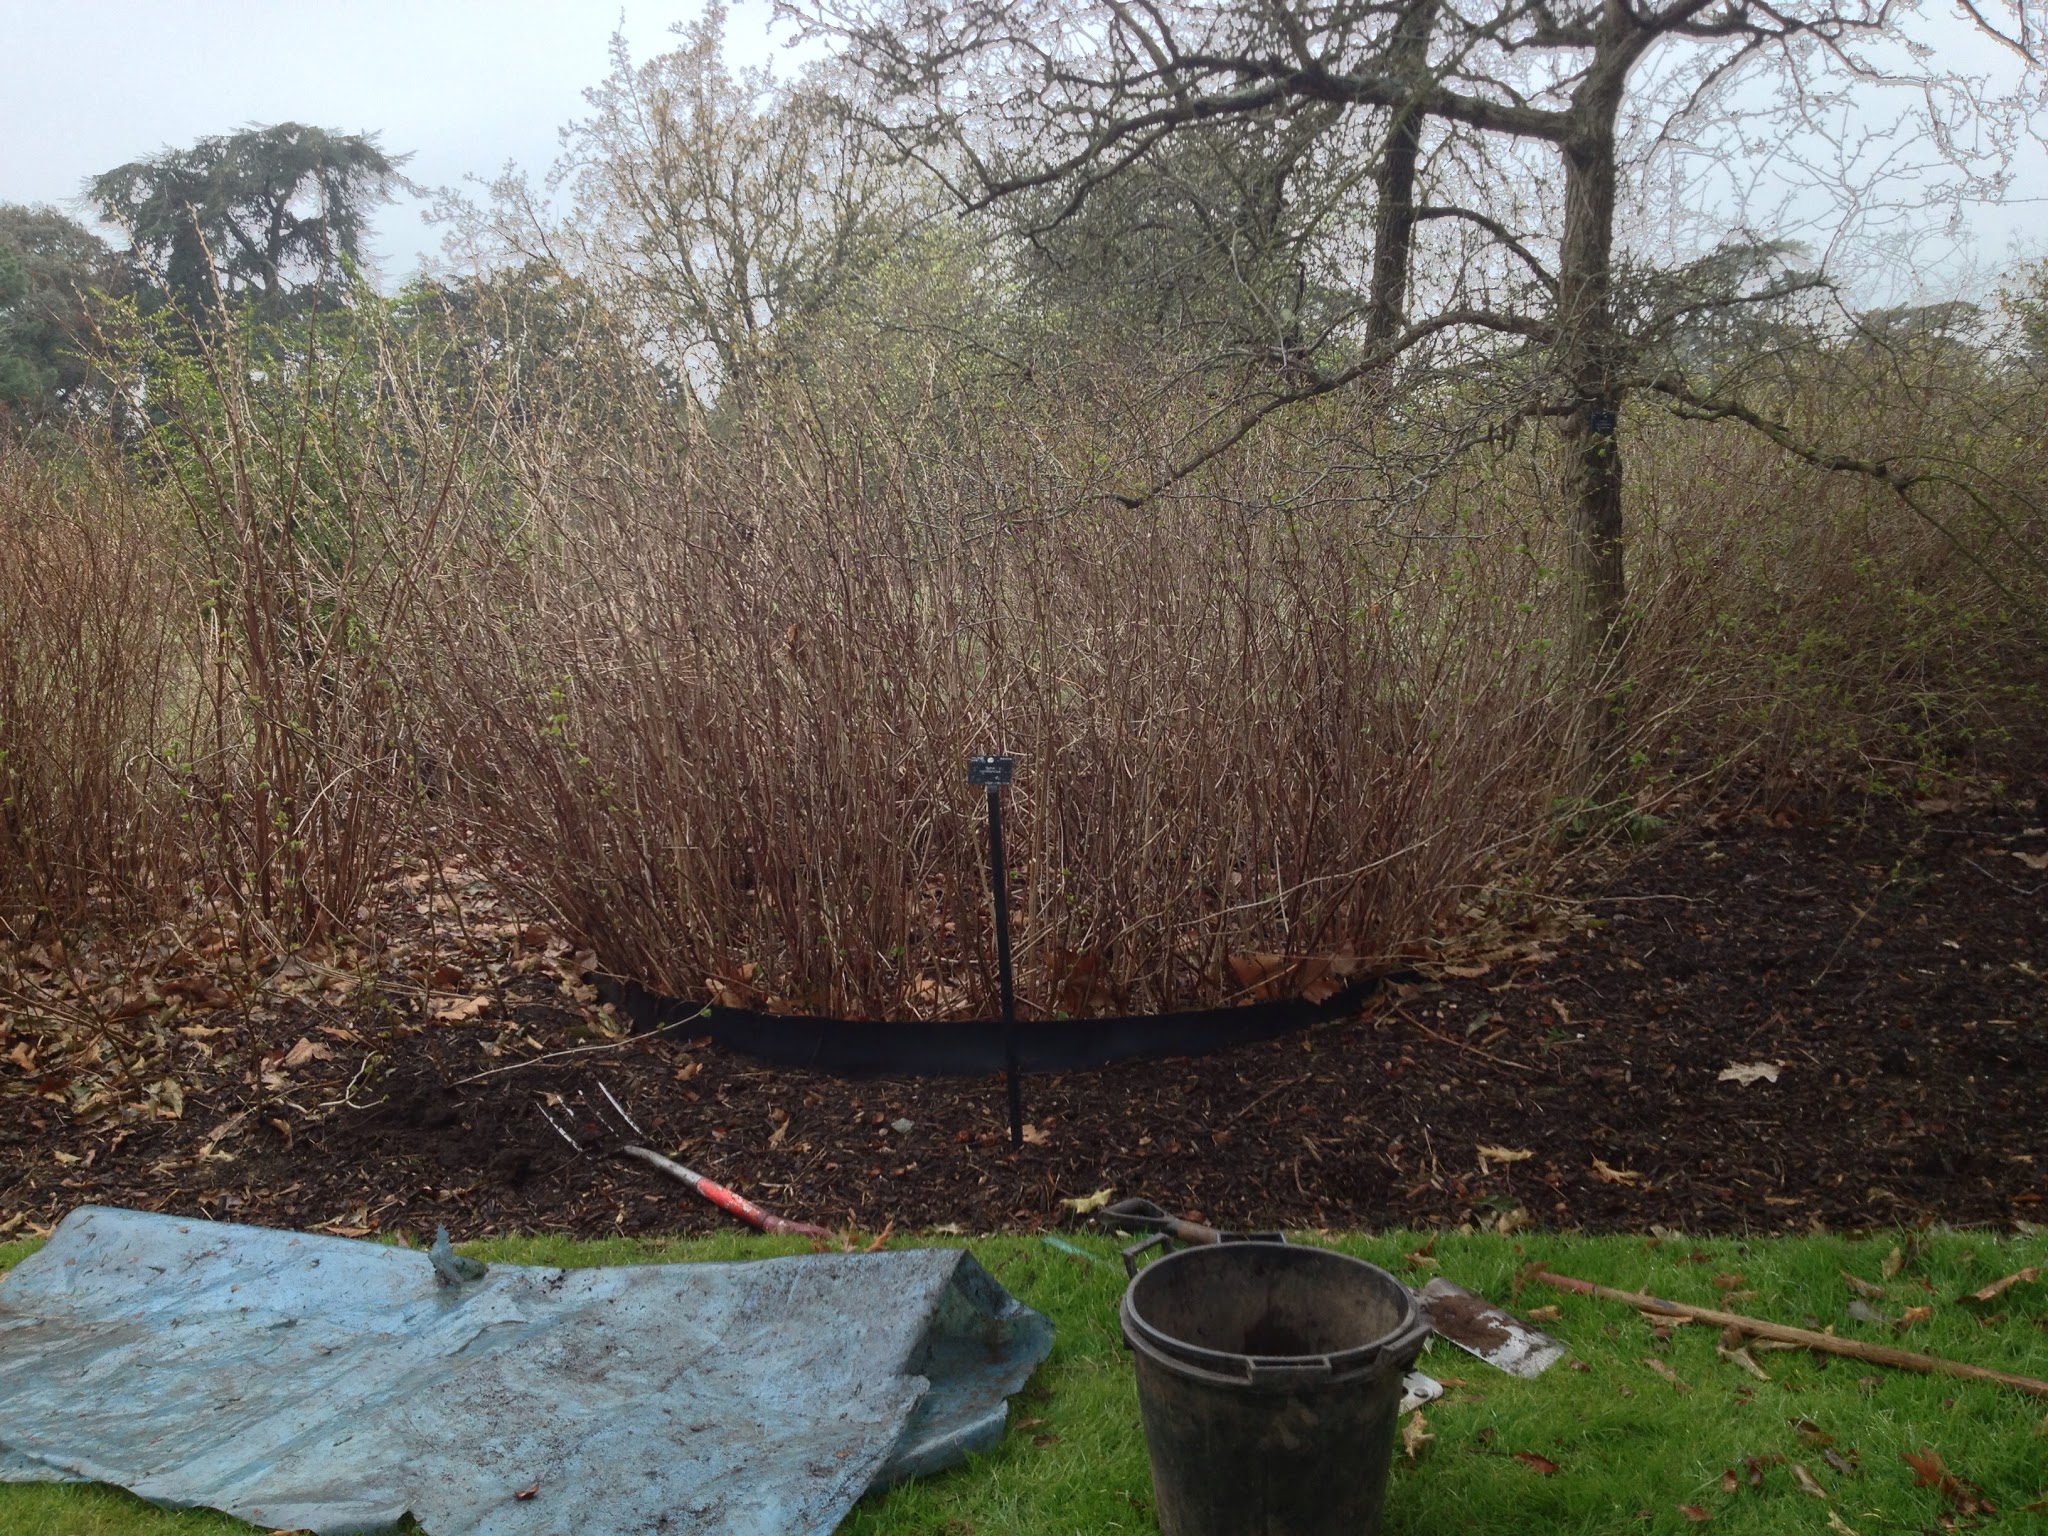
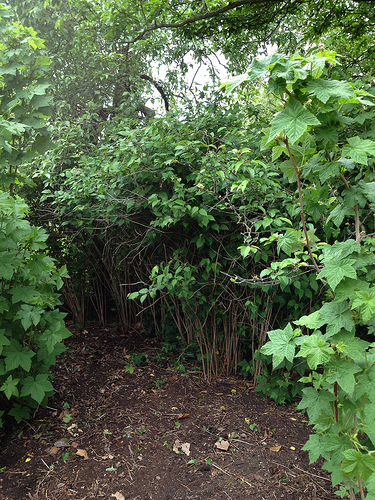
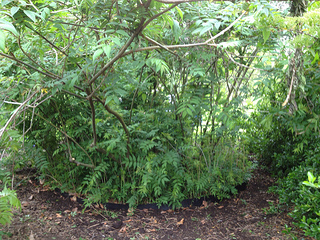
    It is, however, rather rampant. I had worked on it when it was just dormant stems, bringing it back into its containing rubber band. At the time I had noticed there was an extra rather self-contained Rubus clump at the back, which we could not safely identify as just an offshoot of the R. crataegifolius.

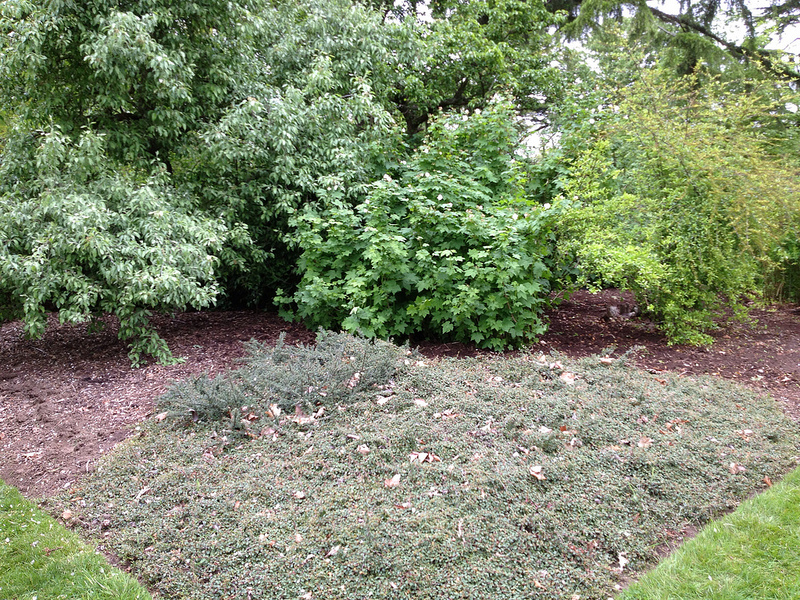
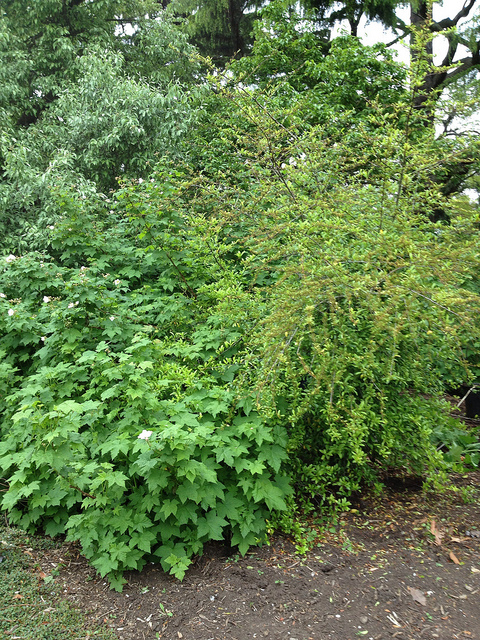
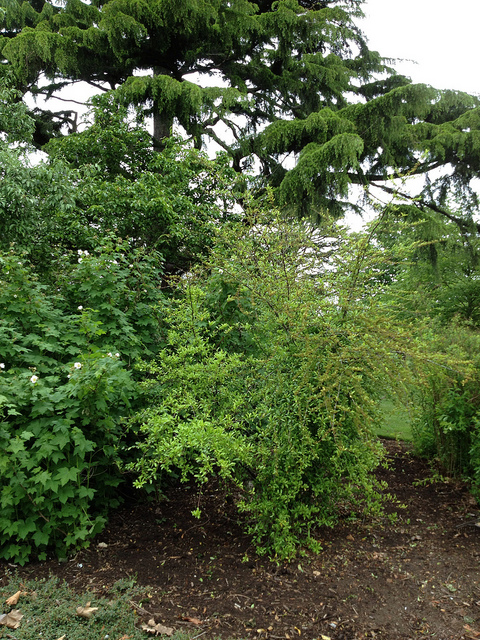
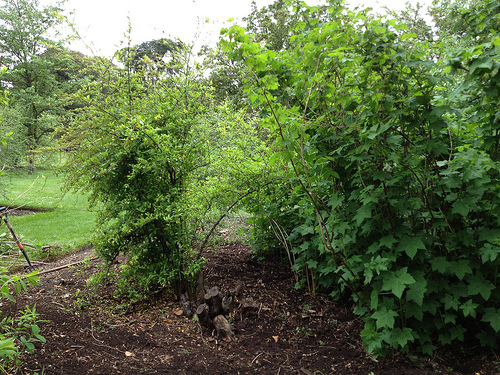
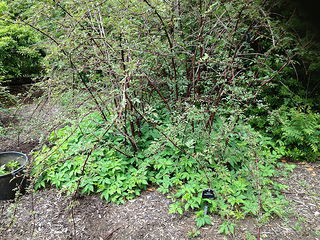
    R. crataegifolius, external side of the bed, after cutting back


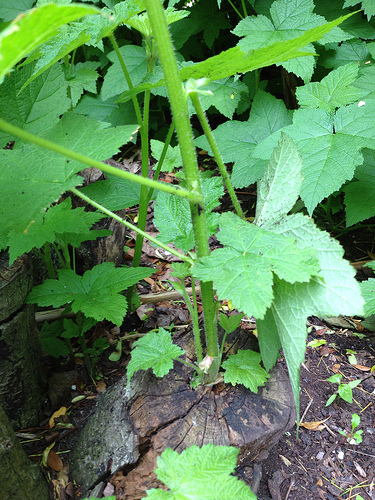
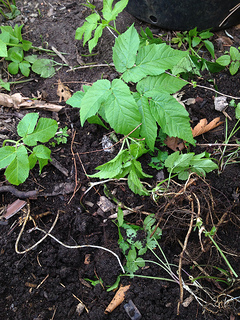
    Today I was weeding the bed next to the one in which this Rubus is, when one of the Wednesday volunteers joined me, sent by the manager. He started edging the bed and asked me what to do with all the Rubus shoots that were coming out. Literally from everywhere, including tree stumps!

    You know I can’t resist the call of a Rubus, so the two of us started tackling the shoots, and then we realised that the two clumps had joined again and were actually the same plant, even though the one outside the rubber band was more vigorous than the one inside.

    Something I have already noticed with Rubus and mentioned to the management. After a while inside the rubber band, they expand outwards, and get weaker inside.

    The soil is probably depleted of nutrients, and the plants get congested anyway… so it would really be better to keep the vigorous ones outside the bands and clear the weak ones inside, since propagation by division can be done with suckering plants like Rubus (the conventional way would be to propagate them through cuttings in the nursery and then plant them out somewhere).

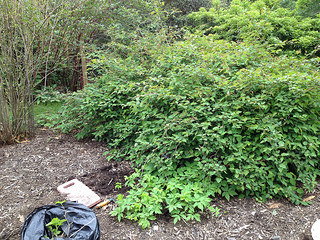
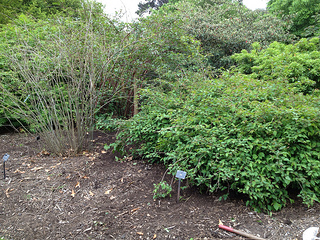
    Anyway, in the end we decided that I would tackle the Rubus on a more radical basis, while the volunteer went on edging. I could not pull out the vigorous clump, it was too good, and there was a suitable space where it had established. But I cleared all the shoots in between the two clumps and cut them back to where they would not encroach on any of the neighbouring plants.

    R. crataegifolius, external side of the bed after cutting back
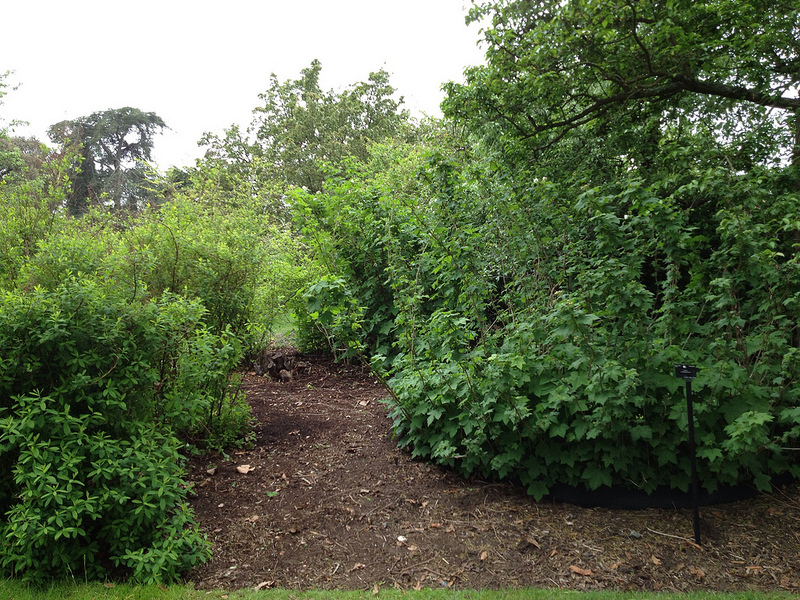
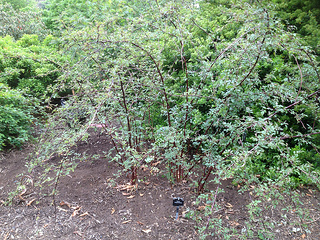
    R. crataegifolius, front of the bed after cutting back

    Detail, before cutting
    Detail, after cutting

    Plants are clearly spaced out
    Air can flow between plants now


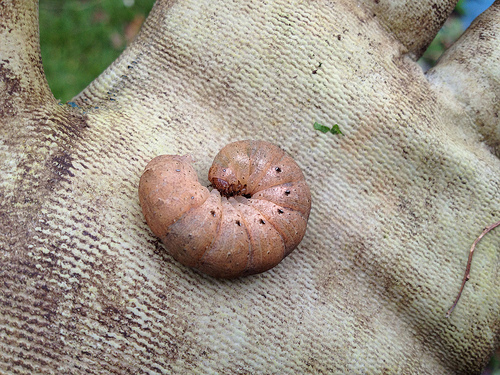
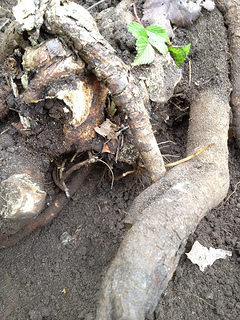
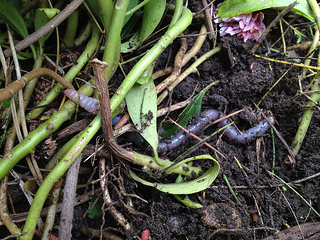
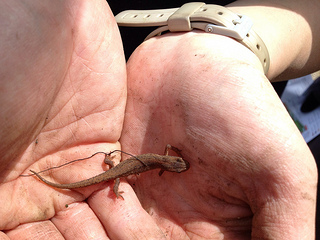
    By the way, in the soil I found this chubby little chap, which I could not identify: I wonder what it will become! If anyone knows…

  • Cloud pruning (Week 7, Monday)

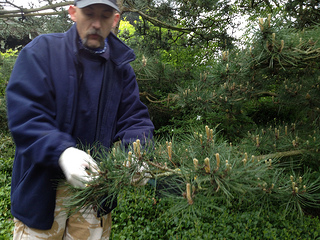
    This morning we were shown the very basics of how to cloud-prune a conifer, a Pinus nigra to be precise, in the Japanese gateway. Cloud pruning is in fact a Japanese technique of topiary that is used on garden trees and bonsai: it is so called because the branches look like clouds with their rounded clusters of foliage.

    The branches of the small tree are tied to canes so that they are lowered almost at a right angle to the trunk. Then the foliage has to be taken care of.


    The way it is done at the Japanese gateway on the pines, is that in spring, before they become too tough, all the “candles” and budding pinecones are snapped off by hand. At the same time, and again in the autumn, any needles too many (and in particular those that protrude downwards) are pulled away, so that, looking upwards from below a branch, the tufts of needles appear as if they are floating over the branches.

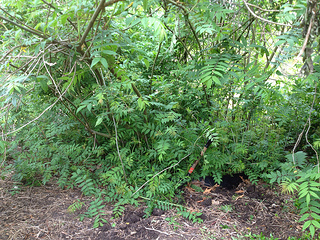
    After the demonstration, we went back to the beds, where I went on clearing the ground elder under Rubus, Spiraea and Neillia shrubs and cutting back some weedy Sorbaria. Here are a couple of pictures of before and after.

    Sorbaria before

    Sorbaria after
    Neillia before

    Neillia after
  • Back in the beds (Week 6, Friday)

    We have had so much to do with the Smyrnium first and filling the pits left by the Nash sculptures that it felt like we had not seen the South Canal Beds for ages.

    Rubus allegheniensis

    Being back to our collection, working in our beds. felt really good this morning, despite the fact I was so tired for doing some extra volunteering at Chelsea Flower Show that I felt physically drained again.

    I decided to tackle a big patch of ground elder (Aegopodium podagraria) around beautiful Rubus allegheniensis, one of my favourites with its mahogany red stems.

    Ground elder, leaves and rhizomes

    An edible plant that I have never tasted, ground elder is one of the noxious weeds that we keep out of the compost heap at Kew, and has to be disposed of in bin bags. In the soil, it spreads through white (young) light brown (mature) rhizomes, and reproduces even from fragments so you need patiently to dig it all out all if you want to clear an area.

    Luckily, the soil is quite sandy at Kew, so it is easy to shake it off without breaking the rhizomes (which is not the case where I live, where the soil sticks to the fragment, with high risk of leaving bits behind).


    I have cleared as many as possible of the rhizomes that had grown inside and around the roots of the Rubus (like in the picture), by digging around them. In the process, I have pruned back all the dead canes, rejuvenating the shrub.

    Before

    Here is it how the Rubus looked before

    After

    and after my special beauty treatment…

  • The Jodrell Lab (Week 6, Wednesday)

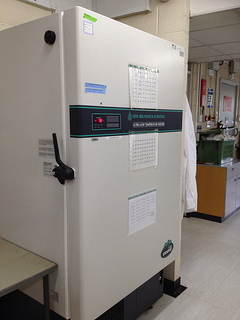
    If it looks like a freezer it’s because it is one. But it’s a freezer unlike any other. It operates at temperatures around -80°C and contains 7.5 million samples of plant DNA, the largest collection of its kind.
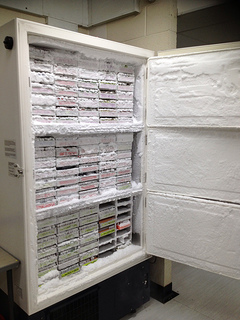
    The genetics team in the Lab select plant material, they shake it up so that the cell walls break down and the cell nucleus releases DNA (much as they do in the Fungarium), then the soup gets diluted and stabilised for storage.

    The stored DNA is available for researchers to order for their own studies. Only a little quantity, in the order of μl, is used for research, because it can be amplified when needed: that is why the freezer can contain so many samples!
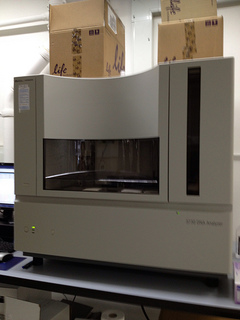
    If further research needs to be done in the Lab at Kew, for example for conservation purposes,  the DNA will be fed into the analysing machine in the picture, which will produce a peak chart that identifies the levels of the DNA nucleobases in the marker under scrutiny.

    If I understood correctly, sequencing the DNA of whole plants is too expensive, so what is done is identify a specific trait, for example related to photosynthesis (which is a characteristic shared by most plants), define a marker for such trait, and then  compare plants with one another and decide whether they are related and what is the evolutionary tree of plants families. A commonly used phylogenetic marker is the rbcL gene.

    Because you don’t have the whole DNA identified, you will be looking for specific primers that you know exist and enclose within them the marker of the trait you are investigating, and thus select the bit of DNA that you will be working on. I think this practice is called  DNA barcoding and sounds fascinating, although I’m not sure I grasp the whole concept thoroughly. One of the interns visiting with me asked whether analysing different markers would lead to different classifications, but apparently that is not the case, unless you are analysing hybrids from two different species and choosing a marker that is only derived from one of the parents (some, interestingly, are – another concept I cannot picture fully).
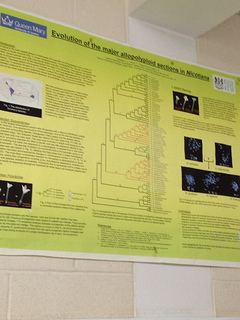
    We were shown a posters of a project that our guide for the day had worked on himself. It helped classify the Nicotiana family of plants, which is distributed in various parts of the world. What the researcher were trying to establish was whether the plants had evolved separately after the continental drift, or whether they were dispersed (i.e. by man or birds) more recently.
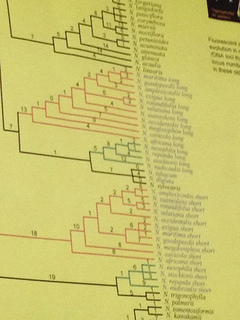
    For those who are interested in the details, as far as I can see the paper was published in the Annals of Botany and is available online. The conclusion was that the plants must have been dispersed relatively recently, because the variation in the marker were too small between plants; if they had evolved separately over a long period of time, the taxonomic tree of variations would have looked much longer than it did.

    Besides the genetics team, at the Lab they also have a  biochemistry department.
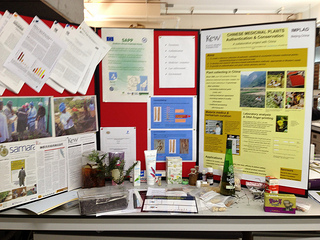

    They help identifying plant’s secondary compounds (that is, chemicals produced by plants that are not involved directly in their growth, but have some other function), for various purposes.

    For example, they have worked with Boots the Chemist to check the plants they use in their Botanics range actually possess the properties they claim to have.
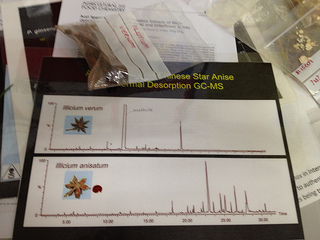
    More importantly, identifying plants and their properties correctly can make the difference between life and death. For example, the spice star anise has a toxic relative: how do you know whether you are dealing with one or the other plant’s product (i.e. when powdered) ? Kew scientists found a way: the technique called thermal desorption–gas chromatography–mass spectrometry (TD GC-MS for short), which produces a graph like the one in the picture – easy to spot the differences between the two plants’ compounds, look at the peaks!
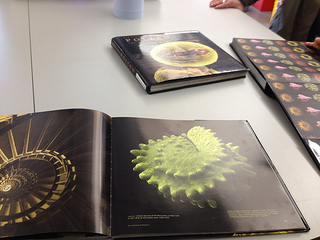
    Also part of the diagnostic characterisation activities, Micromorphology studies the anatomy of plants parts including pollen (palynology, as it is called) through the use of powerful microscopies. It can have surprisingly artistic applications, as the books that Kew published on seeds, pollen and flowers (see picture) show, but of course the main purpose is scientific. For example, we were told that pollen is often the only plant part that is found fossilised in sediments, so identifying pollen is the way to understand what kind of flora existed at an archeologic site (the science of finding out being archeobotany).

    Kew micromorphology research is also made available to the wider scientific community, for example through a bibliographic database.
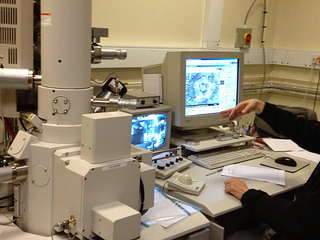

    We had the opportunity to watch one of the scientists at work on some plant material: staining, coating with resin (so that sections can be sliced more easily) or other material, are necessary to prepare the samples… extremely complex and too much information to remember from a single visit!

    The Lab hosts a cytogenetics department too.
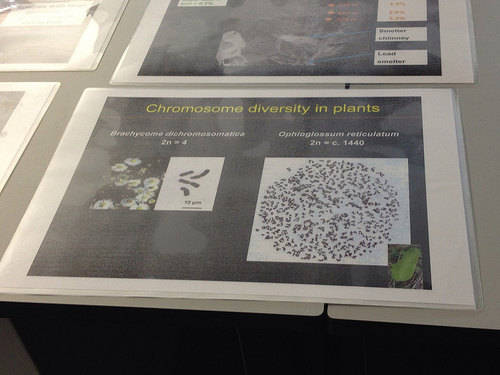

    They study the characteristics of plants in terms of their chromosomes. Findings are really interesting: there is a huge variation in the number and size of chromosomes in plants.

    Some have very small ones in size (the smallest ones occuring in thale cress Arabidopsis thaliana), others are big (the biggest ones are in the Japanese canopy plant Paris japonica).
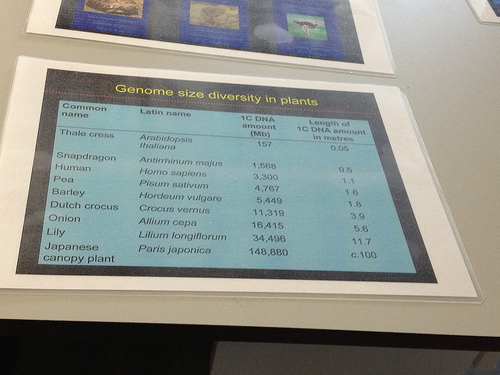
    Some plants have few in number (for example Brachycome dichromosomatica only has 4 big ones) and some have hundreds (Ophioglossum reticulatum has 1440 small ones instead)…

    By way of comparison, with 46 chromosomes human beings are closer to the side of few than lots, and, size-wise, we fall between snapdragon and peas…

    However, no need to develop an inferiority complex yet: the size of chromosomes does not seem to represent the complexity of an organism. As far as it is scientifically known at the moment there are portions of the genome that might be redundant – what is commonly defined “junk DNA”.  We might well, however, still not know enough: have a look, for example, at this article on what was discovered about fruit flies at Princeton University.

    The tour ended with a myth dispelled: genetic research at Kew has mostly confirmed the pre-existing taxonomic classification despite a few spectacular cases of misclassification, for example the sacred lotus (Nelumbo nucifera) is more closely related to plane trees (Platanus spp.) than the water lilies it resembles in appearance. There is no rivalry between the Lab and the Herbarium. Both ways to classify plants are essential, and complement each other, especially as genetics is too expensive and complicated in many practical situations.

    One of the intern colleagues visiting with me asked a last question on leaving: “Does Kew experiment with genetic modification?”. The answer is no. The Jodrell Lab does what is called hypothesis-based science. A brief conversation ensued on the difference between science and technology… I get rather hot about that topic, and the post is long enough as it is… but I hope you enjoyed reading it!
  • IDing plants (Week 6, Tuesday)

    I was in only in the morning today, and we did some more filling of the pits left behind by the Nash sculptures. I am not going to talk about that today, however: there’s more to be done and I’m sure the topic will pop up again.

    Instead, I’m going to blabber on about plant ID tests, as that is something I love doing and it’s on my mind at the moment: one is coming up in two weeks and I’m far behind with my study.

    I keep thinking of ways to prepare for it thoroughly, but so far I have not had any time to put any into practice! For the previous test I only got 2 weeks to study and scored just 64% (I was very disappointed but it is not too bad a result if you consider that I had no idea how it worked and was only supposed to study 10 of 30 plants, being my first month; instead I got almost double that right). I did however do a couple of stupid mistakes, but this month I want to get it right!

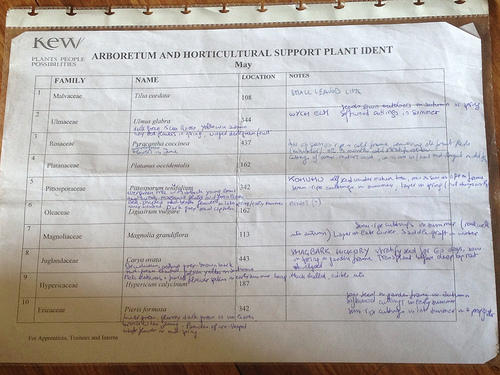
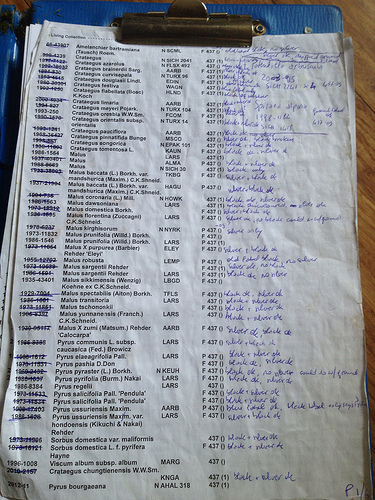
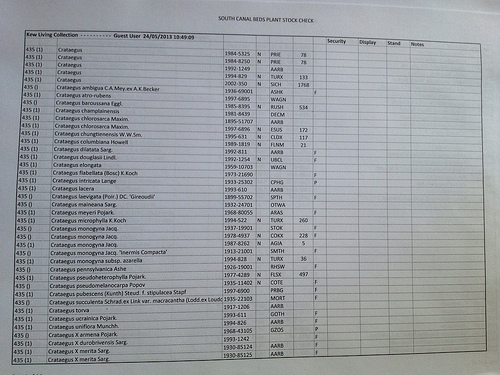
    Here is how it works. Each month, we are given a list of ten plants, like the one in the picture.

    For each plant we have to learn:

    • Family name
    • Genus & species
    • Common name (if any)
    • Geographic origin
    • Features and season of interest
    • Propagation techniques
    • Pests and diseases
    • Plant uses
    On the last Thursday of a month, samples of 30 plants (from the lists of the current month plus the two previous ones) are picked from all over the garden, assigned a number, and displayed onto a table for us to identify. We have to name them all, plus some of them come with a question on any of the other items we have to study.

    The most important thing to do is to have a good look at the plant: some diagnostic characteristics – unambiguous and distinguishing* – are shape and texture of leaves, flowers, bark. Those features, having been spotted by the first botanists to discover the plants, are often also the ones that give a plant species its name. For example Phyllostachys nigra (black bamboo) is so called because of the jet black colour of mature canes (they start off as green) and Distylium racemosum (isu tree) derives its name from the shape of the inflorescences: racemes. Sometimes you have to analyse more than one characteristic to identify a plant correctly: as I mentioned yesterday, I found a crab apple with leaves like hawthorn and a pear tree with willow-like leaves: leaf shape wouldn’t help there!

    I do like the challenge of identifying a plant…

    Plant of the same family will have broadly the same characteristics on certain features (on my post on Fireblight I talked about identifying the Rosaceae family), a genus will share more specific and defining features than a family, and a species will share some even more specific defining characteristic within the genus – have often thought how fascinating it is that our brain can group together, and distinguish at the same time, the features of something in a group… for example I can often identify correctly Italians among white humans. Not always, but there is often something that tells a group apart: how they dress, how they gesticulate… something. The same with plants.
    So far I have gone about the task of having a good look at plants in 4 ways:

    • weekend visits to botanic gardens (I have come across some of the plants in my list while having leisurely walks: easy!)
    • looking for the plants I need in the gardens (it can be quite a time and energy consuming task, given the distances involved)
    • keeping an eye out for plants that I know are in the area I am working in (very convenient, but not comprehensive)
    • looking plants up on the internet (there are some good images, but of course it does not come even close to having a good look at the plant itself).
    Of all plants I have come across in the first 3 ways I have taken pictures of, which I am planning to make meaningfully available for all, somehow. For now, they are on my Flickr, some scattered around, some grouped in sets. Here is my photographic interpretation of an Acer griseum, for example. I want to keep adding pictures from the various seasons… Unfortunately I do not have a good picture for all plants, because most of the time I go around only with my phone camera, but it’s something anyway.

    I found that the RHS Plant Selector is a good way to find the wider information I need on plants for my test, and my colleagues also suggested the PFAF website. The Missouri Botanical Garden plant finder also comes handy. And for propagation techniques, as well as features of interest, my propagation book for RHS Level 3 is great.

    Ideally, I would really like to put up plant summaries for all the plants I study on this blog: have always loved to find IDing material online, with photos to help, for both plants and wildlife! Not sure I will manage, though, it is so time consuming – one has a lot of time for the curators of such collections…

  • Taking stock (Week 6, Monday)

    The plants in our area are in need of stockchecking, so I volunteered to do it: I will learn more about the area, the plants and stockchecking – what’s not to like? Besides, a bit of light work will give some rest to my wrist, which need it.

    When plants are accessioned – I talked about this in my very first post: Plants come with a label (unlike people) – a record is created in a database describing their characteristics, including name (family, genus, species, variety, etc), information about who and from where supplied them, whether the origin of the plant has been verified of not, the location of the plant in the garden, etc.

    Stocktaking requires first thing to print out a list of the plants in the area: in our case the South Canal beds are numbered as areas 435 and 437.

    With your list, then, you check that all the plants are there and where they are supposed to be and that the labels are correctly placed to identify them, taking notes of any plant that is not listed (it could have been missed in the database recording or it could be a self-seeded plant that was not weeded out) and any other issues that you may spot.

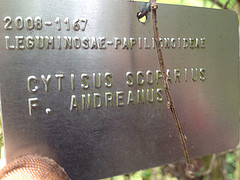
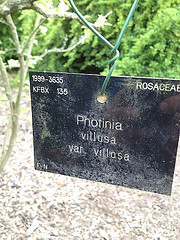
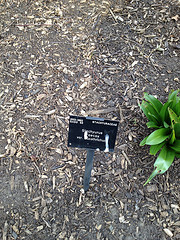
    Every plant must have at least two identification labels: a display one, engraved on black plastic and a security label, embossed on metal (for identification in case the other one goes missing). Some may have a label on a stand, too, depending on their growth habit.

     
    If any labels is missing or unreadable, it has to be reprinted and replaced.

    So with my printed list of plants I have been and will be exploring the areas, in and around the beds, and checking our plants.

    I am taking a very systematic approach, sequentially checking every plant, bed by bed,, row by row, and in a session I try and complete a whole block of plants. For each I check that both essential labels are present and readable, and that they have not been misplaced by mistake.

    Some of the plants listed in my sheeds I could not initially find, then I realised they had been “swallowed” by their neighbours: there are quite a few invasive plants in the Rosaceae family, such as my favourite Rubus, and of course Sorbaria. Potentilla and Cotoneaster also do their best to keep up, seeding far and wide. So there is my work cut out for me in the next few weeks: weeding out and cutting back the more vigorous specimens and their unwanted progeny.

    If any plant is not labelled and is not obviously the offspring of some neighbouring plant, it will need to be identified and dealt with accordingly.

    Having to check plants so close is improving my observation skills, and I am noticing new details and learning a lot of new plants in the process. They are beautiful, plants, and amazing.

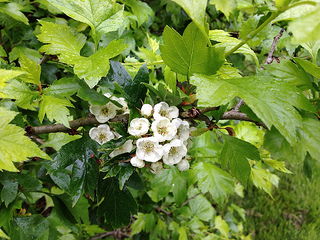
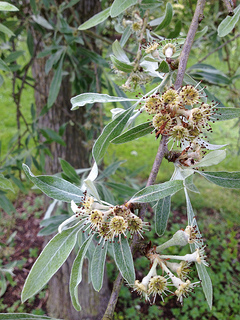
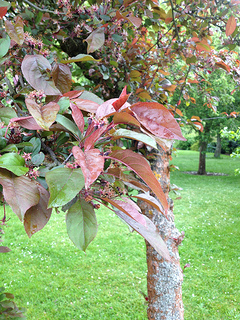
    I found a crab apple tree with leaves like an hawthorn, a pear tree with leaves like a willow, and a stunningly red apple tree: leaves and trunk, with purple berries…

    Malus florentina
    Pyrus salicifolia ‘Pendula
    Malus x purpurea ‘Eleyi’

    In view of reporting back to my manager, on a rainy morning I have also prepared a spreadsheet where to collect all the information I gather in readable format.

    Look forward to completing this task over the next few days…

  • Weed or not weed? (Week 5, Friday)

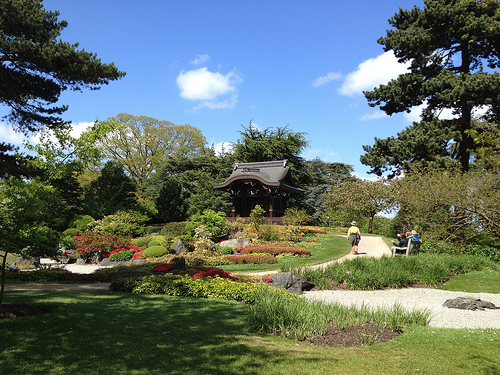
    Have been around the Japanese gateway a lot in the last couple of weeks, as we were taking care of it temporarily.

    As I described in previous posts, we mowed the lawn, edged the beds and raked the gravel. Some weeding needed doing too.

    We’ve been talking about weeds, me and my colleague. How “botanical racism” might be at play, horticulture demanding of us that we get rid of the most successful plants from an evolutionary perspectives… and I found this beautifully written article just now that talks extensively about when a weed’s a weed and why. It goes:

    “Plants become weeds when they obstruct our plans, or our tidy maps of the world.” 

    Definitions of weed vary: some of them refer to wild plants that grow out of place, others refer to any plant out of place, and weeds are called pernicious, invasive and noxious, these last two being official definitions of foreign plants, interfering with some human activity and environment or other (often a wrong of our own doing….).


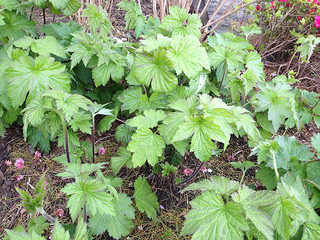
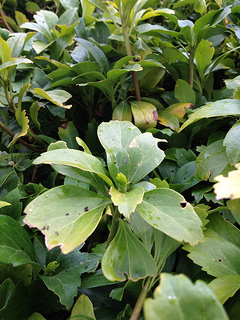
    At the Japanese gateway two plants seem to have taken up weedy behaviour and outgrown their allotted space in what is a definitely planned, tidy landscape: Japanese anemone (Anemone hupehensis var. japonica) and Japanese spurge (Pachysandra terminalis).

    They had to go and I spent all day clearing them. Difficult to do in the case of the first, a plant I love, but less so in the case of the second, which I find rather indifferent if not unpleasant altogether. Anyway, I was really surprised how weedy the Anemone actually was, with rhizomes reaching everywhere, as at home I have tried to get them established for two years now (with their white flowers that last into autumn they are such a good addition to an informal garden), but they keep dying, probably because it can get quite wet and waterlogged in winter at my place.

    Because of the rhizomes reaching far and wide, I had to use what my colleagues defined “the stabbing” technique of weeding: with the tip of my trowel I chopped the rhizomes around some areas, then I teased them out and cleared with the help of a hand fork. They say it must be a uniquely Italian technique and joked about our supposedly passionate and murderous character. I have seen it done by at least another Italian gardener… so that might actually be the case! ;p

    The outcome was satisfactory, though, what do you think? Here’s the three cleared areas I worked on, taking the plants back to how they were meant to look:

    Front of area 1
    Back of area 1

    Area 2 and 3

    There is one thing that might be said in favour of the thick carpet of Pachysandra: it is seemed to provide cover for a range of wildlife.

    Earthworm
    Newt
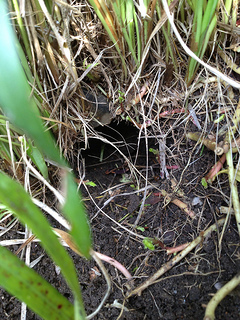
    Small mammal’s burrow?