Orto di Casa Cecconi

My first allotment, and then one thing leading to another…

  • Going about one’s business (Week 2, Thursday)

    Another day of bed maintenance, which is what we are here to do!

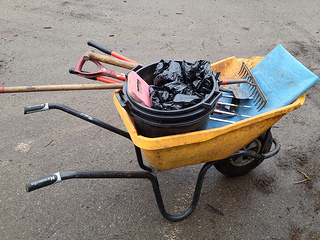
    I am now mostly self-sufficient in getting the tools together before starting the day, such a relief! 🙂 When I first joined I had a locker assigned to me with a standard kit, then, over the last two weeks, I have collected a selection of other bits and pieces I need, like a hand-fork (can you believe gardeners’ hand-forks are one of the most often stolen items if left lying around?!?) and a knee pad. There are other tools in the shed that are there for specific jobs, for example landscape and lawn rakes (the light ones you can use on grass because they do not rip it up as the heavier ones do), saws etc.

    The bin bags are for the non-compostable weeds and also for all the plastic bits and foil wrappers that we keep finding stuck in between plants and pretty much everywhere in the beds.
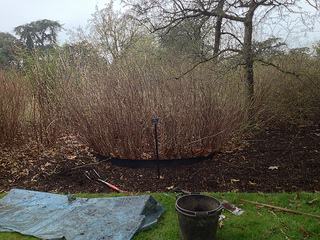
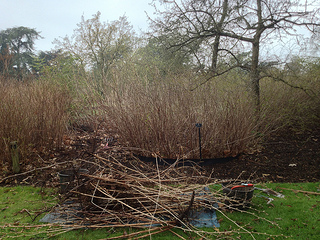
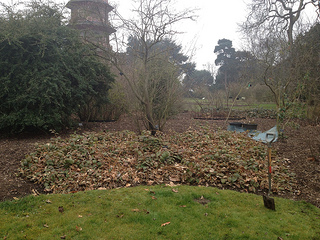
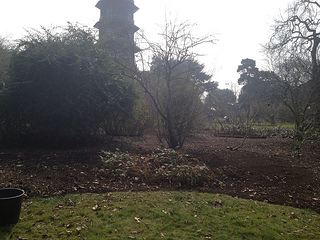
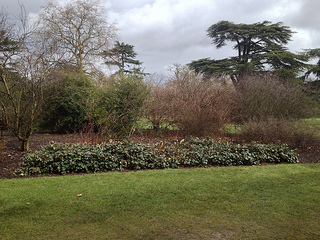
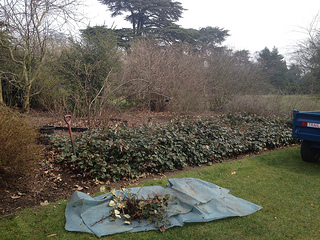
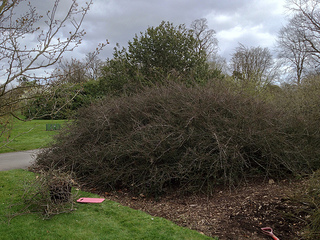
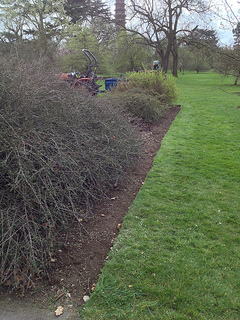
    Anyway, today we tackled Cotoneaster as well as Rubus. Here’s a before and after pic (have to remember to take them from the same angle perspective in the in the future):
     

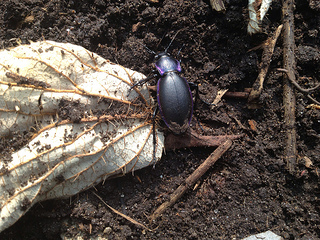
    While cleaning up, I unearthed a millipede I had not seen before, which Paul Lee at the British Myriapod and  Isopod Group very kindly helped me identify as a flat-back millipede of the genus Polydesmus.  Apparently there are 5 species that look very similar in the UK, and you need to inspect the underside with a lens/microscope to find out exactly which is which. Fascinating, isn’t it?
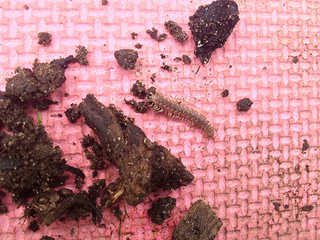
    By the way, do you know which is the rough rule of thumb to distinguish centipedes from millipedes? Centipedes have only one pair of legs per body segment, millipedes have two. 

    I was taught that centipedes, 1 pair of leg = good in gardening terms, as they are mainly carnivores. Millipedes, 2 pairs of legs = less good from a gardening perspective as they might feed on roots and seedlings even though they are mostly detrivores. But I am not endorsing any violence on them, I think a healthy ecosystem, with as many species as possible, is the best environment for plants to thrive in, and detrivores are really useful for the recycling of nutrients. The little fellow there was left to go about its business straight after I took the picture.

    We, on the other hand, were stopped halfway through our work in the beds by a sudden thunderstorm, so had to head in in a rush.

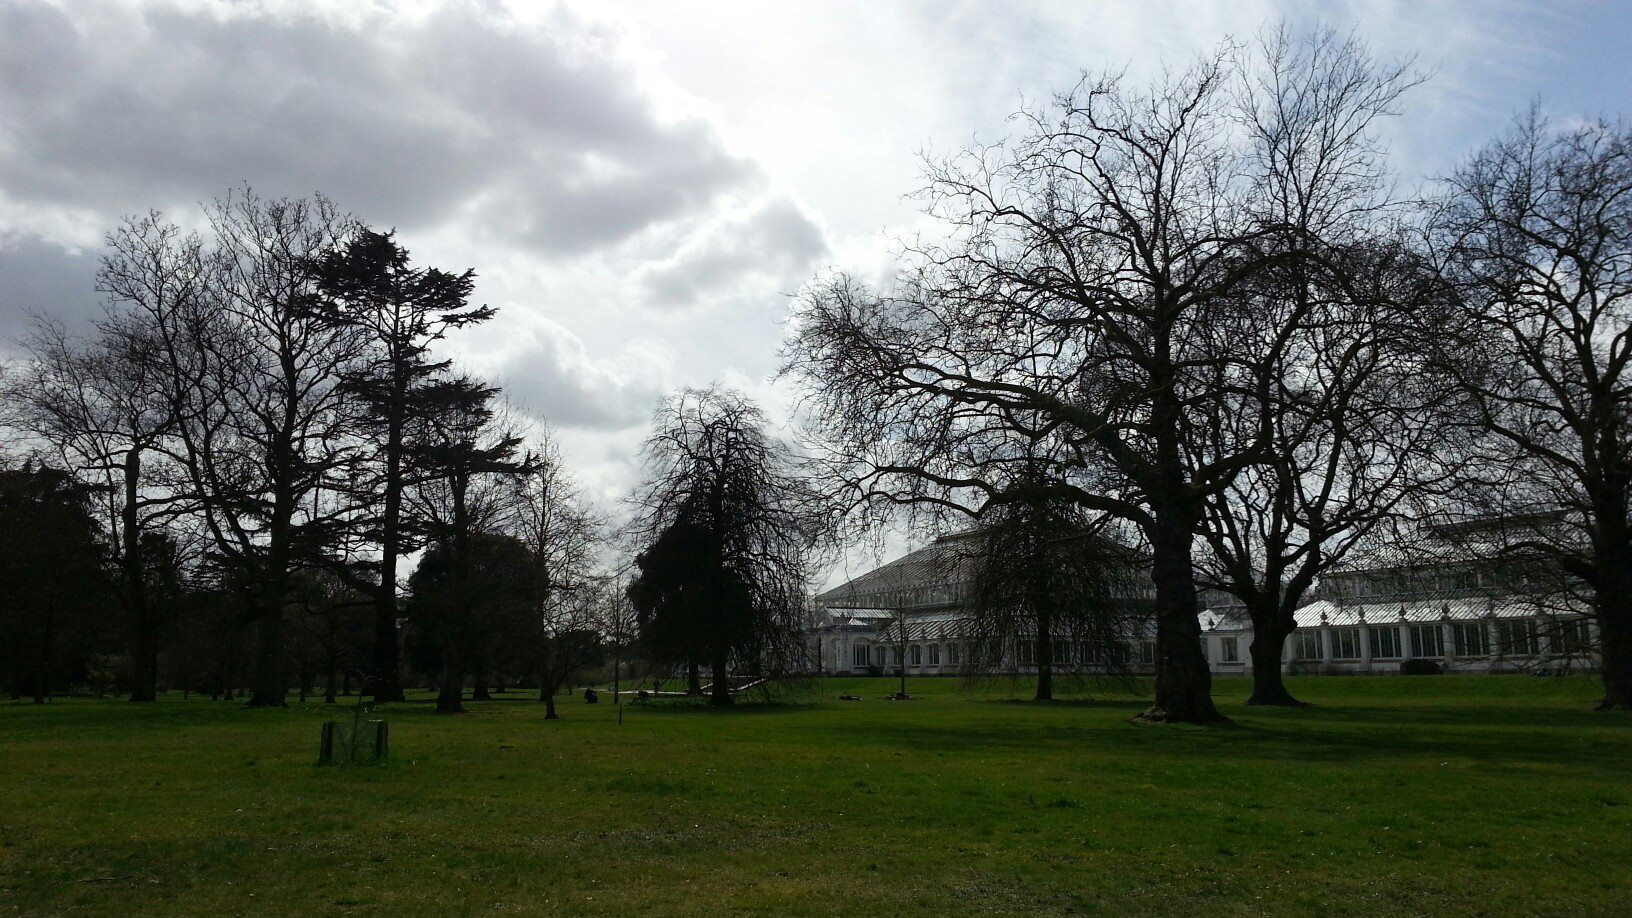
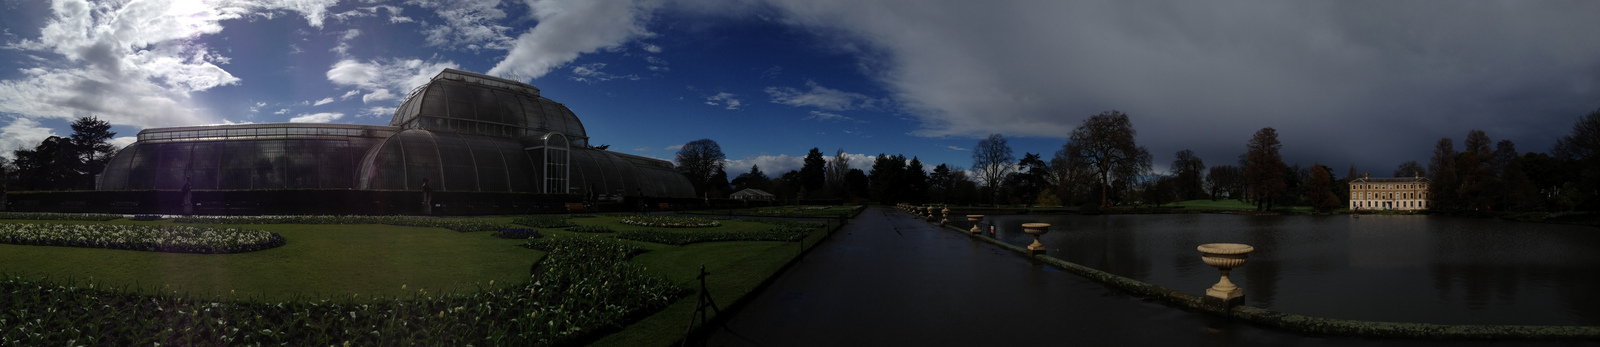
    After work, however, the weather was sunny again and, if anything, Kew looked more gorgeous for the shower, so I went on a plant IDing round… it’s such a privilege to be here every day!

  • Weedy Wednesday (Week 2, Wednesday)

    A day that was mostly about weeding and edging.

    My progress in edging consists in having learned how to straighten beds using a string. Also, I am becoming better at using my foot behind the half-moon when lifting soil. There are two main movements you have to learn with the half-moon.

    • First, it’s pressing down the blade, keeping the tool vertical, in a continuous way along a line, so you do not get bitty cuts. 
    • Second, it’s to lift the soil away from the edge, using your foot as a lever so that the half moon does not smudge the grass edge.
    Here is the final cut along the line, cleaned of the soil and grass debris.

    With regards to weeds, since I am spending time pulling them out, I thought I would take pictures of each specimen, so as to do a bit of IDing.


    I have previously found it useful to identify wildflowers and weeds from illustrated guides and web keys (for example, I love BSBI wildflower key), but my colleague suggested I buy a proper botanical key. Which I did, and will use it to identify the pictures of the weeds I have collected so far.


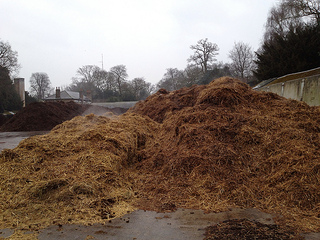
    We collect and compost the plant material we discard (except the infected material which is incinerate), and we compost erbaceous and woody material separately in the stable yard where we have our base.


    There are huge compost heaps there, which can reach the toasty temperature of 60°C-104°F. In the mornings on a cool day you can see them smoking, and the peacocks like to wander around the are; you often find them on top of the heaps, crying out what sounds like a raucous call for help.

    At those temperatures, partial sterilisation occurs. My books for RHS Level 3 said about soil that:

    • 45°C kills nematodes
    • 55°C kills insects and weed seeds
    • 60°C kills fungi (unfortunately including mycorrhizae)
    Some weeds, however, are best composted in a plastic bag, as they are very persistent: they are bindweed, ground elder, Oxalis repens and bluebells – yes, everything can be considered a weed, weed is in the eye of the beholder!

    On Kew’s website there is a whole page dedicated to our compost heap, which is one of the biggest non-commercial ones in Europe, it also features an explanatory video.

    Should you wish to start your own home composting, I found this quick guide by Garden Organic useful.

  • Tree circles (Week 2, Tuesday)

    Today was team working again, and we did tree rings on the Pagoda vista.

    No, not the tree rings inside a tree trunk, which can be used to identify the age of a tree. I mean we weeded, edged and mulched the circular, grass-free areas around the pairs of trees that flank the heritage walk that is the vista, which – I am told – are “double-banked matched pairs”, meaning they are pairs of the same tree, flanked on the outside by another pair of trees.

    I was not feeling very well, haven’t been since yesterday when I had to stay at home, so did not think of taking any pictures. However, a secret admirer took one of me working from a distance (no, I can’t be seen, it was too far away, but that’s the area).


    Will have to go back and check on some of the trees we did, as they attracted my attention being Acer saccharum (sugar maple), and they must look pretty when they put out their leaves, although I suppose they really come into their own once it’s autumn.

    The technique to make round circles consists in tying your half moon to the tree trunk with a non-stretcheable piece of string, then working around the tree, so I had the opportunity to practise a lot with this new tool.

    I was also told why we need to cut quite deep edges into the grass: I always finds that understanding why you are doing something helps to learn and remember. But it is surprising how few people are able to formalize their (especially practical) knowledge into communicable information, to explain how and why they are doing something. It’s a rare skill, and as a former Knowledge Manager I have confronted – and had to bridge – this reality often in my career. I am lucky, however, to have found some people here that are excellent at sharing their knowledge.

    So… because the grass roots expand sideways by rhizomes and stolons, they would start creeping into the rings and towards the trees. If, instead of soil, they find air, they stop, so you get a neat and tidy ring. Hence, you need to cut an edge that reaches down all the depth of the grass roots.

    Incidentally, did you know that because of the root/shoot ratio principle, the length of the root is in proportion to that of the canopy? It is the principle at the basis of pasture management for soil fertility. When grass grows long, the roots grow long, then, when grass is mowed, a part of the roots die back, and remain into the soil as biomass; then it grows again and so on… if you want to know more about it you can Google “Joel Salatin”, an American farmer who centres his farming on this principle.

    … but back to our sward, we keep the grass quite short, and so are the roots, and that is how deep tree rings work by preventing the spread of grass towards the trees.

    When mulching, you have then to take care to keep the mulch away from the edges (again to prevent grass spreading into it) as well as from the tree trunk (to avoid rotting).

  • Day five: sharpening up

    One of the things I had never done was to sharpen a pair of secateurs, so when a colleague said he was going to fix his and offered me to tag along I took the opportunity straight away.

    After disassembling the nuts, bolts and the spring, we cleaned and sharpened the blade using oil and stone, then had to reassemble the lot. I look forward to doing it again to see if I can remember how to do it properly as I was shown… and in the meantime I will keep the official instruction for maintenance to hand.


    After that, I spent the day finishing the jobs I started yesterday, and reflected on the past week.

    There are several aspects of this internship that are helping me sharpen up my act too:

    • As the distances in the garden are considerable, it is best to carry all the tools you think you will need with you from the start of the day, so as to avoid having to go back to the toolshed. As my garden and plot are fairly small, I can access whatever I need at all time, but this new experience is a good exercise in planning your day ahead and general efficiency.
    • Because we work in contact with the public, we need to be particularly careful with health & safety, avoiding that our tools get in the way or endanger anyone, and we have to leave everything neat and tidy. That is also a good exercise for me, so I am getting used to planning my gardening tasks more carefully, finishing what I have started and leaving time to clear up.
    • Last but not least, I have started working in a team: I depend on others and others depend on me – although I have worked in teams in an office all my life and I’m well acquainted with the principles, it is a new way of gardening for me, and out there in the open, doing physical work, being able to rely on a team feels more… essential.
    Have a good weekend all.

  • Day four: Rubus and Prunus

    Today I went off to become more familiar with my beds and  we planned to manage a Rubus or two.


    It was a whole day of gardening, me and the plants, which was good as I need to take in all of the changes that have happened in the last few days and adjust to the new pattern of my days.

    We start work at 7.30 in the morning, which means that I have to wake up at 5, and by the time I get home I am so tired and my evening flies, but I am still studying my Masters module on Environmental ethics, so I have to stay up late.
    Anyway, people that know me say it really shows I’m happy… and no wonder!

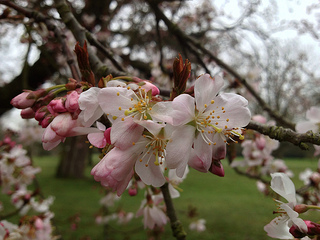
    The weather is warming up a little bit, so the Prunus trees in my section are starting to flower. This Prunus serrulata ‘Pandora’ is one of the first, and is right next to where I’m working.

    The National History Museum published leaflets on how to identify cherry trees,  and links to Kew’s own cherry walk, which will be gorgeous to be in in a few days from now…

  • Day three: in beds with Rubus

    As I mentioned before, the South Canal beds, which I am taking care of, are the site of the Rosaceae collection, and Rubus figures prominently in them. Rubus is the Latin name for bramble, and also the genus of  the bramble-like family of plants.

    There are some striking differences in them, some look positively gorgeous, some look weedy, others don’t even look like brambles much, but all tend to sprawl  beyond their allotted space and to self-seed prolifically, so I’m going to spend time taking them back to where they belong over the next few weeks.

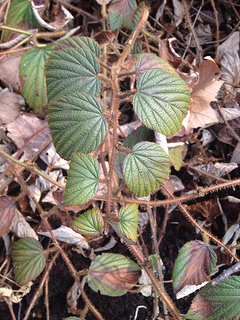
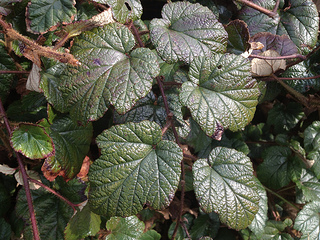
    Today we worked with two bushes of “hairy” Rubus, one unspecified and the other called Rubus tricolor. They did not have thick prickles and spines as brambles usually do, but more of a thick mat of hairs – which, if I read the Angiosperm Phylogeny Website right, are still technically prickles.

    I helped the student I work with to cut them back so they don’t encroach on other plants around them. As this is a botanical garden, however, it is important that we do not spoil the natural habit of the plant.

    Rubus

    Rubus tricolor

    I am counting on learning more about pruning plants over the weeks, as that is something I would like to develop skills in.

    Here is how the two shrubs looked like before and after we finished pruning back and cleaning from the leaves, edging the beds etc


    While we were digging out roots, we also found this beauty: I had never seen a beetle like that, it’s a Violet Ground Beetle (Carabus violaceus). It hunts slugs & invertebrates at night.

    By the way, I cannot find my bearings easily yet in the gardens, so walking back tonight I got lost and it took me an hour to find my exit. I took the opportunity to take pictures of plants – there’s a lot going on as spring might finally be starting… but gardening is good exercise already and the hour-long walk has completely knackered me! 

  • Day two: squaring the circle

    On a Tuesday we work in teams rather than individually in our areas, so that we can take on bigger projects; besides, it is a great teambuilding exercise and I had a lot of fun.

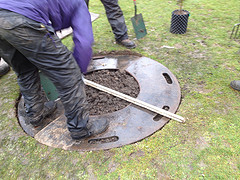
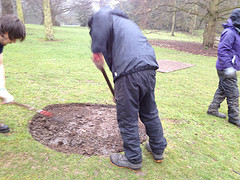
    Today, we were going to plant trees “the Kew way”.

    As you can imagine, plants are essential to Kew, and planting trees in the right way is essential to their prompt establishment and future well-being.

    Based on research showing that wide, rather than deep, holes improve tree establishment (by Whitcomb), and  that root spread is quicker and easier if the planting hole is square instead of round (where they tend to bend in circles, as when potbound – by Kirkham), staff at the Arboretum developed planting specifications: “the Kew way”, to ensure the planting holes enable the establishment of the plant while also being gracefully pleasant for the eye from the very beginning. Establishment is finally given a further boost by the use of mycorrhizae in the planting hole.


    It was the first time planting trees this way for the four of us in our team, and a bit like being part of a special ritual, there, in the drizzle, planting a tree for everyone to admire and enjoy over the decades to come…

    Incidentally, I made my first encounter with a couple of tools: the half-moon edger and the turf lifter…

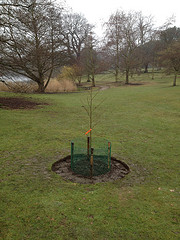
    After planting the trees in the morning, in the afternoon we got more decent weather and went around mulching the planting holes to help water retention and nutrient availability, reducing weed competition and giving that nice finishing touch…

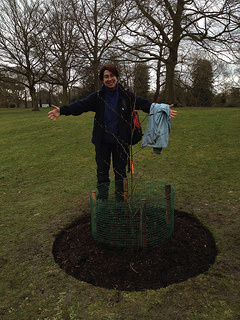
    To mark the occasion, I went back after work to have a look at the newly planted tree, an Alnus jorullensis (Mexican alder), in all its glory. There’s me giving you an idea of its size…