Orto di Casa Cecconi

My first allotment, and then one thing leading to another…

  • Post savers

    Have you ever noticed that when a post or pole rots it does so generally at soil level?

    Step 2
    Step 4
    Step 5
    Step 6

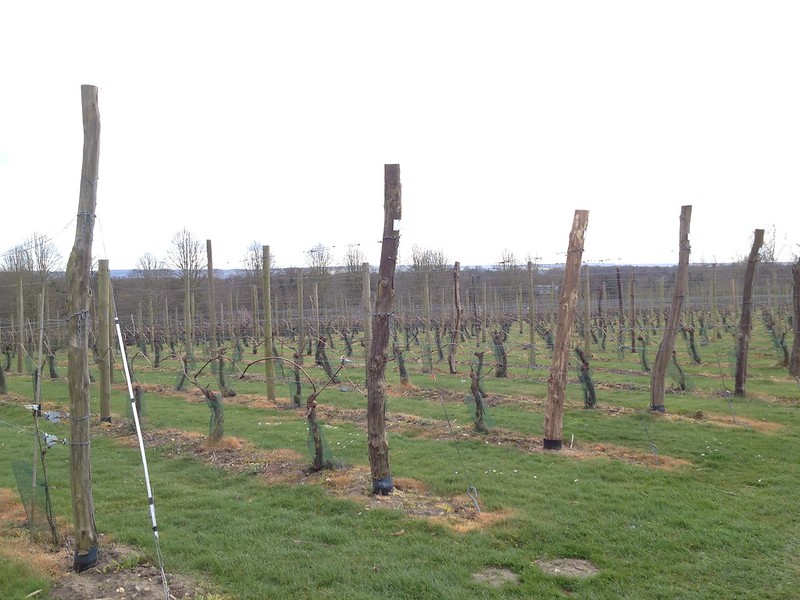
    Apparently, it is in the topsoil where soil organisms in the organic matter, moisture and air combine to cause the most damage. So someone invented “polesavers”, sheets of bitumen on plastic sleeves that can be applied to poles around soil level. That apparently doubles their lifespan, so we are increasingly using them in the department.

    Today we were taught how to apply one with the use of a blow torch. Very useful things blow torches, but rather scary, so first thing it’s risk assessment.

    Leather gloves, eye protection, a stable stand to keep the blow torch when not in use, a stable stand for the pole, that allows for rolling it. Working in an open environment with no flammables around, and fire estinguishers to hand.

    Then we where shown how to cut a piece of bitumen sleeves and heat them on the pole.

    1. Clean the pole from any soil. Try to go for smooth surfaces so the bitumen sticks more easily
    2. Cut a slice of bitumen sheet 
    3. Measure down to 6 feet/1.83 cm which is how tall we usually have our posts
    4. Apply a slice of the sleeve (must be big enough to overlap a little) around the expected soil level on the pole, some 15 cm above it, and let it hang around the post
    5. Heat one side until it wrinkles, which means it is adhering
    6. Move to the other side, heat it, and with leather gloves press the side edge on the pole
    7. Go back to the initial side and finish heathing the sleeve, rolling the post, until you reach the other edge
    8. Press the othes side edge so it sticks well
    9. Roll the pole while heating the top and bottom edges, and press them into place
    The finished posts
  • The forage garden

    Behind the Model Fruit Garden and on one’s way to the orchard, there’s an area that’s left wilder, with some tall trees and some brash, whose redevelopment has been undergoing for the last few years into a forage garden. Some edibles I find rather intriguing already grow in there: Arbutus unedo, Hyppophae rhamnoides, Lonicera caerulea, Aronia melanocarpa, a range of Rubus

    One of the hollies that we removed

    … but the area still needs some improvement, and I am glad my colleague thought of me to work on removing some hollies (Ilex aquifolium) and sloes (Prunus spinosa), as I have missed brash clearing from my days as a volunteer with the National Trust on Ashridge Estate.

    Holly layering itself

    It was hard work, and I really enjoyed the sawing away, and the digging out of stumps as we removed two hollies (they do layer themselves under leaf litter, as I learnt!),
    three sloes and a hazel stump.

    Sloes halfway through the clearing Hazel stump

    There was one more reason why I was particularly keen to work on holly at this particular time of the year: Christmas wreaths. Since my days at school when we were thought by our German teacher how to make them, I have enjoyed this festive activity.

    One of the wreaths at home

    So I asked permission to keep some of the branches, and, armed with those metal hangers they give you in drycleaners (which are easily turned into a round frame on which to work), some colourful ties and baubles, I have since made two for home, one for my student accomodation and one for the office.

    While we were busy hacking away, we received an unexpected visit from a colleague with a surprise: he had found a flatworm, and he know I might be interested to see one.

    There are two species of flatworm that are not natives of the UK: the New Zealand flatworm (Arthurdendyus triangulatus), and the Australian flatworm (Australoplana sanguinea) and it is an offence under Section 9 of the Wildlife and Countryside Act 1981 to release any of those in the wild once they have been found. It is not exceedingly good news to find these two flatworms anyway, because they feed on earthworms, one of the soil’s best aerators.

    We identified our find as the Australian ‘offender’ so we boxed it up for sending to our P&D lab for further action. It is important not to touch the flatworms as their mucus can be irritating, so here it is in its full glory on my glove (and then again in its box), for anyone that might be interested to see one.

    Australian flatworm (Australoplana sanguinea)

    Australian flatworm (Australoplana sanguinea)
  • Divided about rhubarb

    RHS Garden Wisley holds the National Collection of Rhubarb and today we were taught how to divide and replant crowns.

    Autumn is best, because if you plant rhubarb in the spring, you are then required to keep watering the new plant to help its establishment.

    Adding manure to the hole

    The first step in the process is to dig a suitable hole and fork into the bottom a good amount of manure, as rhubarb is a rather hungry crop. As rhubarb likes best a 6.7 pH, spent mushroom compost (manure + lime to take the acidity) is ideal.

    Then one has to decide whether to lift a crown or only slice a portion off: that depends on the size of the crown itself. A large crown will tend to die and produce weaker buds in the centre, so you can slice an external portion, including one or more vigourous buds, without lifting the whole lot. But a smaller crown needs lifting before dividing – that might also be the case if you have to check for pests in between the roots, i.e. weevil grubs.

    Clean the crown of any broken roots

    The crown is best divided to some 20 cm, with more than one good bud, so that the new plant does not take too long to establish to a good size. Once you have divided it to the right size, you need to clean the fleshy roots (in autumn all of the fine roots will have died down and you are only left with the storage roots) to be sure you take away any broken bits. In fact, those will rot in the ground and may affect the health of the new plant. If you are lifting a crown to split it, it might be worth to save any spare buds and pot them up as a spare plant. But never leave it the pot more than one year, as rhubarb roots like to spread.

    Give the plant a good shake
    Firm  the soil

    Rhubarb does not like to sit in water, hence replanting needs to be done so that the buds are above ground. To achieve that successfully, you need to plant in the new hole, then shake the plants inside it to fill any air pokets, then firm the soil without burying the buds.

    Job done! The next thing is to mulch the soil just as they break bud in the spring, to keep moisture in the soil. That’s a delicate job: too early and you trap cold in the soil, too late and the leaves coming out will now allow you to mulch to the ideal distance from the buds: 15 cm or so, so you won’t retain enough moisture where it is needed.

    But down to my rhubarb meditations.

    Rhubarb’s fleshy roots

    I love rhubarb on my plot at home. A plant that was originally cropped for its roots: for medicinal purposes and to make a yellow die, it is now used as a commercial crop in the UK for its leaves’ petioles (the leaves are rich in oxalic acid and therefore toxic, so they are discarded straight after picking). I like them best made into jam with lemon juice, or in a rhubarb cheesecake. When rhubarb bolts, the flower scapes are very architectural, and rather beautiful.

    So I should be happy that in the Cottage Garden there are several rhubarb plants, 7 or so, in two different places. However, they take up a lot of space, as their leaves can grow to 1 m (which is also the ideal planting space). How to get them to fit into the new design nicely?

    Should they be together in one place, and would it look good enough, a large patch of rhubarb, in the summer and as it gradually dies back in the autumn? Should I interplant with some bulbs, for spring colour while the plants are still dormant? Or if I scatter them in the area, would that look better?

    I am still divided about it.

  • Plans taking shape!

    Another great day’s work in the Cottage Garden as I got our intern and one trainee to help too.

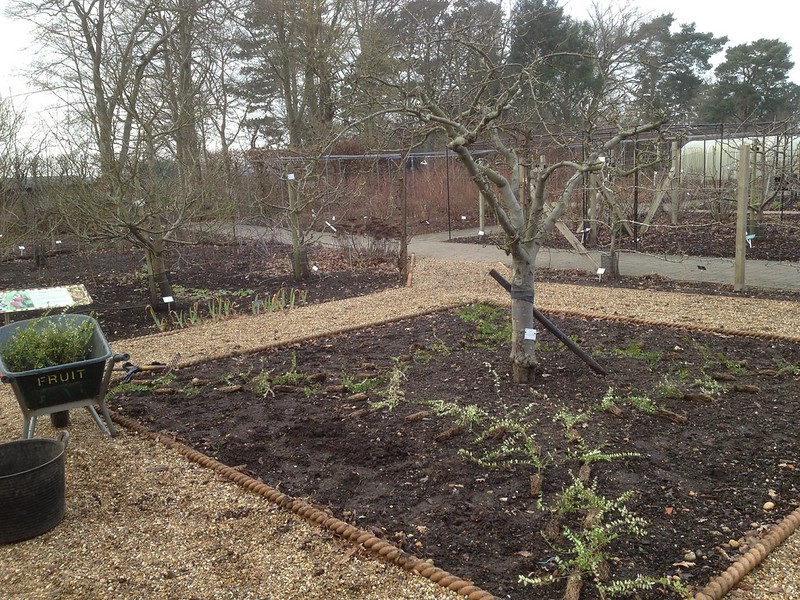
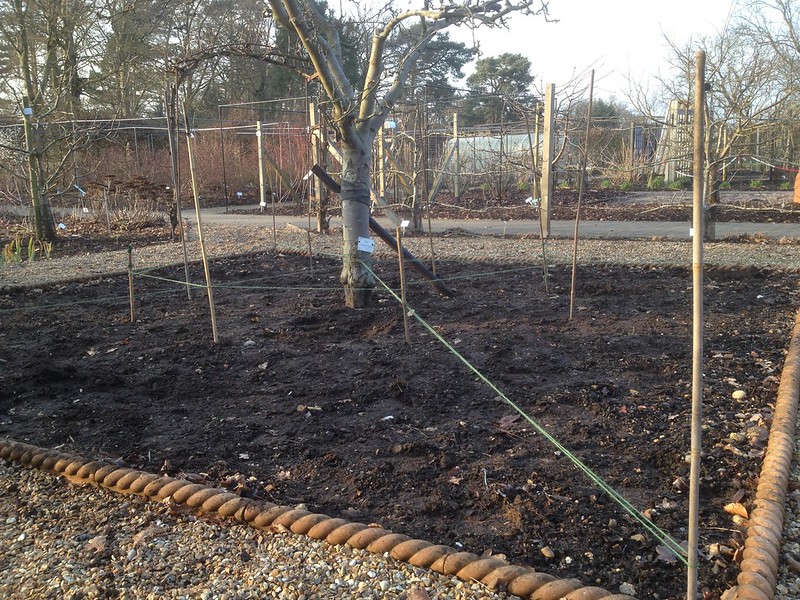
    My proposal for a new path was accepted, so I marked it out with bamboo canes and string and we dug in (literally) first thing in the morning. By teabreak time, we had already finished the outline. We had then to spread the extra soil, which was very useful to raise the ground level where a tree had been planted too high, and to fill in some dips here and there.

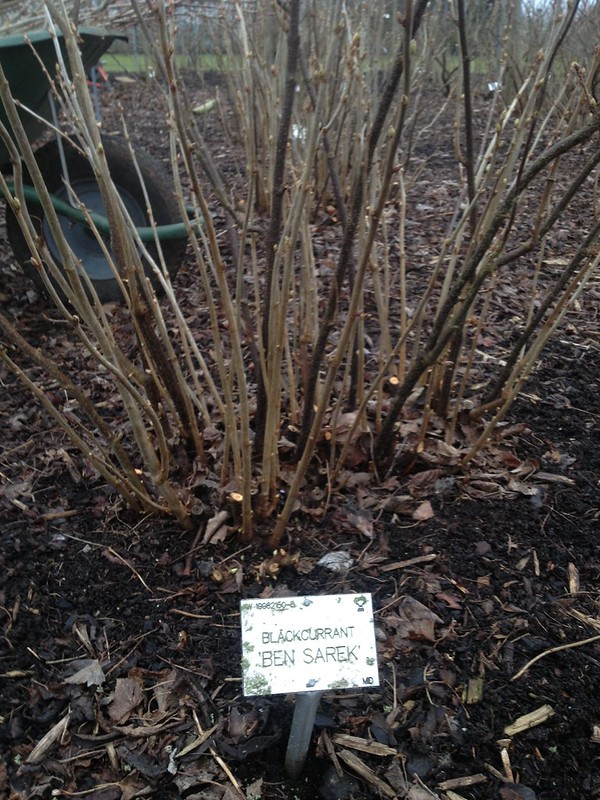
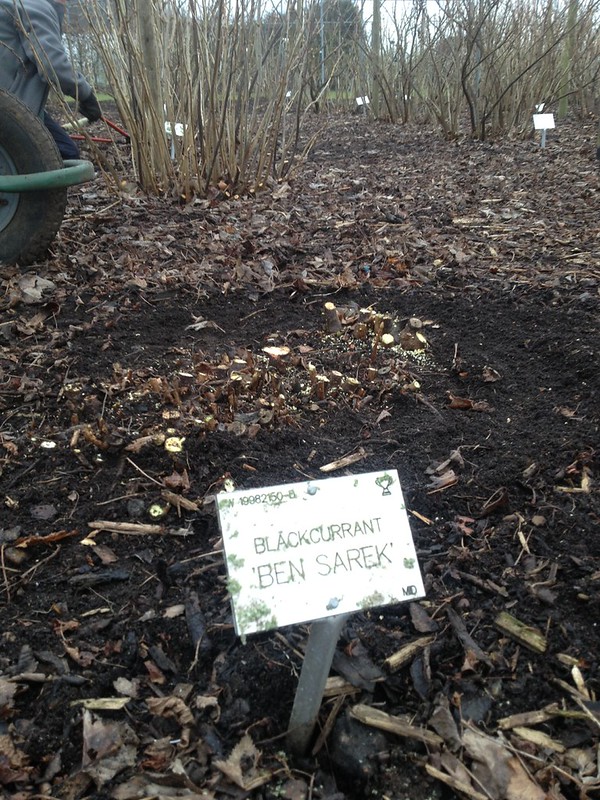
    Some plants were in the way of the path, namely a couple of Agapanthus and 3 of the 4 blackcurrant (Ribes nigrum) shrubs in the area, so we had to move them. It is not ideal time to move Agapanthus as they are tender perennials and they’d rather be left alone over winter and only moved in spring, but we decided to go ahead anyway as the plants, should they die, are easily replaced – that might not always be the case, hence careful early planning might be needed. Sometimes trees are root-pruned one year in advance of moving them after a year, so that they have enough time to put up new growth of fine roots (which will enable better establishment) before the operation takes place.

    Ribes nigrum flowers

    It was good enough time to move the blackcurrants, though, even if the season has been exceptionally mild and they are not fully dormant yet. I love blackcurrants with their unassuming but prettiest of flowers, delicious and nutritious berries and, most of all, fragrant foliage that releases on the lightest brushing against the plants. Because of that, we have now replanted them alongside the paths, so that visitors can enjoy them close-up.

    Divided Sedum crown
    Sprawling, low to the ground Sedum on the left,
    on the right, Sedum that received the Chelsea chop

    Three people can work rather fast together, so we also managed to prune back the Sedum that was too sprawling: my colleague last year had experimented giving some plants a Chelsea chop, which had a rather marked impact on the affected plants, which have remained compact and tidy. The ones that were used for comparison, however, needed trimming back – you can see why in the picture on the rightm taken earlier in the month. We then lifted and divided them, ready for next year, when I want to interplant them with a vegetable crop, which I’m not going to reveal now…

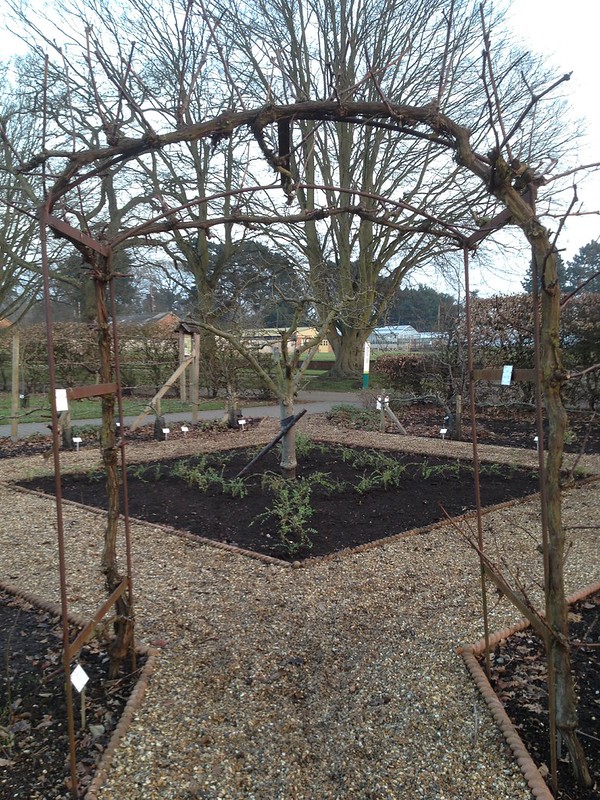
    After a good tidy up, we could take some pictures of the result: I loved it and was so thankful to my colleagues that made it possible so quickly.

    View from the main path: before
    View from the main path: after
    View from the inside: before
    View from the inside: towards the end


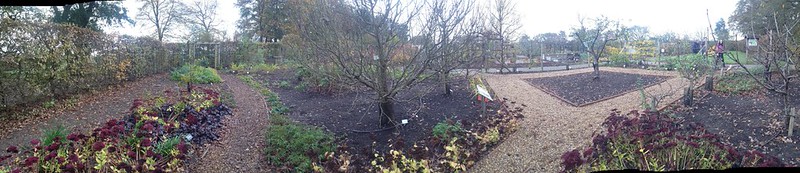
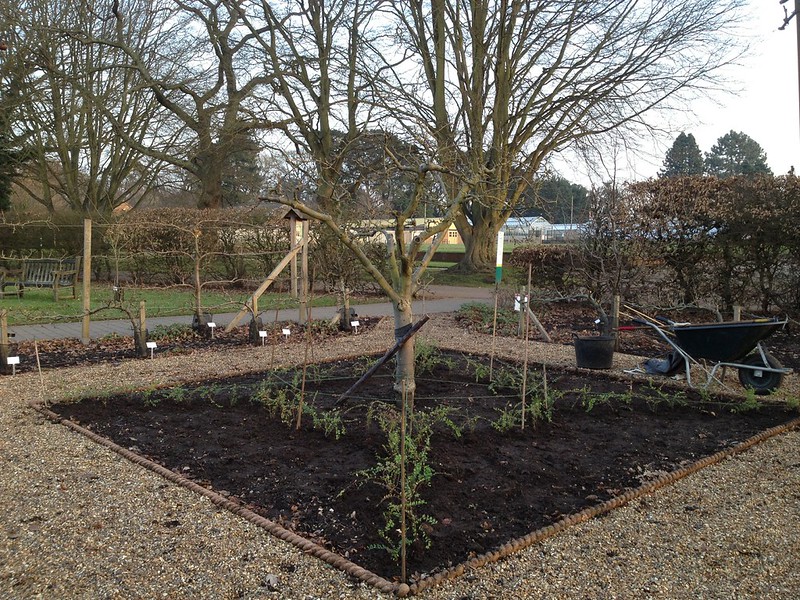
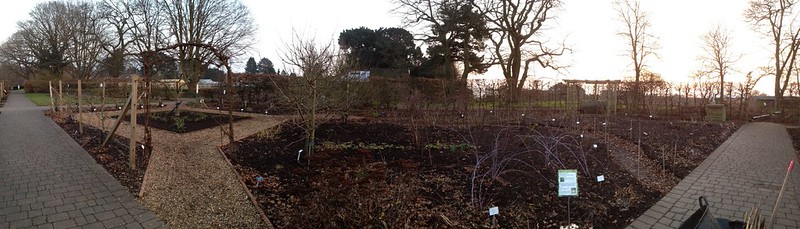
    As I had taken a panorama picture from the same spot on the main path one month and a half ago, I can now make a comparison of the wider view. There is now closer access to the blackberries, the chuckleberries (a cross of redcurrant, gooseberry and jostaberry ), the two Malus that flank the path on one side and the Asimina triloba (or pawpaw, a rather interesting tree too) on the other.

    Panorama view from the main path: 3 Oct

    Panorama view from the main path: 21 Nov
  • Fig dressing

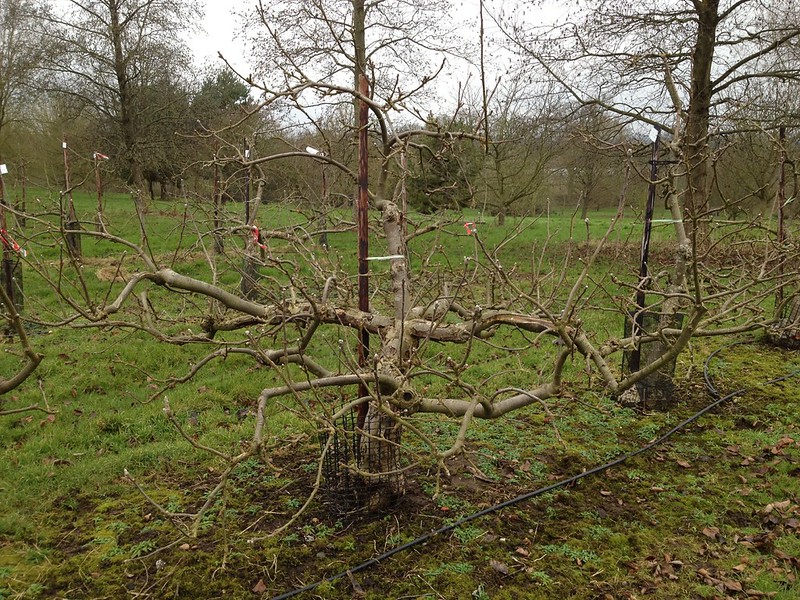
    The preparations for winter continue, and today it was the Model Fruit Garden fan-trained fig’s turn to be put to sleep.

    The fig, ready to go to bed

    The first step was pruning the tree, untying it from the frame.

    Syconium inflorescence, with inward looking florets and fruits

    Figs (an inflorescence called syconium giving origin to a multiple, accessory fruit) form in the leaf
    axils at the tip of new branches, so it is necessary constantly to generate new material through replacement pruning.

    Cutting back to stubs

    This consists in taking back some of the older branches to stubs – the only case (together with Dutch
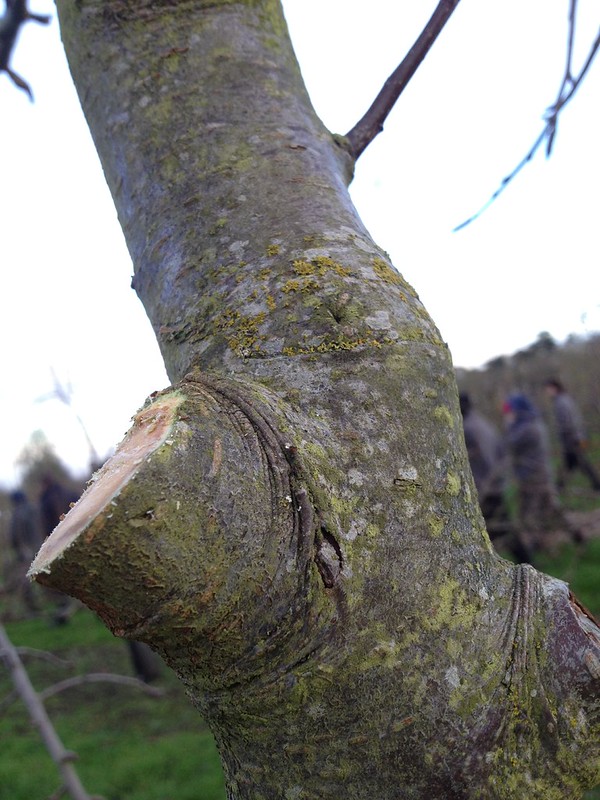
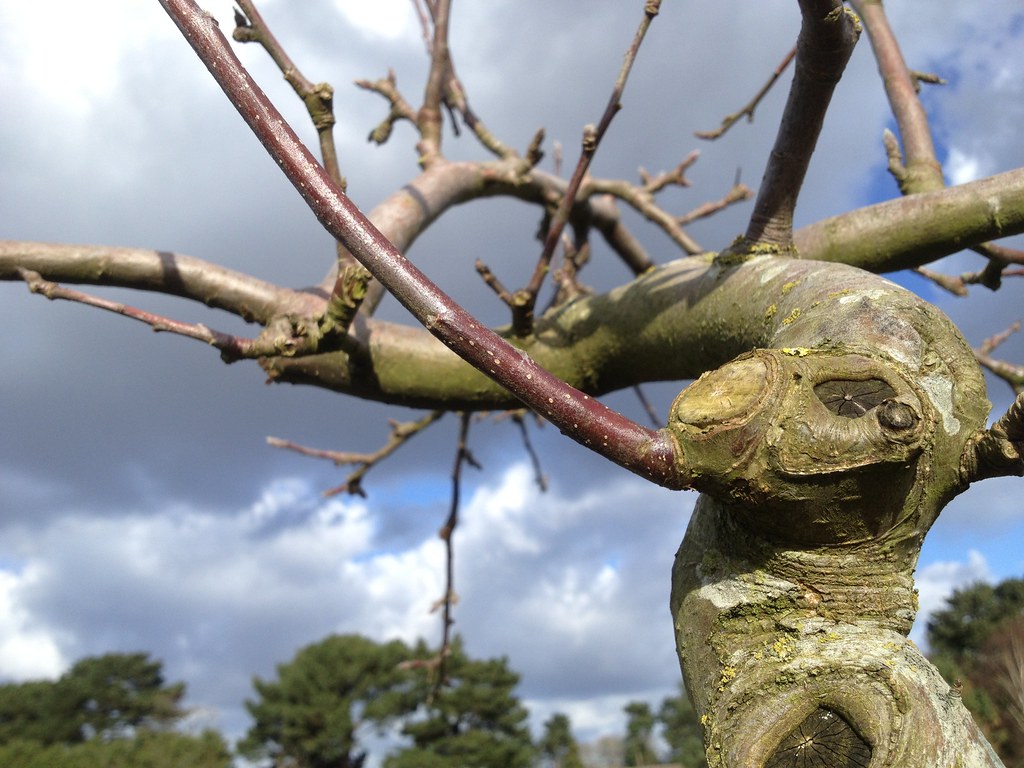
    cuts) where leaving snags after pruning is not frowned upon for plant’s health reasons. To preserve the shape of the fan, and keep branches to an appropriate distance of some 10 cm, one also has to cut some branches back to their origin, but one has to make sure to preserve enough branch tips to get fruiting the following summer.

    The pruning regime for trained figs also consisted of pinching back new shoots to 5 leaves before the end of June, so they produce shorter sideshoots, that have time to ripen before the frosts.

    The fig is planted in a concrete pipe section to restrict growth and improve fruiting (one could use concrete slabs, as I do at home), but roots have a habit to run out on the surface and away, so we did some root pruning too to bring them back. As figs layer quite easily, the lowest branches also needed pulling outof the ground and pruning back where they had rooted.

    The pruned fig

    Wood turning mature (still part green)

    Figs are hardy plants, when the wood is completely mature, but in the UK it is best to give them protection so as not to risk losing branch tips that are still not completely ripe.

    So the next step was to cover the tree with bracken, a material that does not soak in water, so helps keep the plant dry as well as warm – it comes with a minor health risk, though, as bracken spores (relased mostly on hot dry days in late summer) may be carcinogenic if inhaled, so one might want to wear a face mask if doing this often.

    We train our fig against a screen, so we put bracken between the tree and the frame, and then secured some netting along the whole widtht and height in front of the tree and stuffed bracken in between there too.

    There is a best way to stuff bracken by pulling leaflets from the stems (that will be discarded), bunching them up all in the same direction (fronds down) and using them like that, nice and tidy.  The reason is so that you can take it out without too much effort in the spring… if you get to take it out, that is! This year we could not do it in spring because a robin nested cosily into it, and we had to wait for the fledglings to leave the nest.

    Steps in the covering of the fig
    After one trailer full of bracken, we just needed a bit more for the front
    Fig in pots under cover

    To complete our education on figs, we were taken round to the fig collection we have in pots under
    cover in the greenhouse: they need free draining compost but regular watering and feeding, because in their natural dry habitat they spread far and wide to look for their nutrients.

    There is plenty of information online to grow figs both outdoors and in pots:

    RHS fig plant profile
    Grow your own figs

    I am fascinated by stories, and the one that caught my attention most today was one about there being volunteer figs around the country, outside bigger towns, on riverbanks, dating back to Victorian England. Apparently, dried figs were a popular festive food and they came seeded – the seed ended up in the sewers and were discharged in the rivers, where they germinated in the warmer microclimate.

    Pollination and seed formation in figs is a very complex thing, for one the flower are enclosed in the syconium, so they are not easily accessed. But tiny – 1mm – wasps have co-evolved with the plant in its natural environment to enter through the fig’s ostiole (the opening opposite the peduncle) and pollinate it while using the syconium as a breeding pod. That’s amazing and if you want to read more about it I found some great sources.

    Seeds?

    But what I have not been able to check out is the statement that only figs from their native environments contain (viable) seeds because there are no suitable wasps in the UK.

    I sliced open one of the figs we removed from the tree while working on it, and I can see what look like seeds. Are they?

    Some of the fig cultivars we grow in the UK are parthenocarpic: does that mean they produce no seed or unviable seed?

    I could not find a precise answer. If anyone knows and wants to put me out of my misery… 🙂

  • Digging

    Digging. An activity I have traditionally quite enjoyed for the pleasure of physical exercise and that I have regularly undertaken on my plot, which is ridden with perennial weeds (couch grass, bindweed, creeping buttercup). It is also an activity I started to question when studying soil for my level 3 exams, the reason being it disrupts earthworms tunnels (which I gather they dislike) as well as the habitat of the rest of the microbiota, severing those all important micorrhyzae.

    So I’m still undecided what is best: digging that organic matter into the soil (some say deep down through double digging so as to make the soil more porous and make life easier for roots, especially on heavy soils, like my plot’s is) or layering it on the top, suppressing weeds and leaving worms and biota to do their thing, as it would normally happen in nature, with fallen leaves and other organic debris (as deep roots are mainly for stability awhile shallow roots get most nutrients)?

    Vegetable plots are rather artificial environments anyway, the soil is compacted and weeds (especially ruderals) abound of bare ground, so digging has traditionally been recommended to bury the weeds and aerate the soil while breaking any pans.

    Correct size of spade

    First of all, after making sure one is safe and properly equipped (especially boots), one has to find a spade adequate to one’s own height, roughly to the top of one’s hip. I understood why I had only seed long handled spade in Italy: outside the UK, a spade is not generally a digging tool. In Italy they use a tool called “zappa“, which is apparently harder to work as you use it as a pickaxe then twist it with the soil in.

    Step one: fill a barrow

    Then one needs a barrow, where they will store the first row
    of digging, which needs to be a spit dip and a spade width’s wide.

    Any matter that needs diggin in should be spread before starting usually to the rate of one barrow every 2 sqm (but never mix manure and lime because they release ammonia, which is a polluting gas and which takes away all the nitrogen; you need at least three weeks between one and the other).

    The next step is to find how much soil you can comfortably lift, and dig linear strips, every spadeful roughly the same amaount of soil, filling with it the trench ahead of one (the first one being that which went into the barrow). And so on until the end of the area that needs digging, finishing by filling the last remaining strip with soil from the barrow.

    A perfectly done, and a less skilfully dug bed side by side

    I and my fellow trainees had a go. It was really clear that my technique fell short of the perfection our teacher possessed: in fact, his finished bed was even, without dips and bumps, while mine was rather rough, because I could not calibrate the amount of soil I lifted evenly enough. That will require some raking before sowing… and I will need more practice! That is why I’m here, after all.

    Wisley has rather a sandy soil, which can be dug throughout the winter, from October and through to March. Heavy soil are best dug earlier on, up until November, so that rain and frost break up any lumps. But I also find bare ground over winter a heresy myself: you should see how all the topsoil is washed away on my plot, every year in the winter, leaving behind a sea of white stones, the chalk and flint on the surface. It is quite a disconcerting sight…

    We were also instructed that some crops like carrots dislike recently disturbed soils, so planning in advance is certainly a takeaway for me.

    About earthworms, I found this very interesting blog post

  • Cane management and training

    Berries of the Rubus genus cross liberally, and today we learnt how to deal with blackberries (R. fruticosus) and its hybrids, some of which I have tried to research in more details… a mammoth task, I suppose because in the search for the better berry, yielding more and more disease resistant – or even the novelty product to keep gardeners interested – so many different names have sprouted, even been patented. Here’s a list of hybrid (and not so hybrid) berries:

    • Boysenberry (R. ursinus x idaeus), originated in the US under the aegis of Rudolph Boyse, it is a cross between a loganberry, blackberry and European raspberry, can be spiny or spineless and has black fruits, tasting like a sweeter blackberry*
    • Hildaberry
    • King’s Acre, an old hybrid of blackberry and raspberry with black fruits of mild flavour, suitable for a small garden
    • Loganberry (R. × loganobaccus), with a sharp taste, loganberries (a cross between American blackberry and European raspberry, make a good culinary berry, which is sturdy and disease and frost resistant**
    • Silvanberry (R. ‘Silvan’), with an AGM, this Australian hybrid, very vigorous and spiny, it’s early fruiting
    • Sunberry, slow to establish but with large fruits, this hybrid has its origin in UK research centre East Malling****
    • Tayberry (R. Tayberry Group), a patented hybrid, with juicy, aromatic berries, sweeter than loganberry
    • Tummelberry, a patented hybrid, originally bred by the Scottish Crop Research Institute, this is a hardy tayberry with hairy canes, upright growth and sharper taste, more similar to the loganberry
    • Veitchberry (R. inermis × idaeus) one of the older crosses, with stout canesand excellent flavoured fruits
    • Wyeberry, developed at the University of Maryland, a hardier form of tayberry
    • Youngberry, with round fruits and fewer seeds, this cross of loganberry and dewberry has never gained much popularity.

    Not all the canes that are generally grouped under hybrid berries are hybrids; some of those:

    • American dewberry (R. trivialis), trailing and evergreen in their native countries, sweet and used by the natives as dyes; European dewberry (R. caesius)
    • Japanese wineberry (Rubus phoenicolasius), with reddish, hairy stems and small light red berries
    • Marionberry, a blackberry cultivar bred in Oregon ***
    • Salmonberry (R. spectabilis) with perennial canes and orangey fruits, apparently eaten by the natives of the Pacific Northwest with salmon, best for culinary use

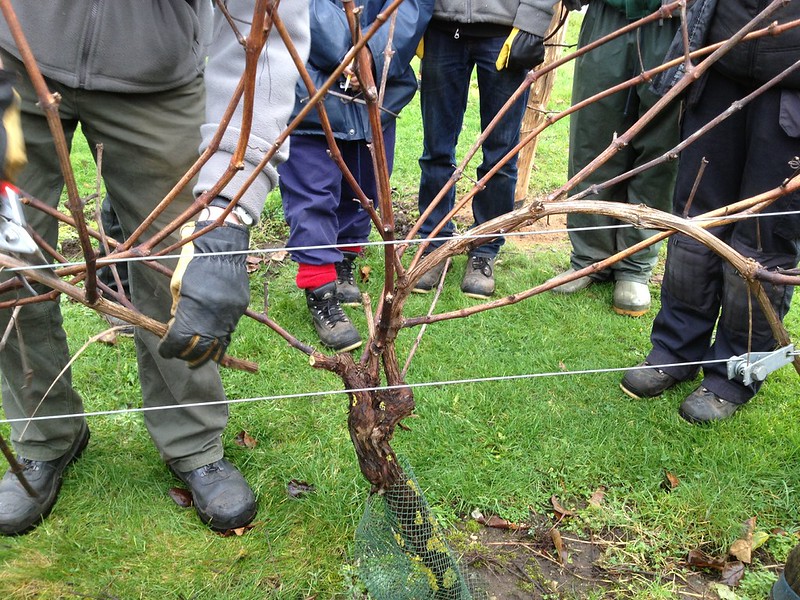
    Canes come in three main types (trailing, semi-erect, erect), which require slightly different management, but in common to all is the fact that one needs to keep primocanes (vegetatively growing canes, in the first year) separate from floricanes (fruiting canes, second year – and sometimes short-lived perennials), so that they are not shading ripening berries and are in the way of picking ripe ones.

    At RHS Garden Wisley some of those berries are being trialled, on a post
    and wire system, and we had the opportunity to work with them.

    They are planted at 3 m apart (you could however use less for less vigorous and more for the bigger ones) and trained as a two-way rope system to 6 or so floricanes per side, set 15-20 cm apart on the three lowest wires, while the topmost one is kept free for new, primocanes to be tied in. Plants are lined up in order of ripening, for easier picking and management.

    The pruning regime works as follows:

    • tipping: when new canes have grown to some 30 cm, they are pinched back to 10-15 cm so they produce shorter, thinner canes when they regrow, which makes erect/semi-erect canes to be more flexible and manageable; this is not generally needed for the trailing varieties
    • as they grow, primocanes are kept tidy with the use of strings, tied in the middle.
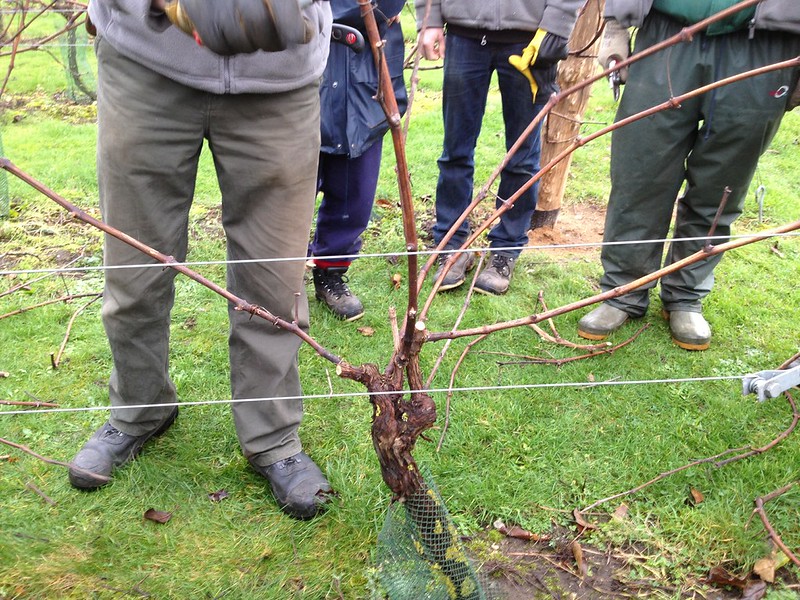
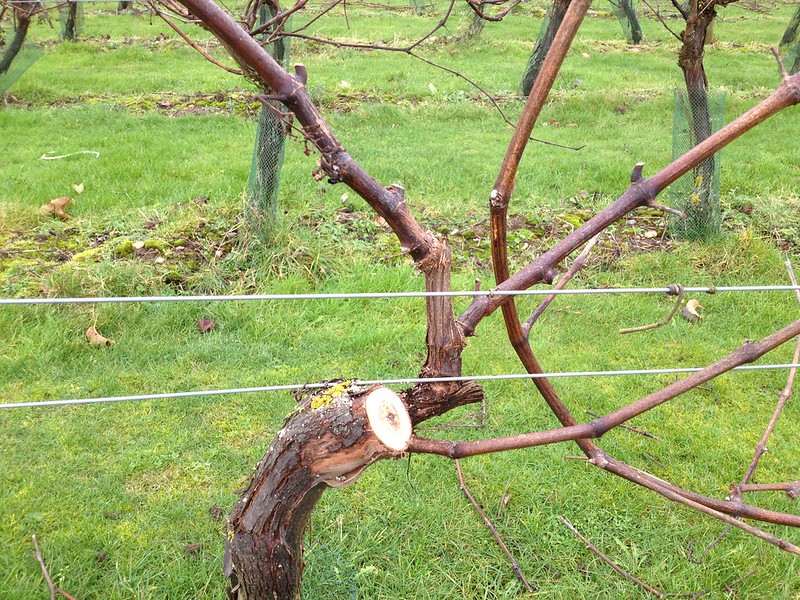
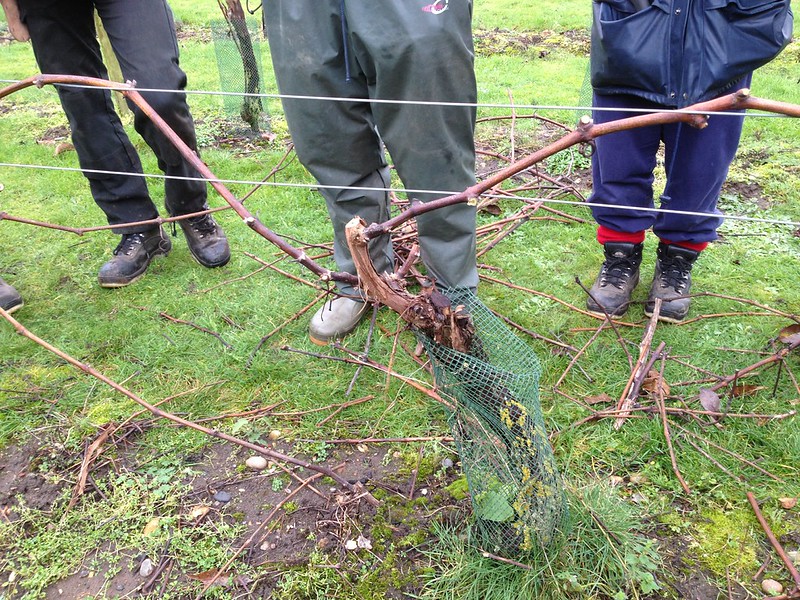
    • after picking, fruited canes are pruned back to the ground: any stubs left are at risk of infection from cane blight (Leptosphaeria coniothyrium), besides being an obstacle to new canes, causing twisting and rubbing wounds (that may also act as nesting sites for the raspberry cane midge, which is  associated with cane blight infection)
    • in the autumn, primocanes are laid out to replace the fruited floricanes on the lower wires, tied in the first instance with knots in the figure of 8 (knot away from the branch), on the side of the prevailing wind, trying to get them in the direction they want to go. Short laterals are shortened to 3 buds (longer ones may be kept entire). When the branches are all satisfactorily laid out, 15-20 cm from each other and evenly space on both sides, they are laced in, as it’s done with raspberries.
    A rather vigorous, semi-erect cultivar of hybrid berry

    The fruited and damaged canes are pruned back to the ground

    Laying out the best primocanes for fruiting next year
    Ready for lacing
    An erect cultivar with laterals
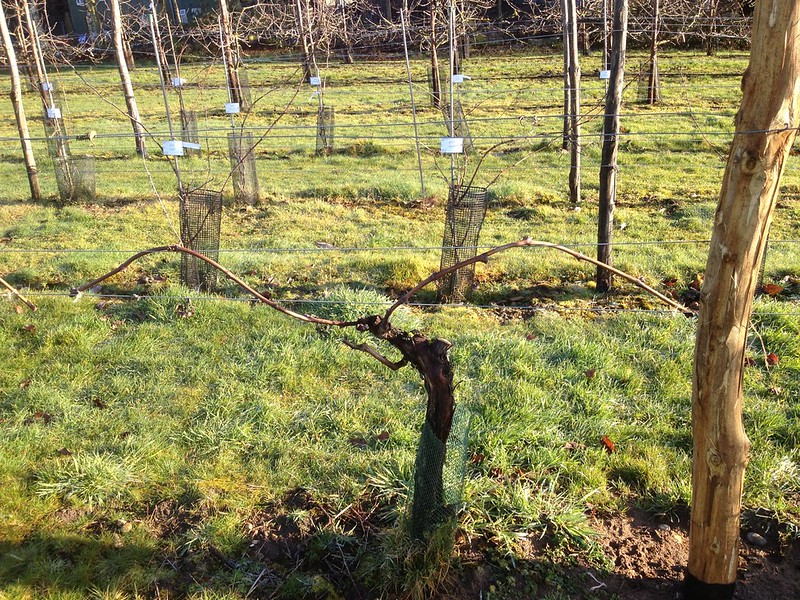
    A trailing, less vigorous cultivar, ready for nex year
    Primocane fruiting blackberries

    As part of the trials, we were shown some primocane-fruiting blackberries that were bred in Arkansas, USA, which flower and fruit on top of the canes in their first year, and are therefore managed like autumn-fruiting raspberries, pruned in February and trained in between parallel wires. They should be quite easy to pick, however, fruits do not seem to be quite ripening in the short English summers, so more breeding will be needed before gardeners in the UK can make productive use of such new cultivars.

    HDC released a cane management brochure, which has convenient diagrams for all the various support systems, and tying in and lacing techniques. 


    Sources and footnotes:

    • Hessayon Dr D.G. (2012) The Fruit Expert, London: Expert Books
    • University of Vermont Extension, Dept, of Plant and Soil Science  http://perrysperennials.info/articles/lesserbram.html

    * Victoriana Nursery http://www.victoriananursery.co.uk/Boysenberry/, Oregon Raspberry and Blackberry Commission http://www.oregon-berries.com/pick-a-berry/
    ** T&M http://www.thompson-morgan.com/fruit/fruit-plants/other-berry-plants/loganberry/cww3569TM
    *** Oregon Raspberry & Blackberry Commission http://www.oregon-berries.com/pick-a-berry/
    **** Blackmoor Nursery http://www.blackmoor.co.uk/products/447