… but the story begins with an overgrown Pyracantha that was in the way of grass mowing.
That is what I started to tackle, which took me one day and a half, as it turned out it was likely two Pyracantha, very similar but different enough (to be confirmed).
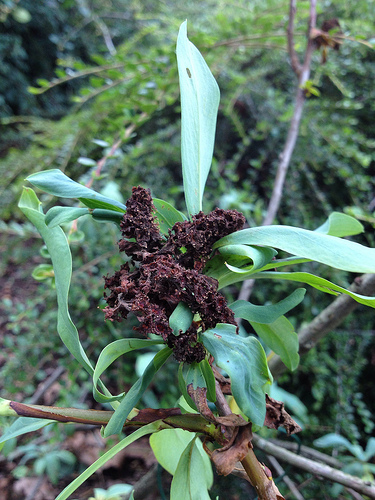
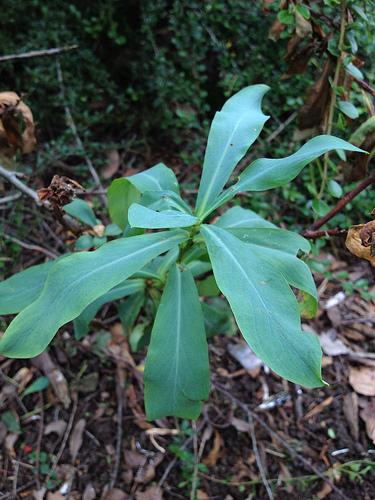
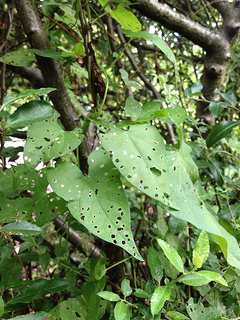
And when those two plants were brought back into their allotted space, it became clear there was a plant, behind the Cotoneaster, that I had never seen before: its leaves reminded me of a Euphorbia….
But it is probably worth starting the story from the beginning, with Kew chronically understaffed, so that not all areas get a permanent member of staff to care for them. Students get 3 months placements in different areas of the gardens, while apprentices and trainees get to stay one year in the Arboretum, but they spend six months each in the two different teams… the result is that learning is maximised for the individuals concerned, but some areas may suffer from lack of continuity in management. In an area with suckering and freely self-seeding specimens as the one I am working in, matters can quickly get out of hand, and that is what I think happened. Hence, all my crawling under overgrown plants and large scale cutting back.
It did take me a couple of month to get my head round what was needed, and it was only when I started the stockchecking project that getting in depth knowledge of the plants in the beds gave me the confidence to start tackling the overgrown shrubs. After that I thrived, and you know that I enjoyed talking about it – this story is another one of my much cherished adventures.
 |
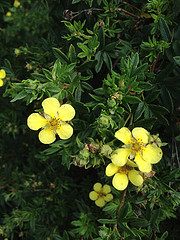
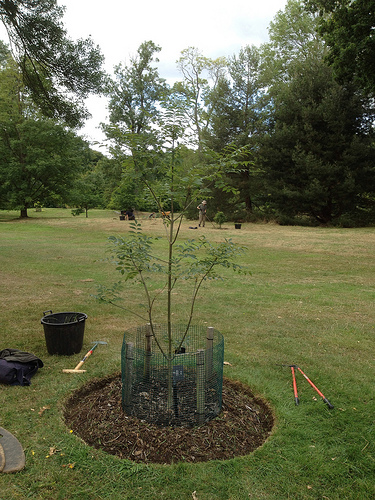
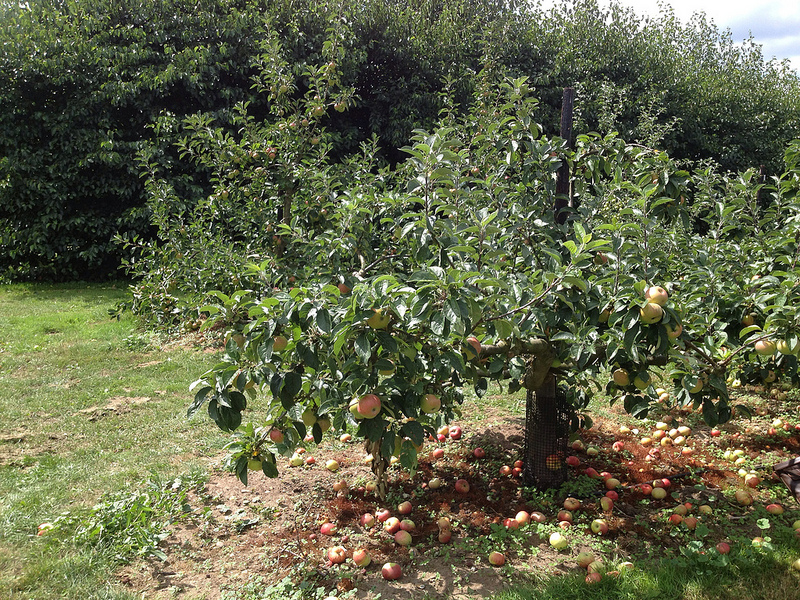
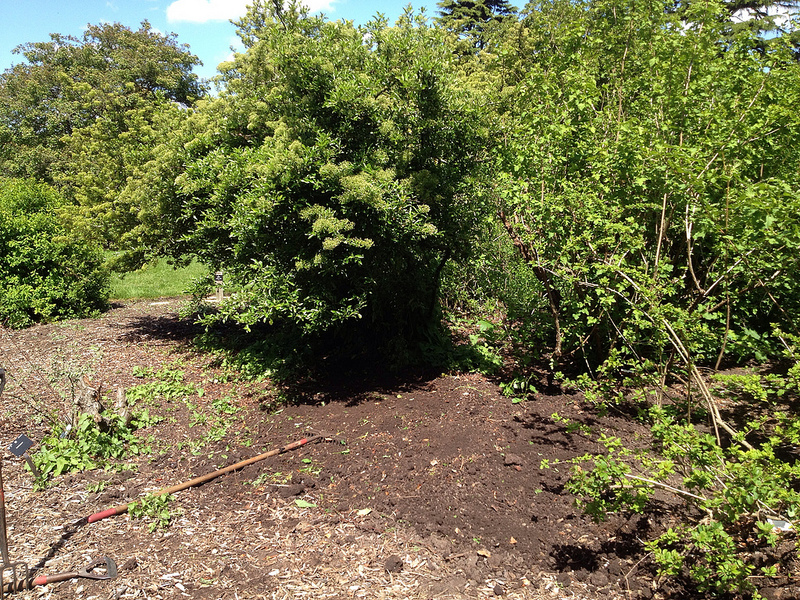
| The Pyracanthas, when I started on them |
The Pyracantha was the perfect practice ground for my newly refreshed and recently expanded pruning skills. Daunting, though. I started going round the plant and trying to understand where to start from. Then cutting the more obviously misplaced branches. Then I did not seem to know what to tackle next and felt so overwhelmed… when I remembered Rossana’s advice: clean everything around you, so that you can have a good look at the plant.

Which I did: there were plenty of leaves on the ground. And while I did that, it gradually became clearer how to proceed further.
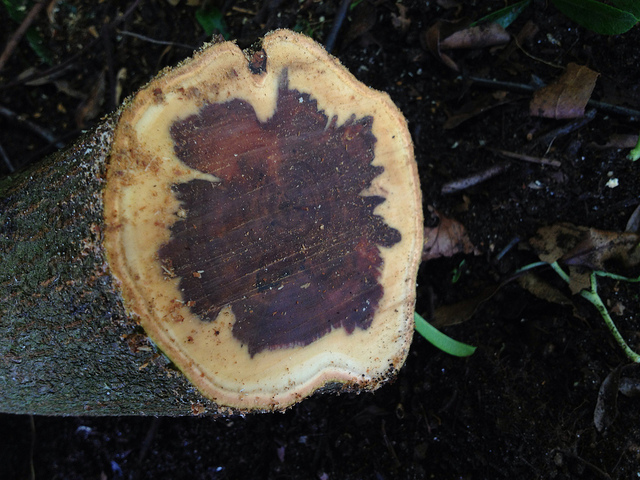
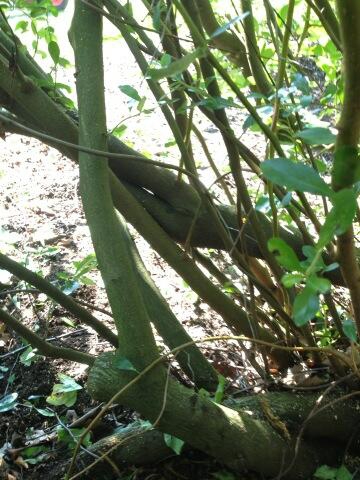 Some of the oldest branches were a real tangle, and they turned out to have some kind of dry rotting going on inside.
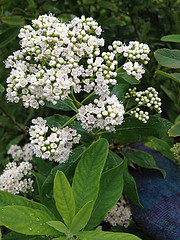
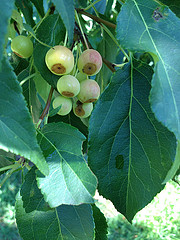
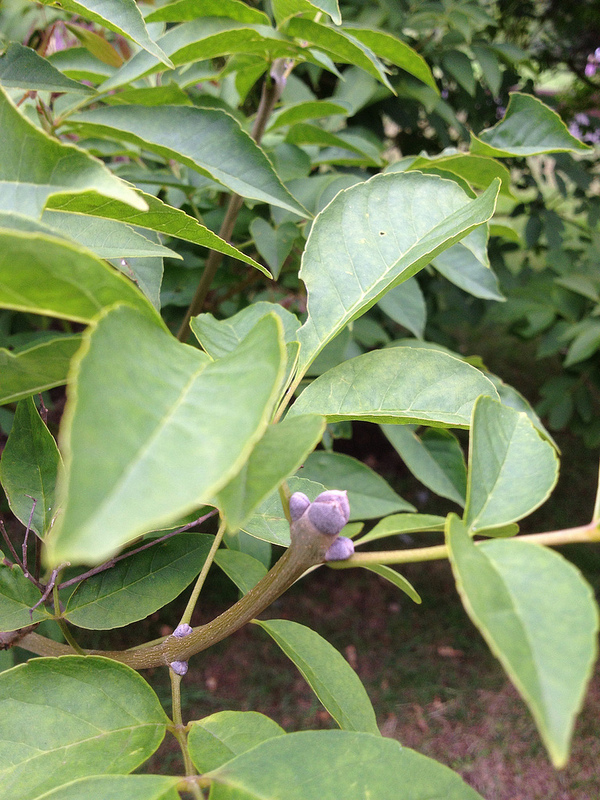
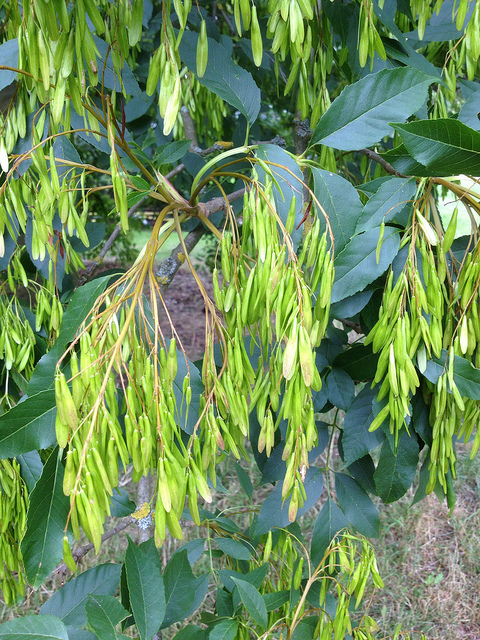
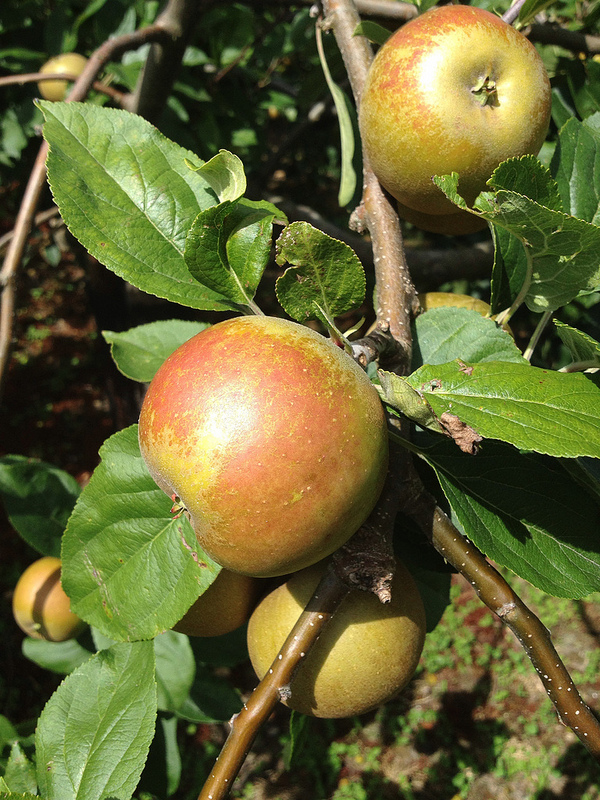
The colour of the wood, and new growth in particular, and the slightest difference in the leaves’ and fruit’s shapes made me thing there must have been two different plants there, so I decided to tackle them separately. I will have to get someone to verify their identity later.
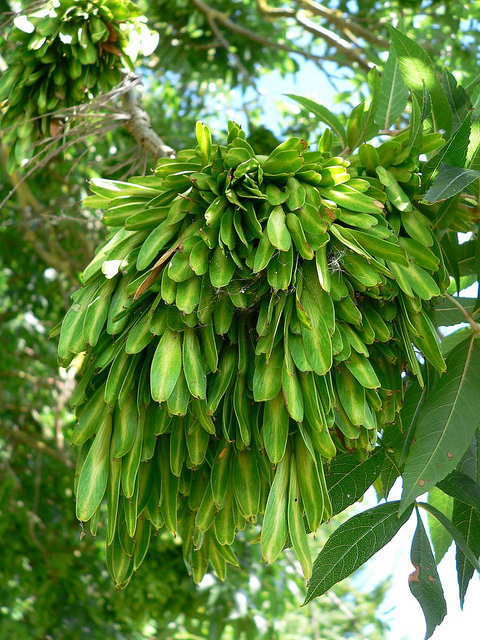
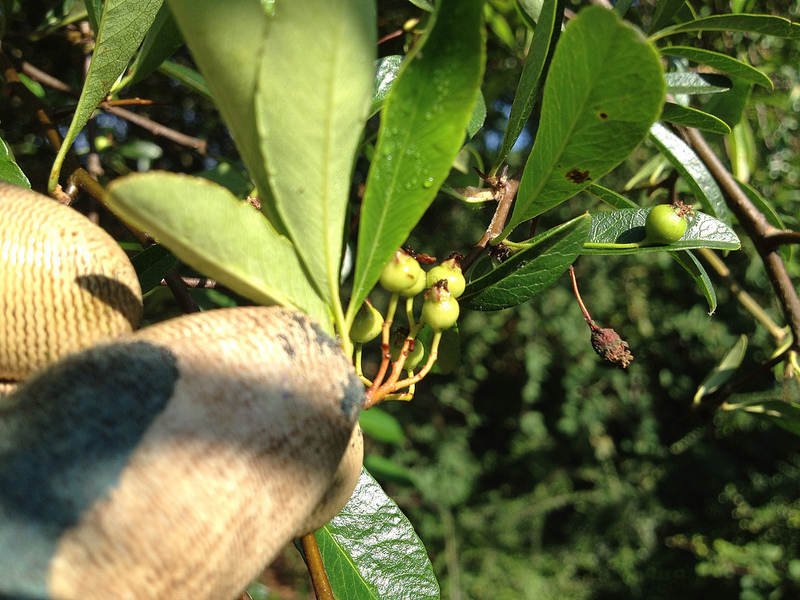 |
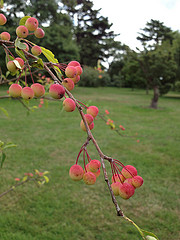
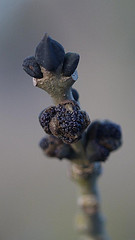
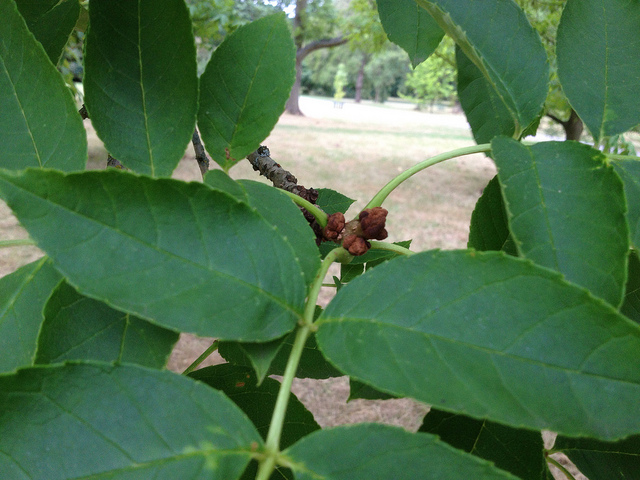
| Fruits: more rounded, darker on the right than on the left |
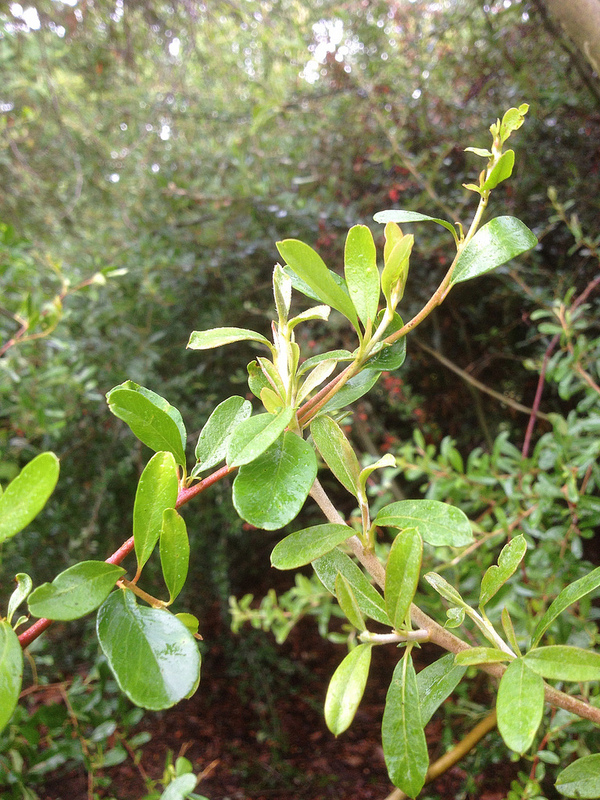 |
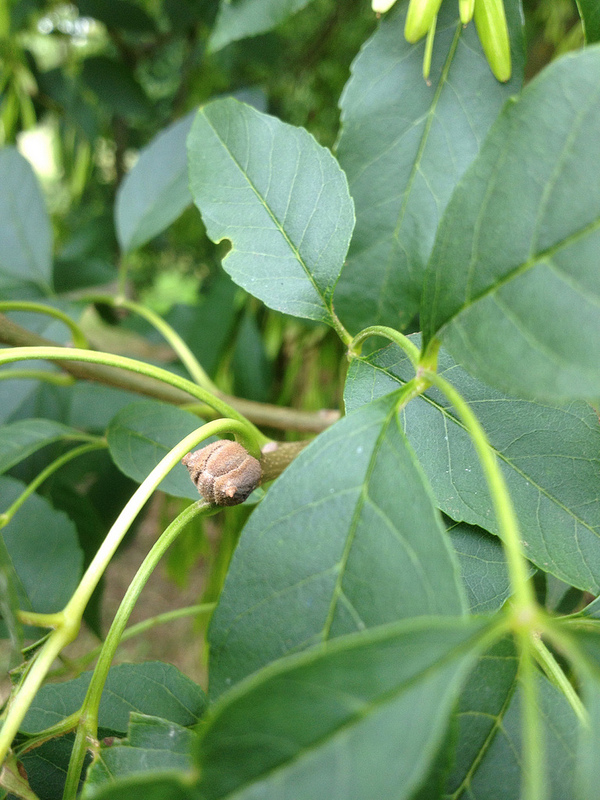
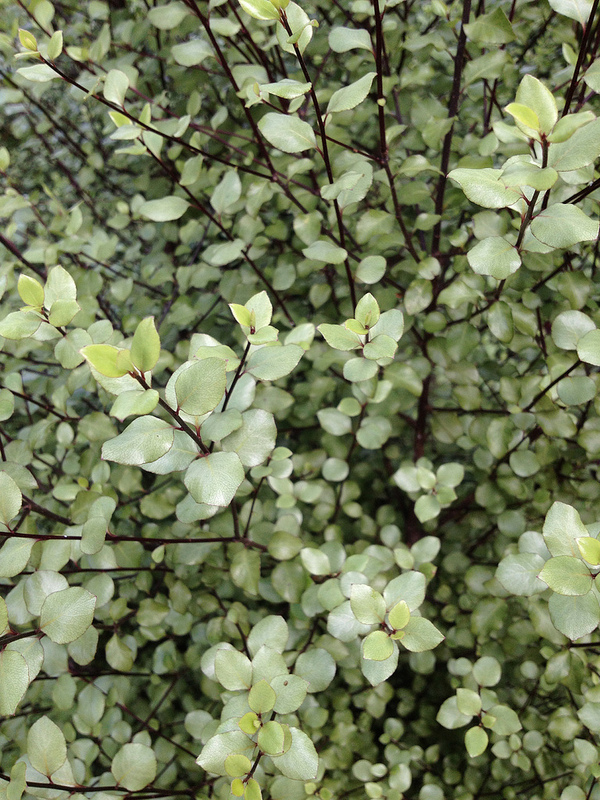
| Reddish stem on left, whitish on right |
It took me most of the Wednesday to sort the first Pyracantha… then another couple of hours to sort the second one. There was air flowing through the stems at the end of it, and there were much fewer crossing, damaged and split ones (as many as could go while still leaving a solid framework to sustain the new growth, which is rather floppy in these two specimens) – that means healthier plants; besides, they still looked presentable enough for the enjoyment of the visitors.
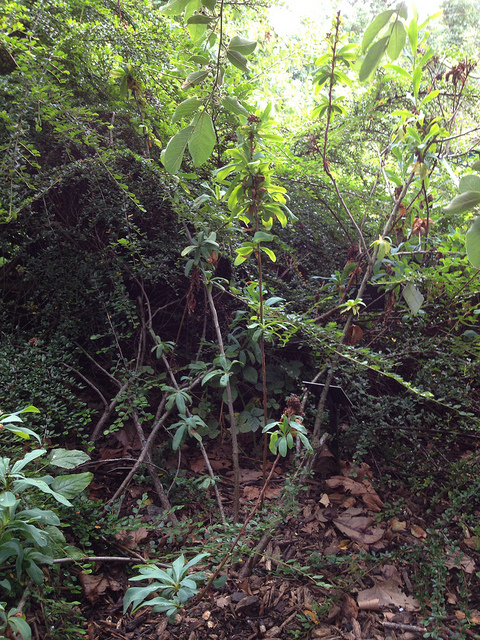
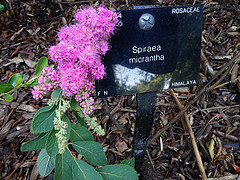
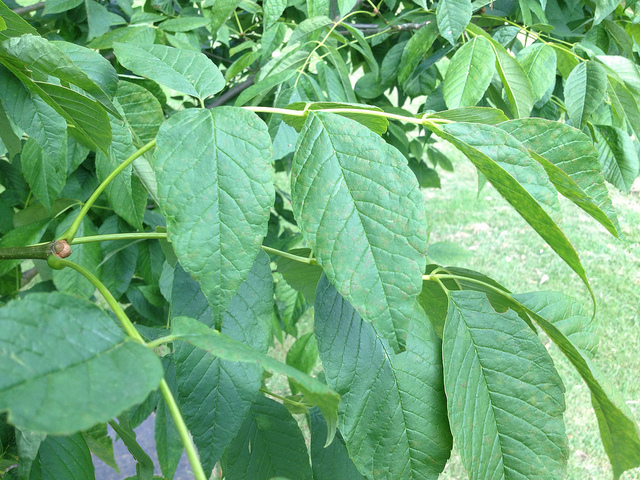
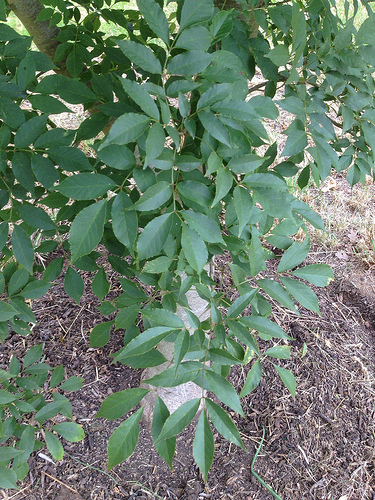
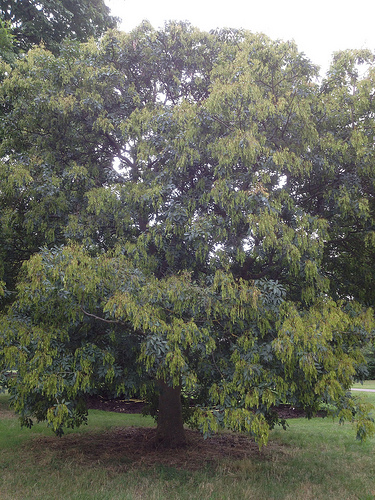
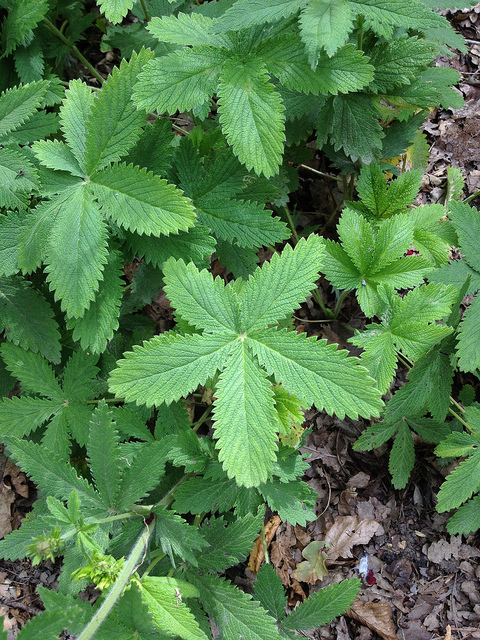
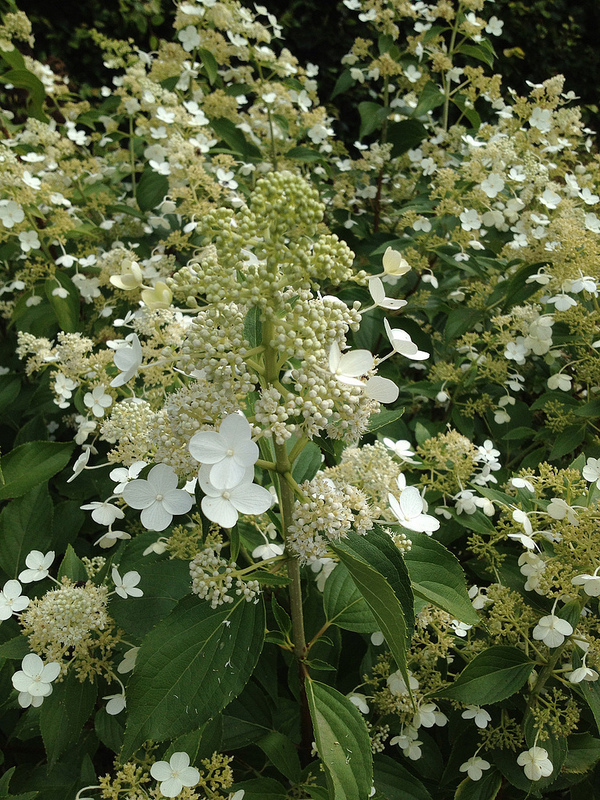
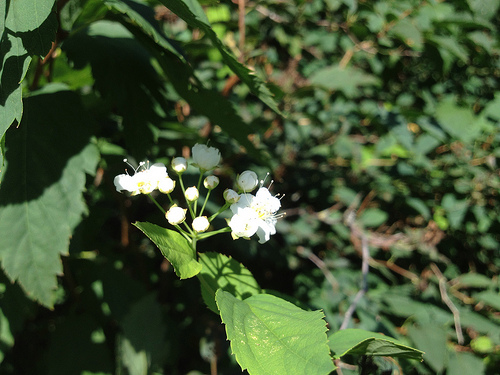
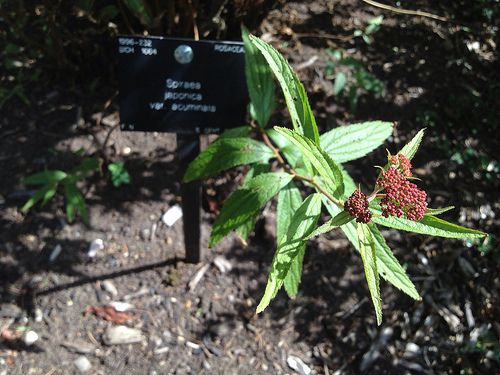
It was then that it became apparent that the Cotoneaster was encroaching on a plant new to me: Sibiraea angustata.
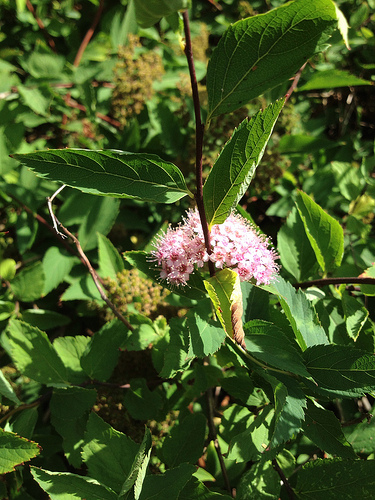
A relative of Spiraea, native to China, Sibiraea has some medicinal use for indigestion in its native land, and – I read – has raised some scientific interest for containing eight new acylglucosides, in the class monoterpene.
So I spent the rest of the day to ensure the health of this new plant, with rather satisfactory results. Pity I missed the flowers, they are out in June, pinkish and not too showy, I had a look on the web,,,
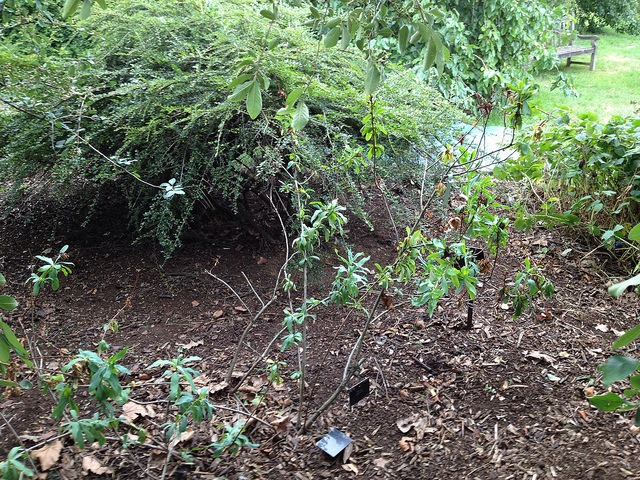
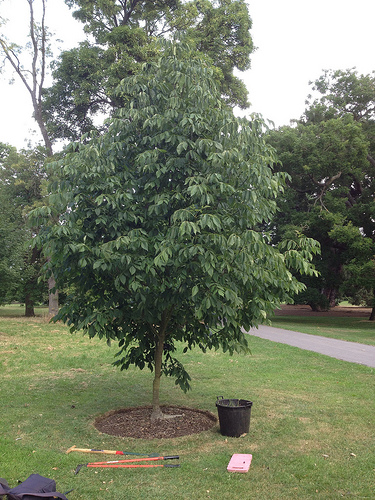
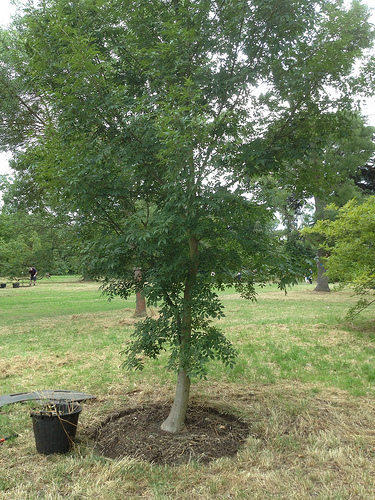
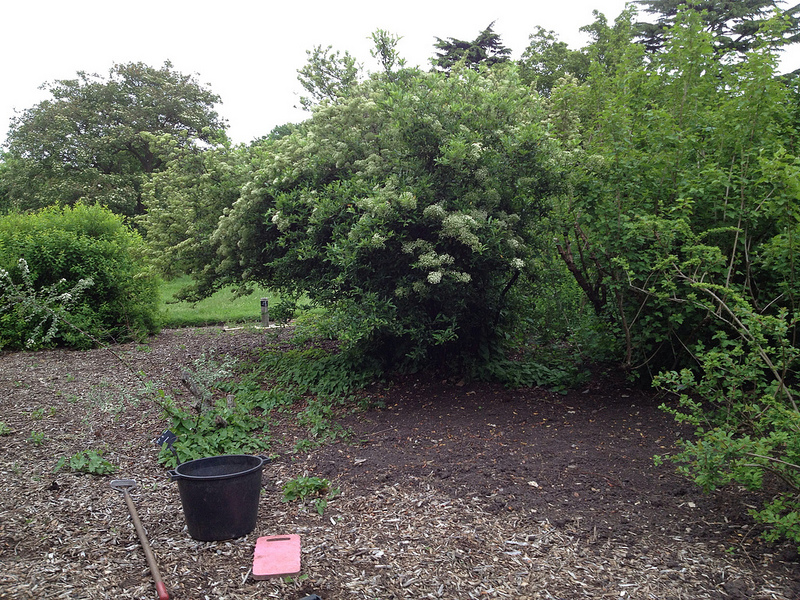
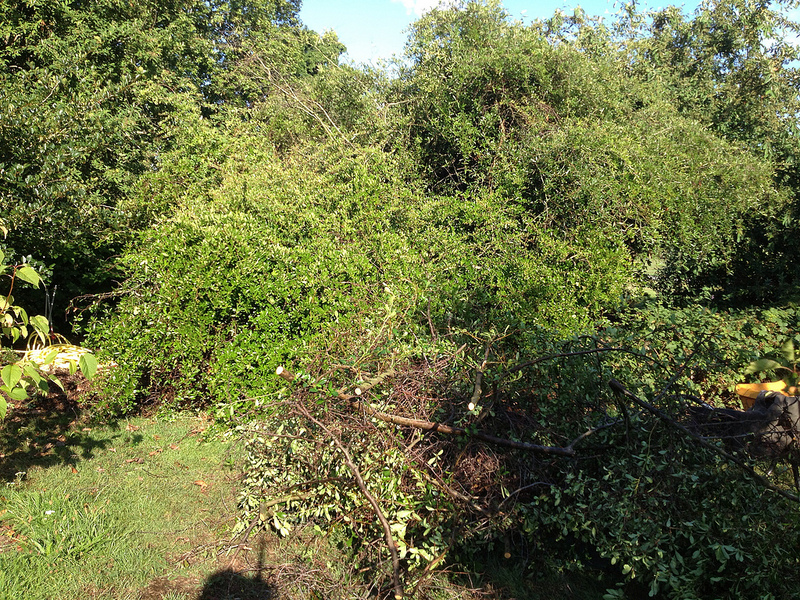
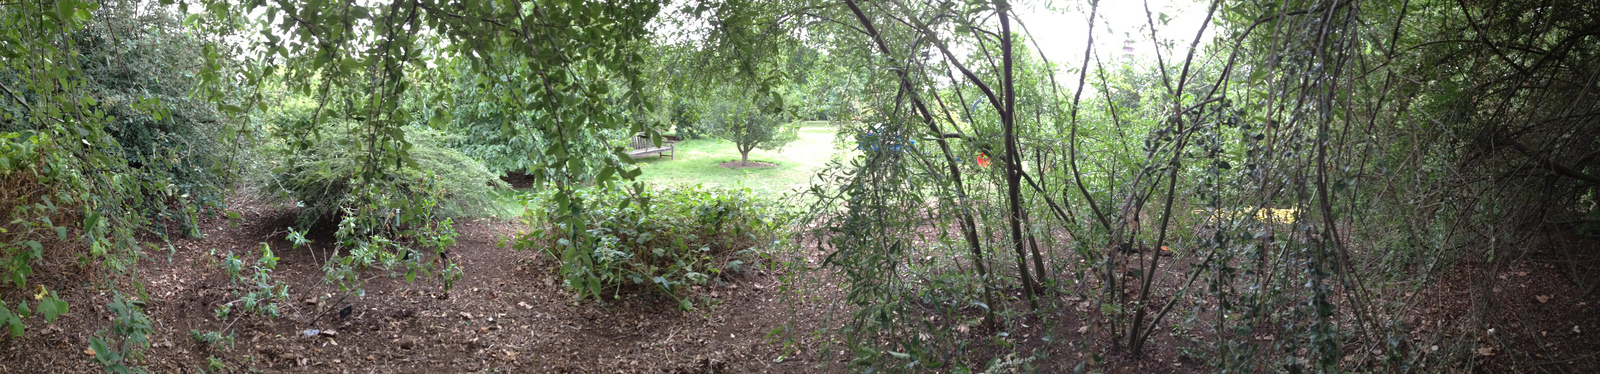
And here is a view of the bed, at the end of the two days. I will have to seed the grass edge, as the shade from the Pyracantha had killed the grass. But it looks otherwise good, doesn’t it?
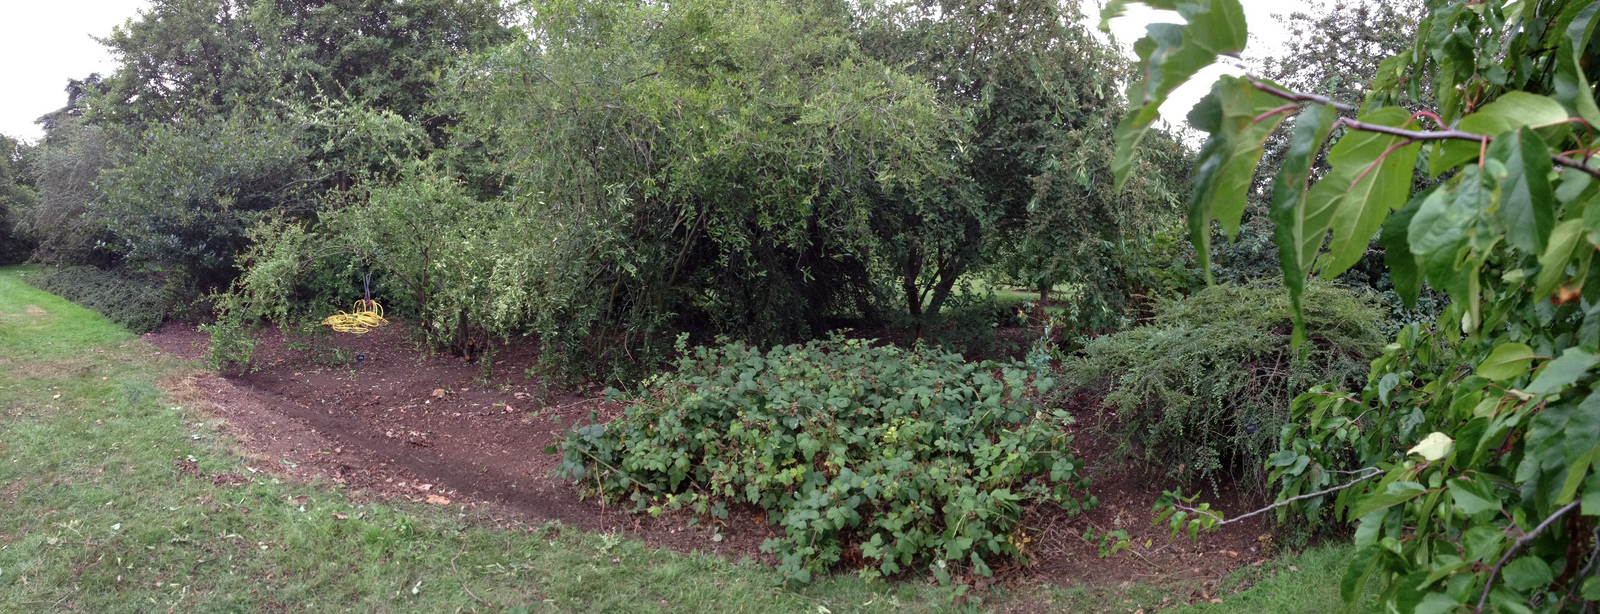 |
| Front of the bed at the end of the two days |
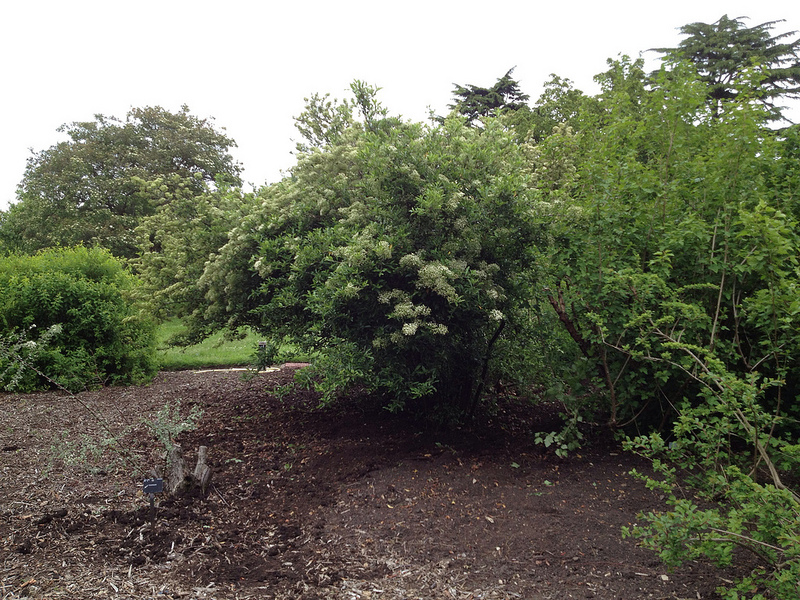
 |
| Inside of the bed at the end of the two days |