Orto di Casa Cecconi

My first allotment, and then one thing leading to another…

  • Euonymus: a plant I'll never forget (Week 14, Friday)

    Euonymus europeus, the spindle tree, with its characteristic bright pink seedpods with orange seeds sticking out, is a plant I have known for a while. I had it in my garden, I picked seeds from one last winter which I am trying to germinate, and it’s in my next plant ID test.

    But I had never known Euonymus fortunei. Or, rather, everyone knows it, it is so pervasive in gardens, only I had never know it was that plant. Before I potted on some 200 rooted cuttings, that is.

    The most famous specimens are the variegated ones, coming with such cultivar names as “Emerald ‘n’ gold” and are so pervasive that I can see them in at least 3 gardens only in my road, including my next door’s neighbour. Who, incidentally, the other day asked me what to do with some branches that were reverting back to plain green, as he had heard that it might spoil the plant.*

    Here are some pictures of the specimens I potted on:


    Some of the cuttings were flowering, with small, inconspicuous but cute green flowers, on cymose inflorescences (one flower at the end of each branch) with antisepalous stamens (in between the petals) and  green carpel with superior ovary (above the other floral parts). Like in the picture below.


    What do you think of this species?

    I also potted on another Euonymus sp., not identified, which – I must say – was my favourite, as it was a bit more unusual and I found the little opposite leaves with white veins rather graceful.

    Note: *Variegated plants are usually derived from a sport, and propagated vegetatively. The variegated part of the leaf is not green, hence contains less chlorophyll and photysintesizes less effectively. As a consequence the plant is less vigorous. Reversion to the plain green form makes the stems more vigorous, and they may overpower the variegated ones.

  • Mastering the art of watering – and some science too (Week 14, Thursday)

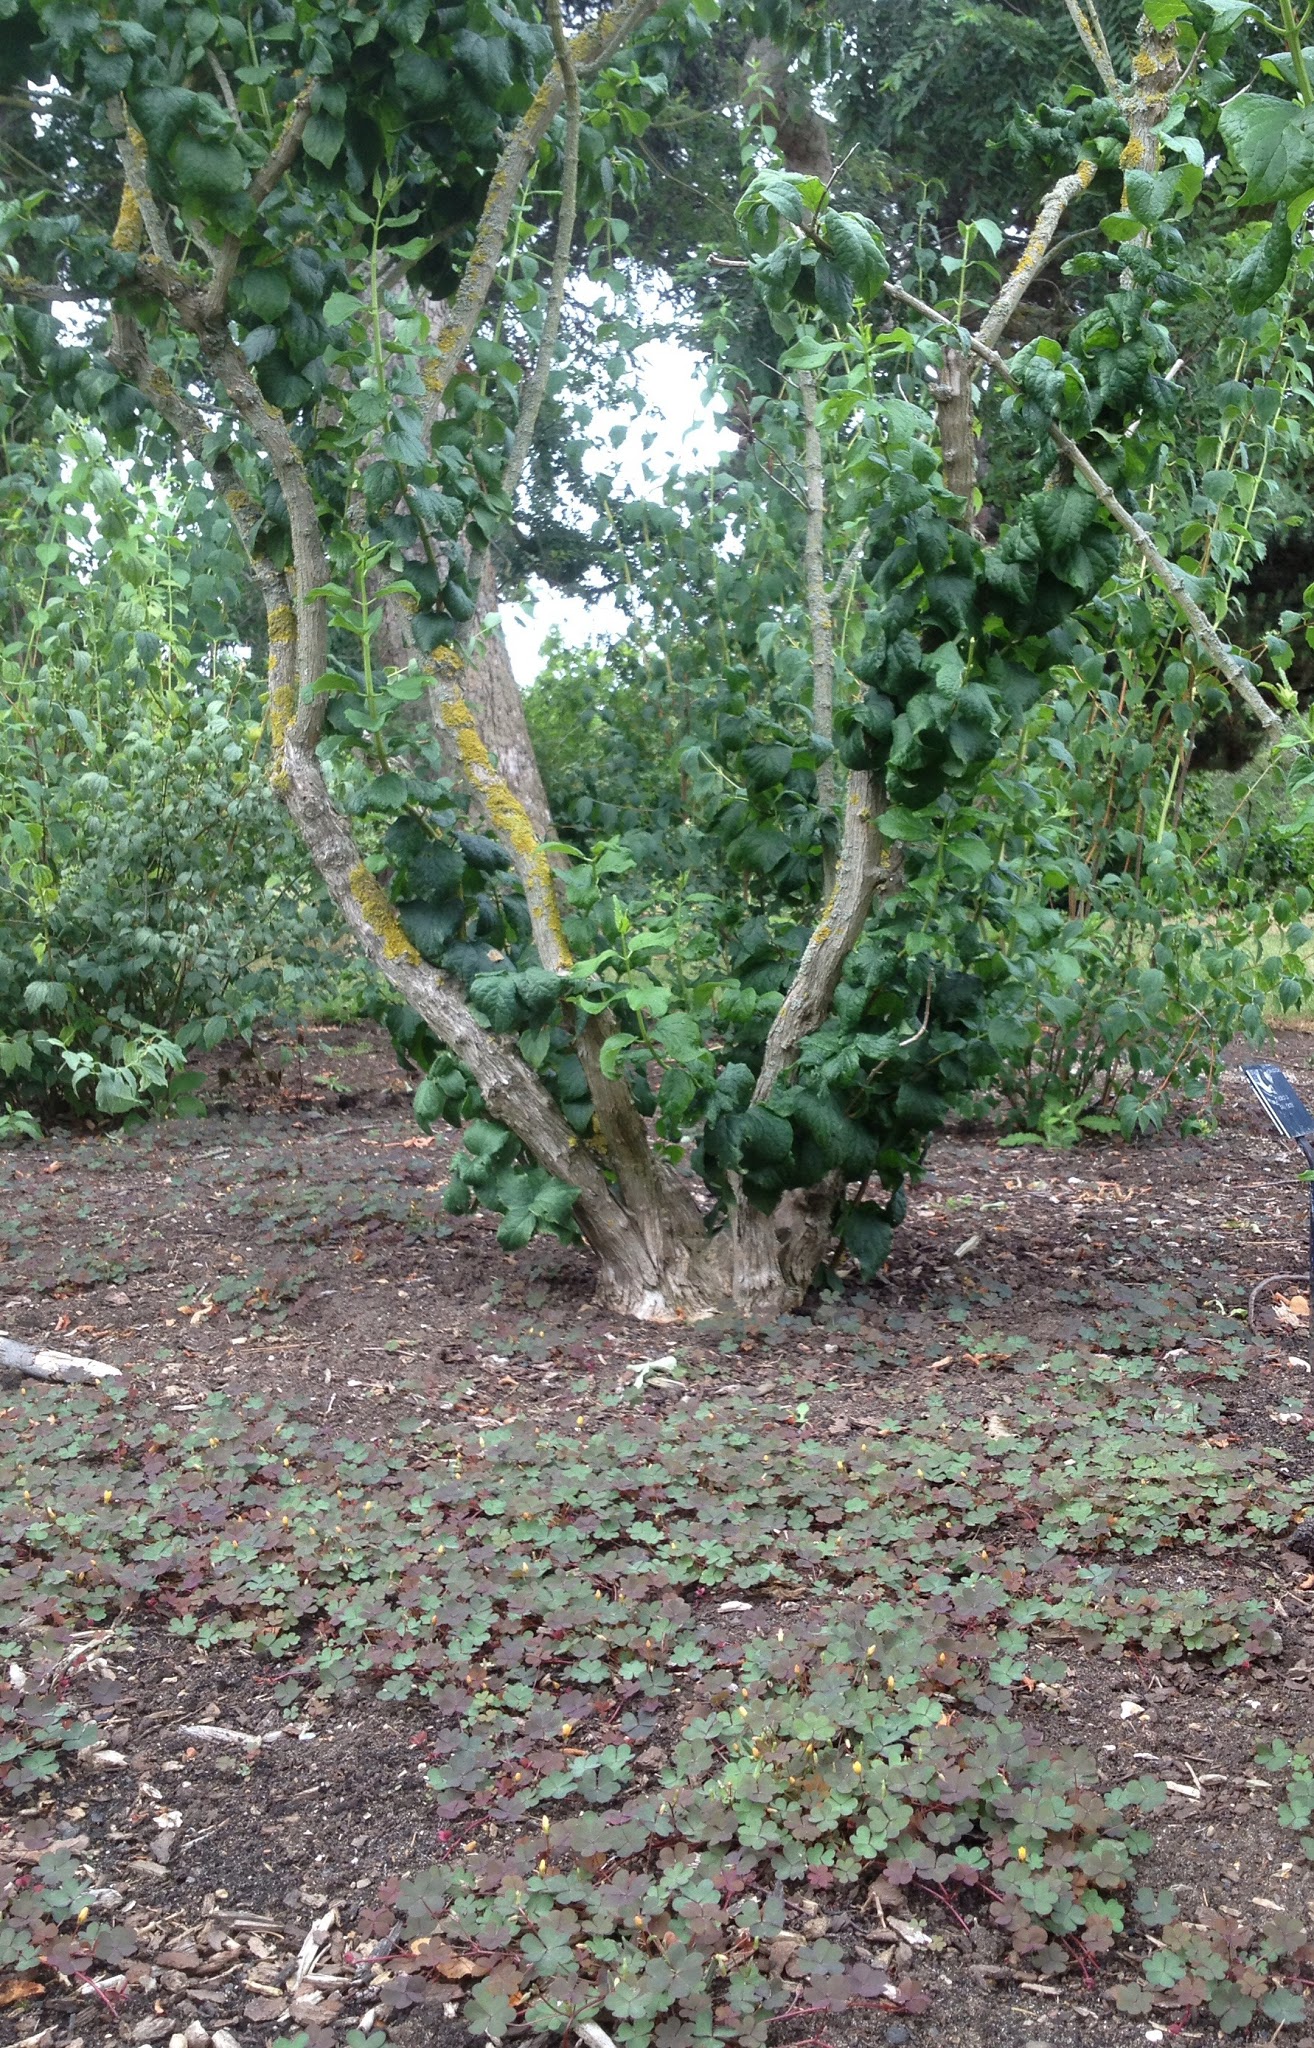
    Having watered every single day, first thing in the morning, for almost two weeks, with the responsibility to keep a botanical collection in good nick, has really changed my perspective on what I have never considered one of my favourite activities: I would do a raindance any time rather than have to water!

    Anyway, even on the plot, I notice the difference. I really pay attention that plants have a good soak, because it is incredible how much water it might take for a pot to get soaked through, and for water to seep down beyond the soil surface.

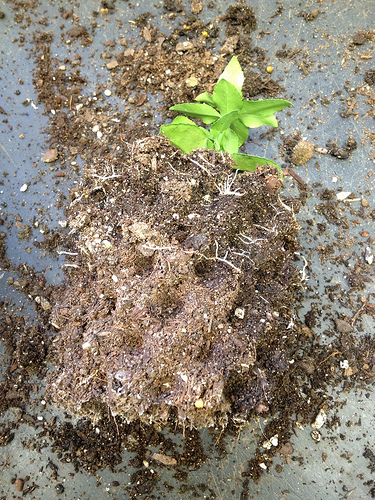
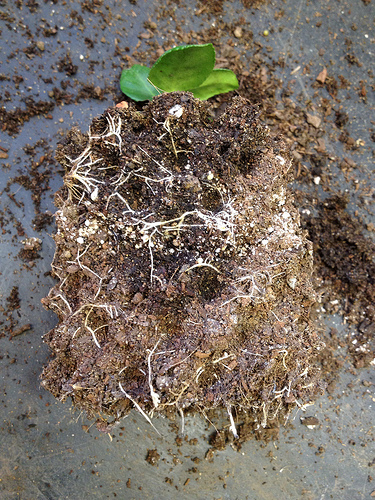
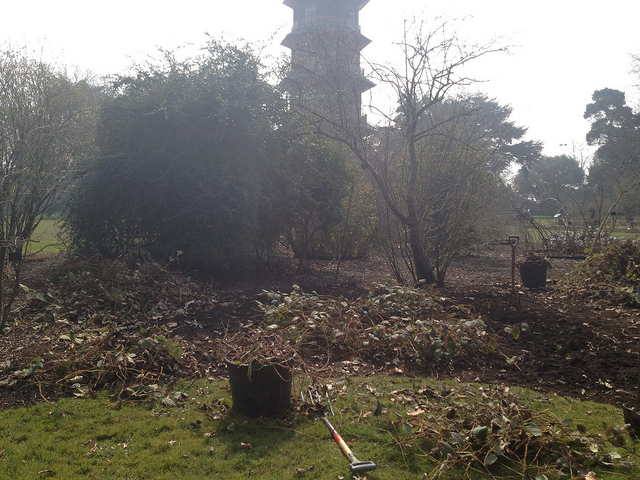
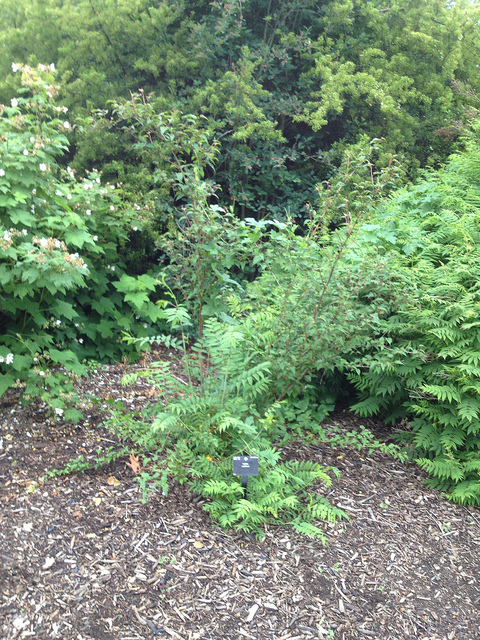
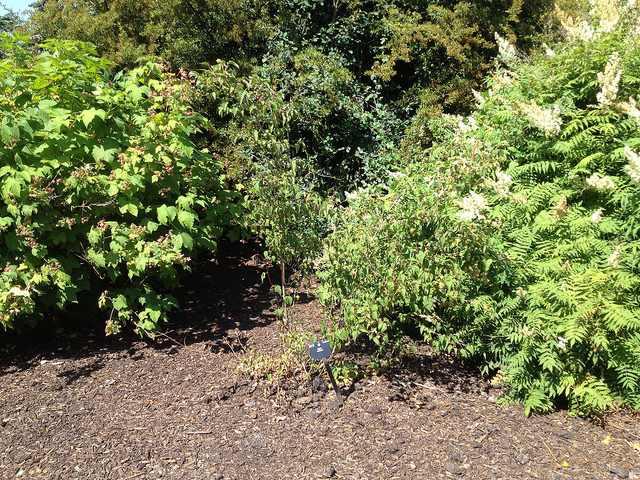
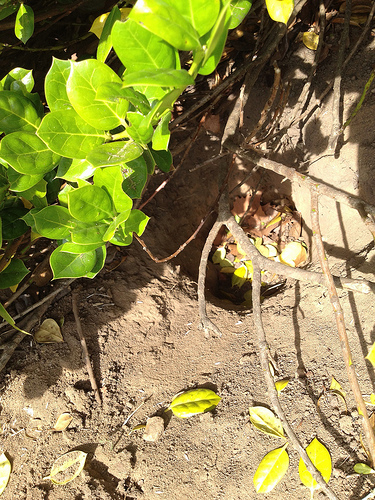
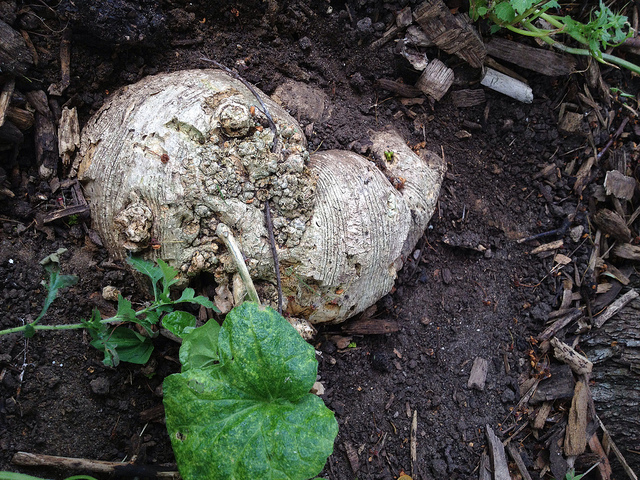
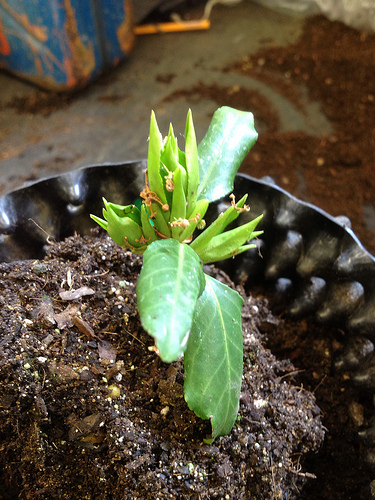
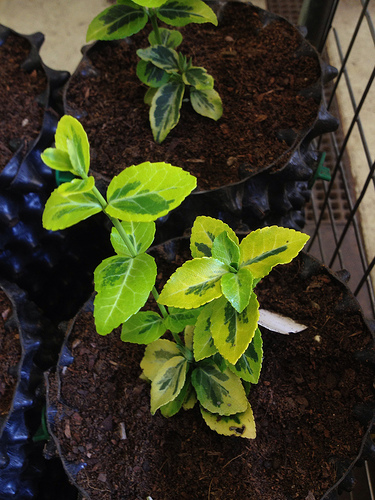
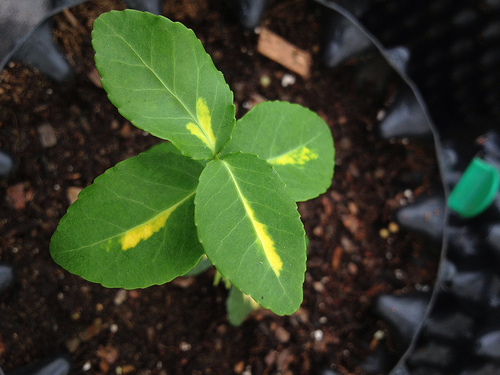
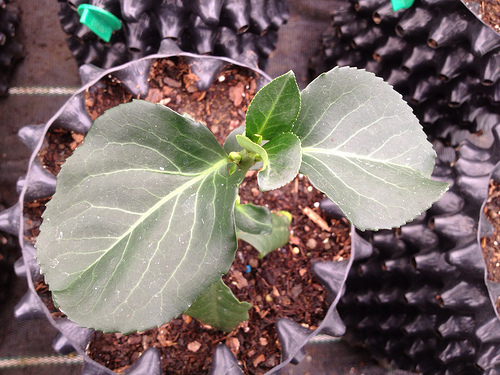
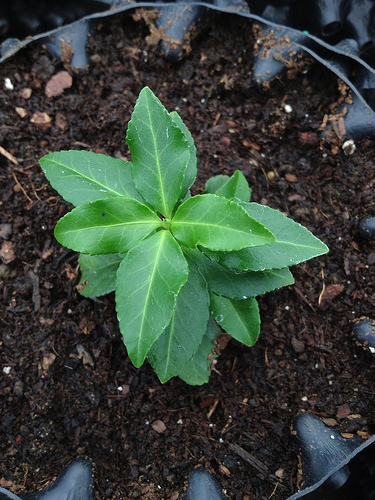
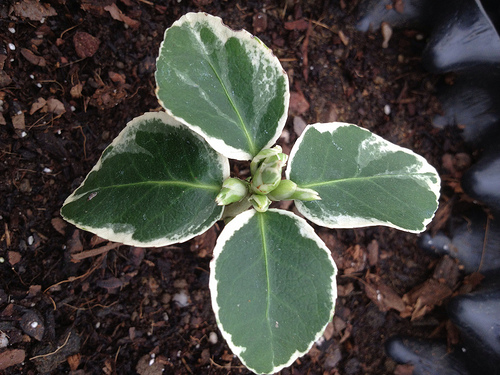
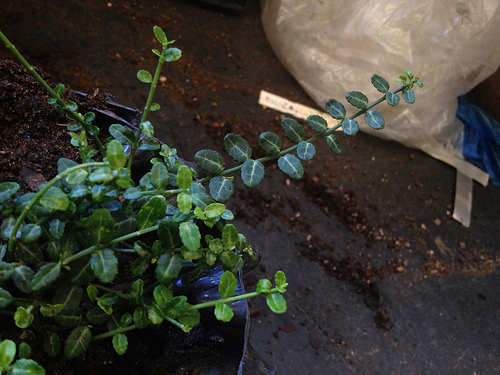
    It was strikingly clear when potting on, look at the three samples below: I thought I had soaked all of them through, but only one was, while in the other two most of the compost was dry.


    Air pots do not help in that respect, as water easily pours out of a hole, at the end of a cone, if it finds a way through. On the other hand, they cannot really get waterlogged. Considering that, I am now checking that all lighter pots are not dry at the bottom, and if they are, I keep pouring water until I can see it running out of the bottom with my own eyes. In the case of some compacted, or particularly dry pots, it might mean passing over the plant five or six times.

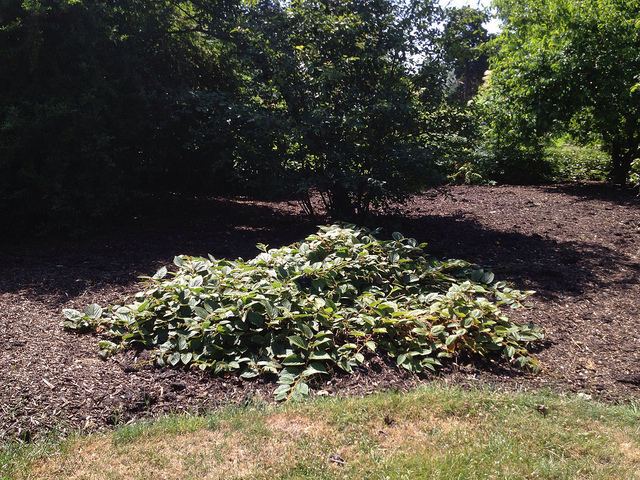
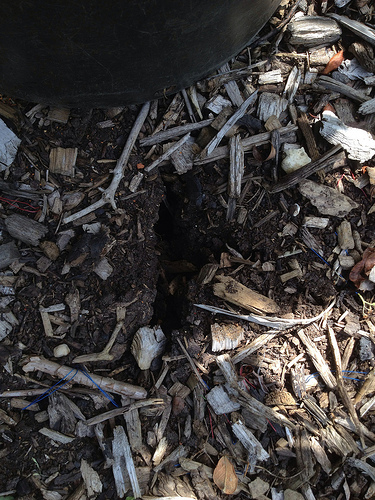
    At the plot, I noticed the same: I was watering with a hose, which I had left on the same spot quite some time, but when I scratched the surface, water had not really seeped past the first few millimeters. As I could not remember all the details of how water moves through the soil, and what factors affect that, and was really keen to understand more, I did a bit of research.

    Infiltration is the entry of water through the soil surface. It depends on several factors, including soil texture and porosity (cracks and pores allow water into the soil more easily while compaction prevents water from seeping through), which in turn depends on soil composition (sandy soil have generally bigger pores, clay soil expand and contract with the level of humidity, organic matter favours absorpion of water), on previous soil moisture content (wet soil absorb less than dry ones), whether the impact of the drop of water is sealing any pores (soil capping; the presence of vegetation, for example, usually prevents that, that is why you should not leave soil bare in winter), whether there are any hydrophobic substances on the soil surface (such as some oils from chaparral leaves). A presentation on the University of Wisconsin’s website finally cleared my doubts about how infiltration happens. Infiltration depends on the balance between cohesive and adhesive forces. Water drops stick together because of cohesive forces among their particles that create what is known as the water surface tension. The angle with which a water drop touches the soil may or may not cause adhesive forces, and the composition of the soil happens to alter such angle, and that is how some soils’ “wettability” is higher than others.

    Once inside the soil, water moves both vertically and laterally through gravity and capillary action.


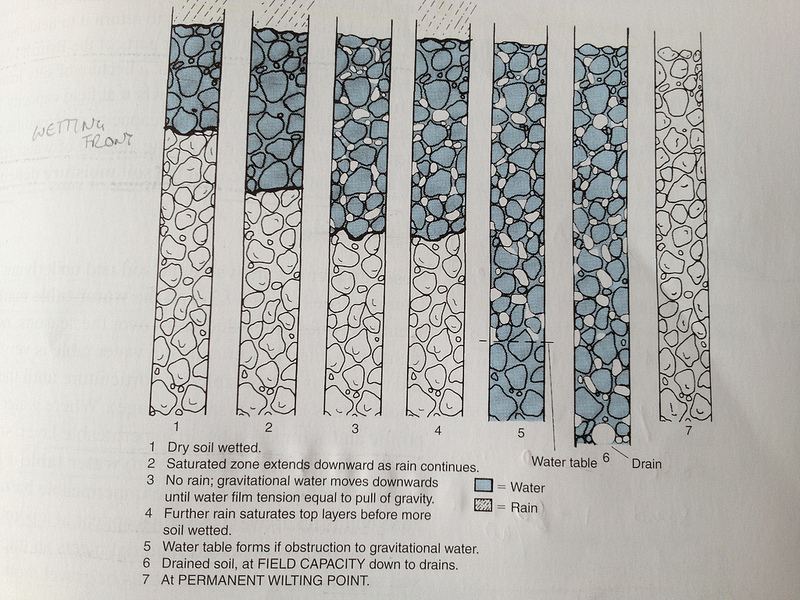
    Movement through gravity is called percolation and the wetting front’s route is through soil pores (that are big enough) and until it reaches the water table (if there is enough water, otherwise the flow stops when the pull of gravity equals the film tension), saturating a zone before moving on to the next. Field capacity is the state of a soil that has been wetted through, after gravitational drainage has taken place and macropores (>0.05 mm) contain air instead of water again. The amount of water in such soil is its water holding capacity (WHC, measured in mm water/depth of soil). The ideal soil for most plants has a 10-15% air-filled porosity or air capacity, so basically that percentage of macropores.

    Capillary movement is both vertical (up from the water table, or up from wet soil to dry soil because of evaporation*, and down from wet soils) and lateral, and it caused by the cohesion forces inside water. It takes place in micropores (< 0.05 mm). Plants’ roots can only grow into pores that are > 0.02 mm (and anyway if a pore was < 0.01 mm the adhesion forces on the soil particles’ walls would hold the water film so strongly that it is not accessible to root). Permanent wilting point is the state of a soil that does not make any more water available to plants, so that they remain wilted after the night (while wilting during the day because of transpiration, at night they would usually recover, that is until PWP is reached), and until they get watered.

    Notes:

    *a dry layer of soil (20 mm) helps conserve moisture underneath, acting as a buffer by interrupting the suction forces exercised by water films and their internal cohesion: a reason not to water little and often, but soaking through! Also, a life canopy shading the soil surface prevents drying out, again: do not leave soil bare.

    Availability of water to roots is restricted by high salt concentrations in it: osmosis works from low salt to high salt, so if the salt levels are higher in the soil, osmosis is actually reversed, water flows out of the roots, cells lose water and may die (plasmolysis). A good reason not to apply too much fertiliser.

    Organic matter in the soil improves
    a. soil fertility and availability of nutrients
    b. aeration (before decomposition, when particles are still large) and infiltration by opening up the soil, and
    c. soil aggregation and water holding capacity once transformed into humus by soil micro-organisms.
    Humus is a colloidal material that coats soil particles, giving topsoil (where micro-organisms are active) its darker colour. It acts as a sponge and can absorb up to 7 times its volume in water.

    Image from Principles of Horticulture, 5th edition

    The “My agriculture information bank” website has rather clear basic explanations of these concepts and I found it useful as a starting point in my research.

  • Hygiene (Week 14, Wednesday)

    Quite a few plants grow in a restricted space in greenhouses, so hygiene is particularly important to prevent and control the spread of pests and diseases.

    In terms of prevention, clean tools and surfaces are very important. So pots are dipped into a sterilising solution and tools are cleaned with Hortisept, a persistent germicide active against bacteria, viruses and fungi.


    The greenhouse is hoovered clean of plant debris, including the benches, which I did today.

    Bench after hoovering
    Bench before hoovering


    The pots in which the plants grow are also kept clean, by removing plant debris and any weeds, liverworts, mosses or algae that decide to take residence. In fact, although these last three groups do not have roots and do not strictly compete for nutrients with the plant, they are in the way of good maintenance. Availing myself of the latest technology, I used a kitchen fork to help me with the task.

    We have quite a lot of Merchantia polymorpha on our pots… I find bryophytes really interesting! 

    Unlike the spermatophites (conifers and flowering plants), more familiar to us, where reproduction happens in the cones or in the flowers’ ovaries respectively, resulting in the production of seed from which the next generation will be born, bryophytes have a two-generation reproduction process. The gametophyte generation produces sperm and ovules that meet outside the plant in any moisture film that might be present (i.e. after rain) and give birth to the sporophyte generation, growing on top of it (like the umbrellas of Merchantia) and producing spores, starting the process all over again. If you want to know more about Merchantia‘s lifecycle the University of Miami dept. of Biology has a nice graph and some information about them.


    In terms of pests and diseases, scouting for their appearance and monitoring spread is the best way to prevent them reaching unsustainable levels.

    For this purpose, in the greenhouses we have plenty of butterwort (Pinguicola sp.), a carnivorous plant with sticky leaves, which is used to monitor the appearance of aphids, so as to release bio control at the right moment.

    Today, when clearing debris from under the weaning pots outside, I found some vine weevils (Otiorhynchus sulcatus), so I alerted the greenhouse manager who is going to spread some more nematodes.

    Inside, I encountered three pests so far:

    • soft scales (Coccus hesperidum), which I was familiar with as they infected my Citrus at home a while ago, and which I was instructed to spray with insecticidal soap
    • cushion scales (Pulvinaria floccifera), which were new to me, look like soft scale except when they lay eggs in sacs that appear on plants – holly in my case – as white cottony stripes (in fact they are also known as camellia cottony scales); they are most susceptible to insecticidal soap in the crawling stage
    • mealybugs (Pseudococcus sp.). They nest in crevices in plants and are rather difficult to get rid of. They look like tiny, white woodlice with three tails, and cluster in masses, protected by waxy threads.
    Individual mealybugs
    Cluster of mealybugs
  • Mastering the art of potting on (Week 14, Tuesday)

    I have been potting on plants for a few days now, and, as you usually do, the more you do something the more you see what’s wrong what you are doing, and get a better feeling of what you should do.

    With air pots, I find there are two main tricky parts in potting on, and they are linked:

    • pressing the soil well
    • getting the level of potting right

    If you do not press the compost well, you will have two issues: the superficial roots will come out at the surface when you water, but not only that, the compost level will fall below the rim margin and water will start pouring out from the holes at the end of the cones, instead of soaking through the compost itself. Which is also a problem if you do not get the level of potting right, and conversely, if you plant too high, water will run off from the top of the pot, with much the same result. So you have to have enough margin to fill with water so that it can soak through the soil, not too little (flows out from the top) or too much (flows out of the holes). I found mastering this particularly tricky, because we have different generations of pots and some have larger cones, some smaller ones, or they have two rows of cones for a rim instead of one.

    Anyway, while trying to improve my potting on skills, I have also tried to speed  up and while yesterday I managed to pot up 50 plants, today I managed 75!

    Taking the potted on plants
    back to the benches
    The bench I am filling with the newly potted on plants


    I myself have mainly been potting on Euonymus cuttings, but also helped colleagues with the pretty plant in the Hamamelidaceae family, witch hazel Loropetalum chinenses f. rubrum ‘Blush’, which, besides pinkish leaves and stems, also has pink roots!

  • Auxins (Week 14, Monday)

    I was mentioning the other day we used synthetic auxins as rooting powders, and today, walking about the greenhouse and the yard, I found more examples of auxins’ influence on plants, which I will share with you.

    Auxins are one of the families of plant hormones, still rather elusive substances, synthesised in small quantitied by plants somewhere in their tissues (i.e. root tips) to send growth messages across to other tissues either locally or elsewhere .

    Of these substances, auxins were the first to be discovered, the most common form they take in the family being IAA (indole-3-acetic-acid). Once they were discovered, we tried to replicate their effects, synthesising substances in the lab: those, together with the natural plant hormones, are collectively known as plant growth regulators.

    The current hypothesis is that plant hormones are difficult to trace because they are active in such small quantities, and possibly different mixes of the same substances have different effects. If you read a range of books, they will all say slightly different things about plant hormones, but they generally agree that auxins:

    • affect cell elongation in stem and roots, in particular, they are behind tropic responses. For example, take phototropism, the plant’s growth response to light. Positive phototropic plants grow towards the light (i.e. Kalanchoe stems bend towards the light: mind where you put your plant! Tropic responses are irreversible). Negative phototropic plants grow away from the light (i.e ivy-leafed toadflax – Linaria cymbalaria – which grows on walls, has stems that, after flowering, bend away from the light to direct seed pods towards wall crevices, where the seeds will get a chance to survive).

      The way auxins work is by accumulating in the shady side, stimulating elongation of the cells, so that they get longer than the ones in the sun, and as a result the stem bends away from it.


      Today I was watering a Rhododendron and noticed a broken stem. At first I thought I might have broken it, and was thinking how clumsy of me… when I noticed the stem’s tip had moved upwards towards the light: a phototropic response which would have taken some time to take place… so not my fault! 

    • Auxins are mainly produced in the stem and root tips and move directionally (top to bottom and bottom to top respectively). When produced in the stem tip, they help maintain apical dominance, which means that the uppermost bud grows tall and the other ones beneath it, in the leaf axils, do not grow. Once the uppermost bud is removed, the other buds start growing. Because of that, pruning generally makes plants bushier. I noticed that quite strikingly in a Euonymus cutting.
      Apical dominance suppresses
       the growth of lateral buds
      Once the apical bud is removed,
      buds in the axils start to grow
    • Auxins promote root initiation, that is why synthetic auxins (for example α-Naphthalene acetic acid or NAA and IBA or Indole-3-butyric acid), or willow water, are used to help rooting.
    • Because of the way they make cell grow, some synthetic auxins (for example 2,4-Dichlorophenoxyacetic acid  or 2,4-D for short and dicamba – 2-Methoxy-3,6-dichlorobenzoic acid) are used as broad-leaf herbicides: the auxins cause the plant to grow abnormally and consequently die. Sigh.
  • Air Pots (Week 13, Friday)

    The polytunnel needed a tidy up, to make room for more plants, so we moved a few pots around.


    We use regular plastic and terracotta pots, but more and more we use air-pots, which have some advantages over the usual pots, mainly:

    • they don’t have a flat, circular surface, against which the roots start circling and become pot-bound; they have the same in-out structure of egg cartons;
    • where the pot walls are sticking out, the cones end in a hole; roots are funnelled into these outward cones and reach the holes where they get air-pruned: they encounter air and die back, so the plant sends out new roots in response.
    Fascinating things as they are, however, plants sometimes respond to air pruning by sending shoots out of the holes, like the Deutzia in this picture.

    Another advantage of air pots is they unroll open, so they are quite convenient to pot on plants without disturbing the roots.

    Also, they can be rolled closed again, cleaned and reused, which we do, after keeping them a few hours in a sterilising solution.


    Just out of curiosity, I have shaken clean of compost a rooted cutting that we were throwing away, and it is really amazing to see the amount and ramification of roots – they were obviously happy in the pot.

    We also got a chance to make some new pots from scratch, as a new batch arrived for us to trial. It’s a new size, tall and narrow, meant to contain rootstock plants.

    In the pictures below you can see how it is done step by step. The pots come in sheets, which I guess are easier to transport. You can tell what the top is because the first two rows of cones do not have holes, so they work as a water-retaining rim, that allows you to water the plant (otherwise the water would flow out of the holes sideways instead of downwards towards the roots)

    There is a bottom disc, which is designed as a grid so that the roots grow downwards and do not get stuck inside the pot, and a little cone at the centre directs them outwards. You place the bottom some 3 rows up, so that roots will never sit in water and rot.

    Then you roll the pot closed and firm it with a screw handle. Job done!

    Unpacking the pots


    Bottoms 3 rows up
    Roll the pot
    Screw close
  • Mixing compost and potting on (Week 13, Thursday)

    I learned how to mix compost today, that we then used for potting on. It was fun!

    We get our compost components in bulk basic mixes in massive canvas bags. Depending on the use to which the compost will be put to, we will then mix those basic mixes together to give the desired texture: shovel and buckets at the ready….

    The compost we were making today was for general potting on and had to be made up of 3 parts of a coir + woodchips + controlled-release fertilizer mix to 1 part of a sand + gravel mix.

    Add an electric mixer, like the ones builders use… et voila…

    … our potting on compost is ready for the bench.                                                                                                                                                                                  

    With the compost ready, we had to pot on a range of saplings from the small pots in which they were first sowed (seeds)/potted (cuttings) into medium-sized pots, where they can grow on and establish. 

    The one in the picture is a rather elegant Pistacia species with green-bronze stems and leaves that also have a bronze underside. 

    It is interesting to be able to observe plants this close when you pot them on, but potting is not an easy task to get right, especially when you are relative new to it (of course I have done it for my veggies, but here it is serious business).

    You have to press the compost well at the bottom, otherwise the level will go down when watering and the plant will sink, so there will be less room for the roots to grow into. Also, if you don’t press it well around the plant, watering will make it unstable and it will get dislodged.

    You also have to be careful that the level of the soil is at the root flare, so that you do not plant too deep. 

    When you are finished, the plant is ready for a good soak. 

    The nursery manages the stock so that they start with as many cuttings/seed as possible depending on:

    • number of required plants needed at the end;
    • available material;
    • how easy the plants is to propagate;
    then they keep some redundant stock to account for any losses while the plants establish, but, at every round of potting on, only a selection of the best plants are kept. That is so that space, material and effort to keep them when they are already established is optimised, still allowing for some extra specimens at the end for the commissioning department to choose from. 

    If the plants are of botanical interest, such as the ones that have been collected in the wild during expeditions, any spares available thanks to this redundancy system is shared with other gardens so that genetic material is preserved, should anything occur to the Kew specimens in the future. 

    To make an example, let’s say, for an easy plant to propagate, of which the commissioner needs 10 specimens at the end, they will take/sow anything in excess of 30 cuttings/seeds. 

    Of the ones that take, they will keep a good amount, let’s say 35 and pot them on in small pots.

    Then, at each of the successive rounds of potting on they will keep a few less, choosing the best ones: the most vigorous and healthy, with a good root system.  

    In our case, let’s say there are 2 rounds of potting on: into mid-size pots and then on into large pots. 25 plants will be kept in the first round, and then 15 only will go into the large pots, to be weaned out of the nursery. 

    I have always found it hard to get rid of even the weakest seedling, because I am always fascinated by the growing process, and that “miracle” that a plant emerging from a seed is, or a cutting that sends out roots and lives on… but you have to be ruthless if you want flourishing plants, the best genetic material, with the best chances of survival. That is, after all, what happens in nature.

    I am definitely getting better at it, even if I’m still making a conscious effort every time…